DIY Smoker with Grill Grates: Build Your Own Barbecue Bliss
Written By James Morgan
For barbecue enthusiasts, creating the perfect smoked meat is an art form. The tantalizing aroma, the smoky flavor, and the tender texture are what dreams are made of. If you're passionate about barbecue and love a good DIY project, building your own smoker with grill grates might be the perfect endeavor for you. Not only does a DIY smoker with grill grates offer a sense of accomplishment, but it also allows you to customize it to your specific needs and preferences.
In this article, we'll explore the step-by-step process of creating a DIY smoker using grill grates, along with some tips and tricks to ensure you achieve barbecue perfection every time. Whether you're a seasoned pitmaster or a novice griller, this guide will provide valuable insights into the world of DIY smokers.

Why Build a DIY Smoker?
Building a DIY smoker with grill grates is not just about saving money. It's about crafting a personalized cooking tool that suits your style. Store-bought smokers can be expensive, and they often lack the customization options that a DIY project can offer. By building your own smoker, you can choose the materials, size, and features that align with your cooking preferences.
Moreover, a DIY smoker allows you to experiment with different smoking techniques and fuel sources. You can control the airflow, temperature, and smoke levels to achieve the perfect balance of flavor and tenderness. Plus, the satisfaction of cooking on a smoker you built yourself adds an extra layer of enjoyment to every barbecue session.
Gathering Materials and Tools
Before diving into the construction process, it's essential to gather all the necessary materials and tools. Here's a checklist to get you started:
- Metal drum or barrel: A 55-gallon drum is a popular choice for DIY smokers.
- Grill grates: Opt for high-quality grill grates that can withstand high temperatures.
- Heat-resistant paint: To protect your smoker from rust and weathering.
- Thermometer: For monitoring the internal temperature of your smoker.
- Drill and drill bits: For creating air vents and mounting grill grates.
- Angle grinder: To cut and shape metal components.
- Welding equipment: If you plan to weld certain parts together.
- Bolt cutters: Useful for trimming metal components.
Step-by-Step Construction Guide
Once you've gathered your materials, it's time to start building your DIY smoker with grill grates. Here's a step-by-step guide:
1. Preparing the Drum
Begin by cleaning the metal drum thoroughly. Remove any residue, rust, or paint to ensure a clean surface. Once cleaned, use a heat-resistant paint to coat the exterior of the drum. This will protect it from rust and enhance its durability.
2. Cutting Air Vents
Use a drill and appropriate drill bits to create air vents at the bottom and top of the drum. These vents will allow you to control airflow and maintain consistent temperatures within the smoker.
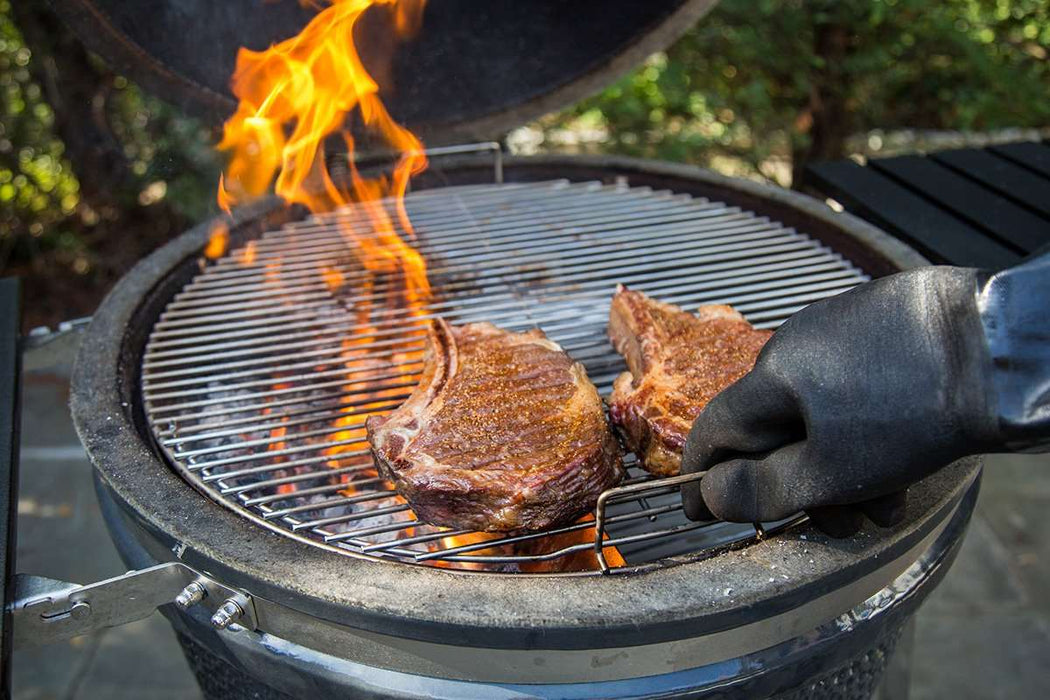
3. Installing Grill Grates
Position the grill grates inside the drum at the desired height. Use bolts and nuts to secure them in place. Ensure the grates are level and stable to support the weight of your food.
4. Adding a Thermometer
Drill a hole near the top of the drum and insert a thermometer. This will help you monitor the internal temperature, ensuring your food is cooked to perfection.
Mastering the Art of Smoking
With your DIY smoker ready, it's time to master the art of smoking. Start by choosing the right wood chips for your desired flavor profile. Popular options include hickory, mesquite, applewood, and cherry. Experiment with different combinations to find your signature smoke flavor.
Next, fire up your smoker and adjust the air vents to achieve the desired cooking temperature. A good rule of thumb is to maintain a temperature between 225F and 275F for most smoked meats. Keep an eye on the thermometer and make adjustments as needed.
Place your seasoned meat on the grill grates, close the lid, and let the magic happen. Remember, patience is key when it comes to smoking. Allow the meat to cook slowly, absorbing the rich flavors of the smoke.
Troubleshooting Tips
Even the most experienced pitmasters encounter challenges during their smoking journey. Here are some troubleshooting tips to help you overcome common issues:
- If your smoker isn't reaching the desired temperature, check for air leaks and ensure the air vents are open.
- If the smoke is too thick or acrid, adjust the airflow to allow more oxygen into the chamber.
- If the meat is cooking unevenly, consider rotating it periodically to ensure even heat distribution.
For additional tips on maintaining and optimizing your grill, check out this guide on building your own grill grates.
Conclusion: Enjoying the Fruits of Your Labor
Building a DIY smoker with grill grates is a rewarding endeavor for any barbecue enthusiast. It combines craftsmanship with culinary creativity, resulting in mouthwatering smoked dishes that impress family and friends.
As you embark on your DIY smoker journey, remember to enjoy the process and savor the results. Each barbecue session is an opportunity to refine your skills and create unforgettable dining experiences.
If you're interested in learning more about maintaining grill grates, this article offers valuable insights.
FAQ
Q1: What materials do I need to build a DIY smoker?
To build a DIY smoker, you'll need a metal drum or barrel, grill grates, heat-resistant paint, a thermometer, and various tools like a drill, angle grinder, and welding equipment.
Q2: How do I control the temperature in my DIY smoker?
Temperature control is achieved through air vents. By adjusting the vents, you can regulate the airflow and maintain consistent cooking temperatures.
Q3: What wood chips should I use for smoking?
The choice of wood chips depends on your desired flavor profile. Popular options include hickory, mesquite, applewood, and cherry. Experiment to find your favorite combination.
For more inspiration and tips on grill maintenance, explore this resource.


