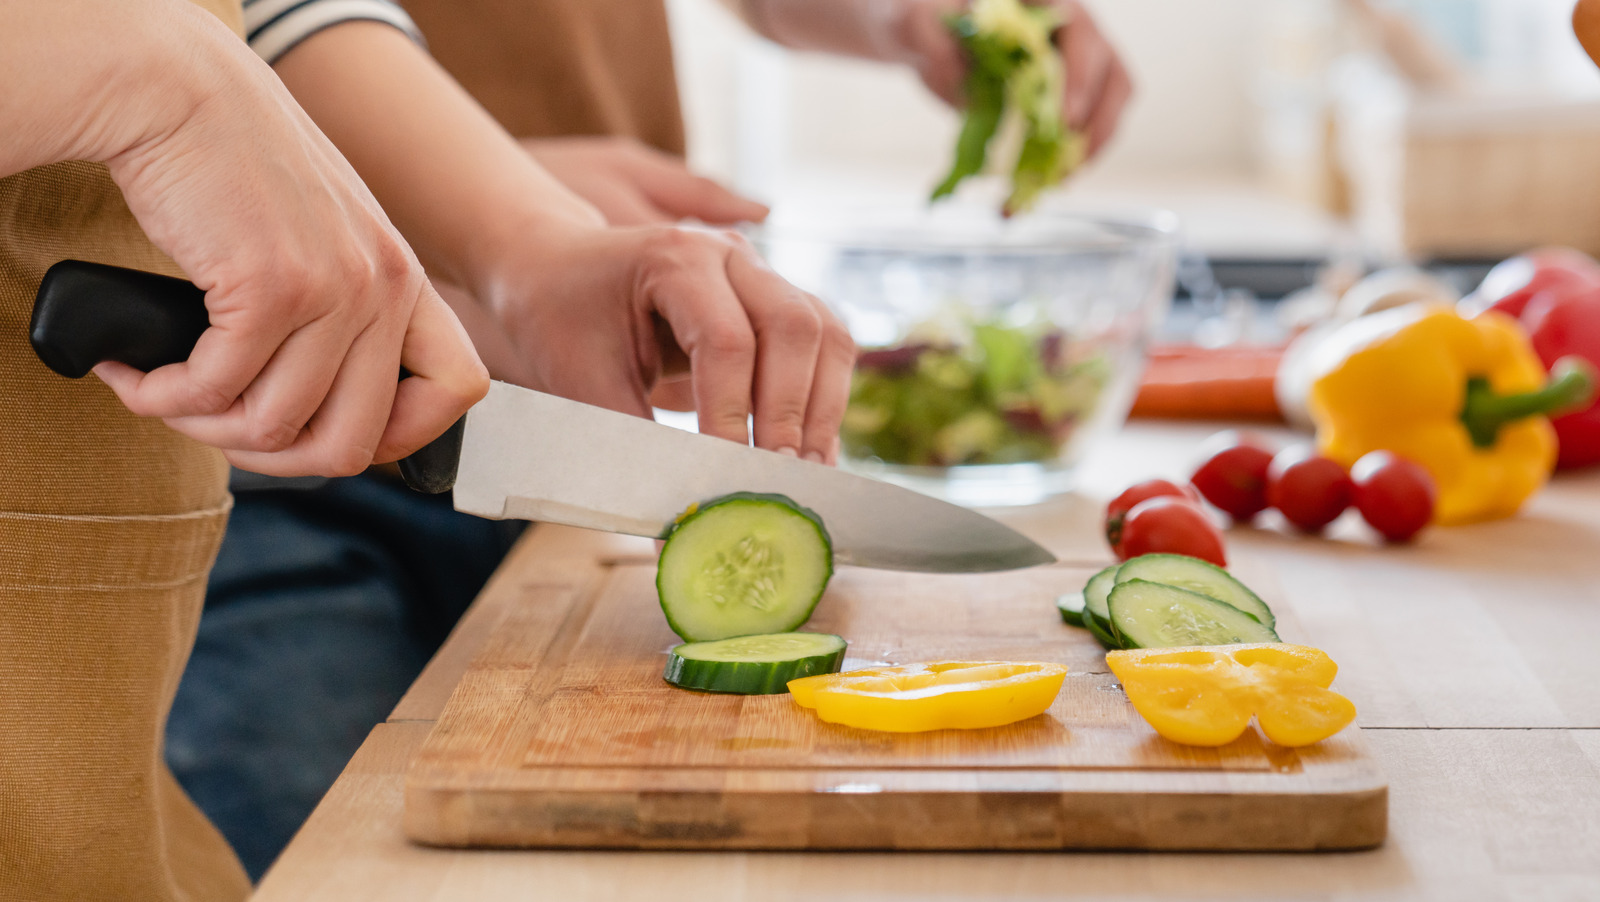
How to Build an End Grain Cutting Board for BBQ Enthusiasts
Written By James Morgan
Building an end grain cutting board is a rewarding project for any barbecue enthusiast. End grain cutting boards are known for their durability and excellent cutting surface, making them a popular choice among chefs and grill masters.
Imagine prepping your favorite BBQ dishes on a sturdy, self-made end grain cutting board. Not only will it elevate your grilling experience, but it will also add a touch of craftsmanship to your culinary space. In this comprehensive guide, we will walk you through the process of building an end grain cutting board, from selecting the right materials to the final finishing touches.

Materials You'll Need
Before you start, gather the following materials:
- Hardwood (Maple, Walnut, Cherry)
- Wood Glue
- Clamps
- Table Saw
- Planer
- Sandpaper (Various grits)
- Mineral Oil
- Beeswax
Selecting the Right Wood
The choice of wood is crucial for the longevity and performance of your end grain cutting board. Hardwoods like Maple, Walnut, and Cherry are excellent choices due to their density and aesthetic appeal. Avoid using softwoods as they can easily dent and are not suitable for cutting boards.

Step-by-Step Guide to Building Your Cutting Board
Step 1: Prepare the Wood
Start by cutting your hardwood into strips. The width of the strips will determine the thickness of your cutting board. Make sure the edges are straight and smooth. This will ensure a seamless glue-up later on.
Step 2: Glue Up the Strips
Arrange the wood strips in a pattern that pleases you. Apply a generous amount of wood glue to the edges and clamp them together tightly. Allow the glue to dry for at least 24 hours.
Step 3: Cut and Arrange the Blocks
Once the glue has dried, remove the clamps and cut the glued-up panel into strips perpendicular to the original glue-up. This will expose the end grain of the wood. Arrange these new strips to form the final pattern of your cutting board.
Step 4: Final Glue-Up
Apply glue to the edges of the newly cut strips and clamp them together. Make sure all joints are tight and aligned. Allow the glue to dry completely.
Step 5: Planing and Sanding
Once the glue is fully cured, remove the clamps and use a planer to flatten both surfaces of the cutting board. Follow up with sanding, starting with coarse grit and progressing to finer grits. This will give your cutting board a smooth and polished finish.
Step 6: Finishing Touches
Apply a generous amount of mineral oil to the surface of the cutting board. Allow it to soak in and repeat the process until the wood is fully saturated. Finish off with a mixture of beeswax and mineral oil to seal and protect the wood.

Maintenance Tips
To keep your end grain cutting board in top condition, follow these maintenance tips:
- Regularly oil your cutting board to prevent it from drying out.
- Avoid placing it in the dishwasher or soaking it in water.
- Use a mild soap and warm water for cleaning.
- Sanding and re-oiling can rejuvenate an aged board.
FAQs
How thick should an end grain cutting board be?
The thickness of an end grain cutting board typically ranges from 1.5 to 2 inches. This provides a sturdy surface that can withstand heavy chopping.
Can I use any type of wood?
It's best to use hardwoods like Maple, Walnut, or Cherry. Softwoods are not suitable as they can easily dent and are less durable.
How often should I oil my cutting board?
It's recommended to oil your cutting board at least once a month to maintain its condition and prevent it from drying out.
For more detailed instructions on cutting board care, check out this guide from State Food Safety.
As an Amazon Associate, I earn from qualifying purchases.


