How to Cut Rotisserie Chicken for Perfect Pieces Every Time
Written By James Morgan
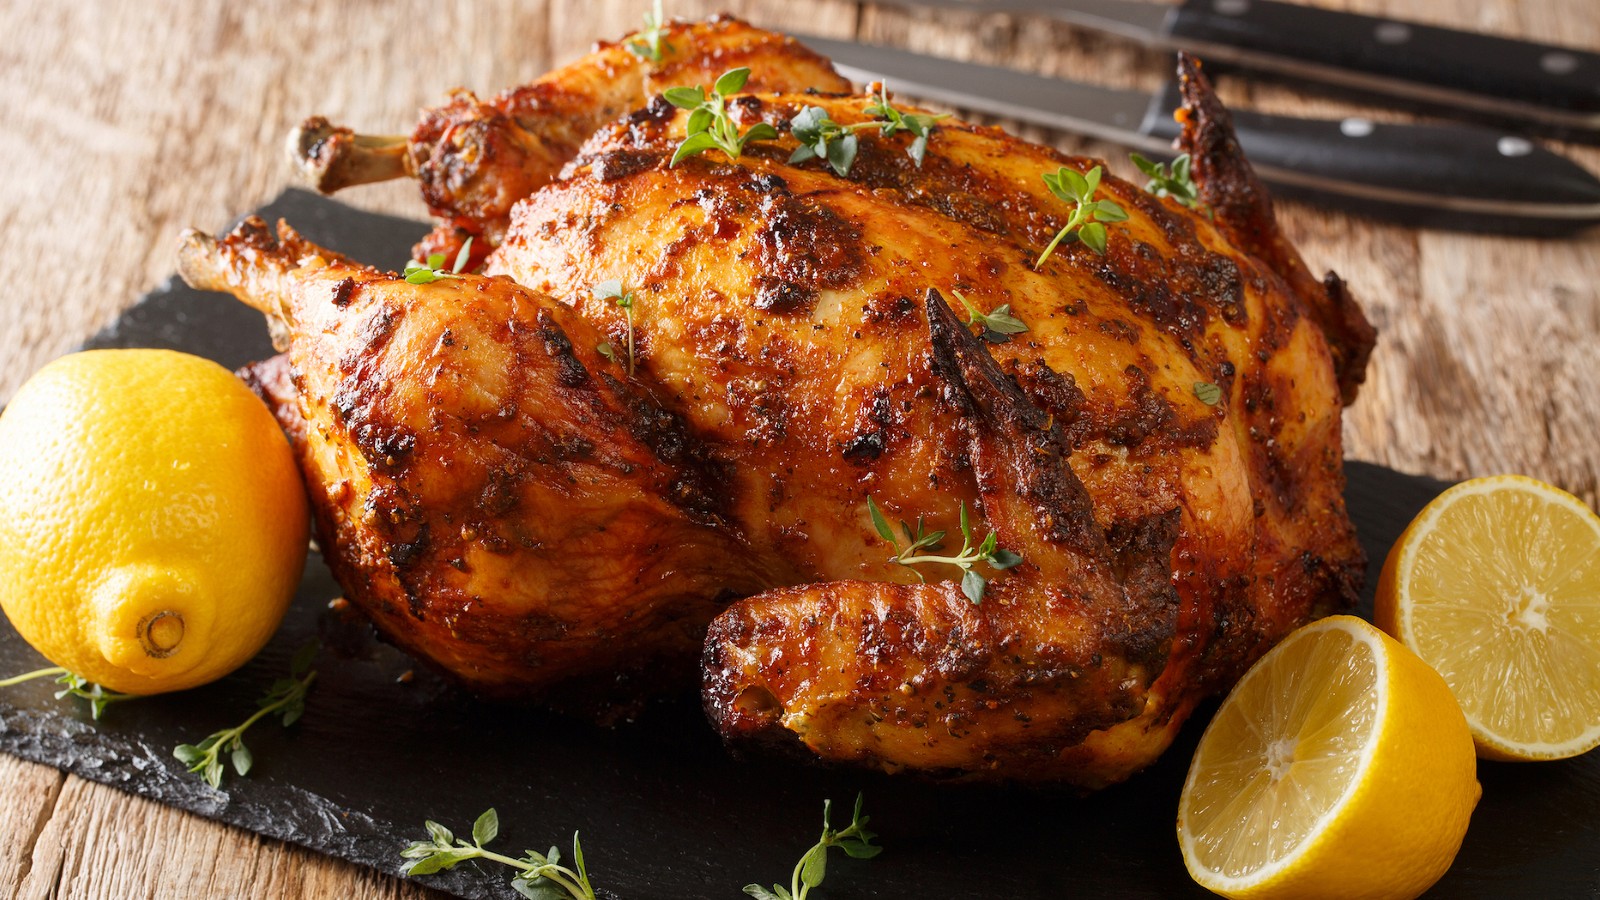
When you have a juicy, golden rotisserie chicken sitting in front of you, the last thing you want is to carve it poorly, turning your delicious meal into a mess. Knowing how to cut rotisserie chicken is not only an essential skill for any barbecue enthusiast but also ensures that you make the most out of this versatile dish.
The primary goal here is to teach you the art of cutting a rotisserie chicken so that every piece is perfect, juicy, and ready to serve. Lets dive into the steps and all important tips on how to cut rotisserie chicken.

Why Knowing How to Cut Rotisserie Chicken Matters
Before diving into the intricacies of cutting a rotisserie chicken, it is important to know why it's crucial. First, it maximizes the yield from your chicken, ensuring each part is used efficiently. Secondly, well-carved chicken pieces are more appealing and presentable, making your meal more enjoyable.
The Right Tools for the Job
Like any culinary process, having the right tools can make a world of difference. Heres what you need:
- Sharp Knife: A sharp knife is absolutely crucial for carving through the meat cleanly and easily.
- Cutting Board: A stable cutting board prevents accidents and keeps the process clean.
- Kitchen Shears: These can be helpful for more precision cutting and separating joints.
- Tongs: For handling the hot rotisserie chicken without burning yourself.
- Kitchen Towels: To keep your hands dry and to wipe away any slippery juices as you work.
Step-by-Step Guide to Cutting Rotisserie Chicken

Step 1: Let the Chicken Rest
Once you bring your rotisserie chicken home, you might be tempted to start cutting it immediately. However, its vital to let it rest for about 10-15 minutes. This allows the juices to redistribute, making the meat more tender and juicy.

Step 2: Start with the Legs
Position the chicken breast-side up on your cutting board. Using your sharp knife, cut through the skin between the leg and the body. Gently pull the leg away from the body, exposing the joint. Cut through the joint to completely separate the leg and thigh from the breast. Repeat for the other leg.

Step 3: Separate the Thigh and Drumstick
Lay the leg piece skin-side down. Feel for the natural seam where the thigh meets the drumstick. Cut along this seam, ensuring you go through the joint to separate the two pieces cleanly.
Step 4: Remove the Wings
Next, focus on the wings. Pull each wing away from the body and slice through the joint connecting it to the breast. Having kitchen shears can be particularly helpful for this step.
Step 5: Carve the Breast
Finally, the centerpiece: the breast. Place the chicken breast-side up. Locate the breastbone running down the center of the chicken. Starting from one side of the breastbone, cut downwards following the contour of the ribcage. Make a horizontal cut at the base of the breast to completely free it from the body. Repeat on the other side.
Pro Tips for Perfect Rotisserie Chicken Cuts
Successfully carving a rotisserie chicken requires more than just following steps. Here are a few expert tips to optimize your carving:
- Warm Knife: Dip your knife in warm water before carving to make slicing through the chicken easier.
- Gravy Use: Use the juices and gravy from the chicken as basting or as a dipping sauce.
- Presentation: Arrange the pieces neatly on a platter for a professional look.
- Keep It Warm: Cover the carved pieces with foil to retain warmth until serving.
Common Mistakes to Avoid
Avoiding common pitfalls can help you master the art of rotisserie chicken carving. Here are a few:
- Skipping Rest Time: Not letting the chicken rest can make it dry and less flavorful.
- Dull Knife: Using a dull knife can make the job more difficult and your cuts uneven.
- Rushing: Take your time to follow the right method for clean, beautiful pieces.
FAQs
How do I store leftover rotisserie chicken?
Store leftover rotisserie chicken in an airtight container in the refrigerator for up to 4 days. Ensure it cools completely before refrigerating.
Can I reheat rotisserie chicken?
Yes, you can reheat rotisserie chicken. Cover it with aluminum foil and bake at 350F until warmed through, usually about 20 minutes.
Why is rest time important for rotisserie chicken?
Rest time allows the juices inside the chicken to redistribute throughout the meat, making it more flavorful and moist.
For more grilling tips, you might find this external link useful.
Additionally, explore these related articles to deepen your barbecue knowledge:
Conclusion
Mastering how to cut rotisserie chicken not only elevates your barbecue skills but also brings an added level of finesse to your culinary endeavors. With the right tools, techniques, and a little patience, youll be able to carve out perfect, delicious pieces every time, ready to delight your guests or family.
As an Amazon Associate, I earn from qualifying purchases.


