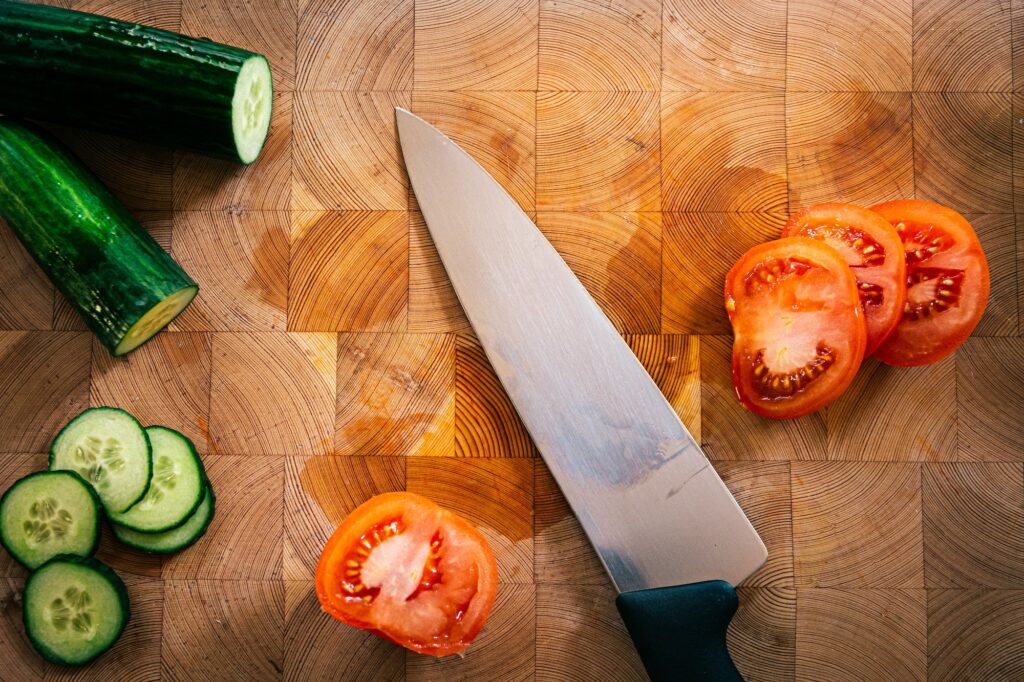
Unmissable Guide on How to Make a Large Cutting Board for Barbecue Enthusiasts
Written By James Morgan
When it comes to perfecting your barbecue skills, one remarkable piece of equipment that often goes unnoticed is the cutting board. Whether youre carving up a huge brisket or slicing through juicy ribs, a large cutting board can make a world of difference. Let's dive into the exciting journey of how to make a large cutting board, geared specifically towards passionate barbecue enthusiasts.

Why a Large Cutting Board is a Game-Changer
As barbecue enthusiasts, having the right tools can turn a good barbecue into a life-changing feast. A large cutting board provides enough space to handle large cuts of meat, preventing spillage and ensuring a cleaner workspace. If youre keen on creating mouthwatering barbecue dishes, you'll be delighted to know just how much a sizeable cutting board can add to your experience. Plus, crafting your own board? Now that's some big bragging rights!
Materials You'll Need
- Hardwood (maple, walnut, or cherry)
- Table saw
- Jointer and Planer
- Wood glue
- Clamps
- Sandpaper
- Mineral oil or cutting board conditioner
- Finishing wax
Hardwood is preferred for its durability and resistance to knife scars. Maple, walnut, and cherry woods are some of the best options available. Make sure the wood is free from knots and cracks for a more seamless finish.
Step-by-Step Guide on How to Make a Large Cutting Board
1. Cutting the Wood
First, select your hardwood boards and cut them into strips of equal width using the table saw. A width of 1.5 to 2 inches is typically recommended. Ensure that all the strips are cut to the same length as well. For accurate cuts, a jointer is a terrific tool to use in this process.
2. Gluing the Strips Together
Next, align the wood strips in a pattern that suits your liking. Apply wood glue evenly on the edges of each strip and clamp them tightly together. Ensure that the clamping pressure is adequately distributed, maintaining a flat surface across the entire board. Leave the glued board to dry for at least 24 hours.
3. Planing and Sanding
Once the glue has dried, run the board through a planer to achieve an even surface. This is followed by sanding the surface using different grits of sandpaper, starting from coarse to fine, ensuring a smooth finish.
4. Applying the Finish
Apply a generous coat of mineral oil or cutting board conditioner across the board surface. This helps to preserve the wood and maintain its durability. Use a finishing wax for added protection and shine.
If you want more information about how to hydrate your cutting board, check out this terrific guide.

Maintaining Your Large Cutting Board
Cleaning
After each barbecue session, make sure to clean your cutting board with hot, soapy water. Avoid letting it soak as excessive water can warp the wood.
Conditioning
Regular conditioning with mineral oil or a cutting board conditioner will prolong its life. For a detailed guide on how to seal a cutting board, read here.
Avoid Cross-Contamination
Using separate cutting boards for raw and cooked meats is essential in maintaining food safety. If you're curious about chopping board hygiene, this article is a must-read.

Conclusion
Making a large cutting board is not just a fun DIY project but a rewarding investment for barbecue enthusiasts. Following these steps ensures that you have a reliable, durable, and impressive tool to showcase in your next barbecue event. Your cutting board is more than just an accessory; its a testament to your craftsmanship and passion for grilling.
FAQ Section
Q1: Can I use any type of wood for my cutting board?
No, ideally, you should use hardwoods like maple, walnut, or cherry as they are durable and resistant to knife scars.
Q2: How often should I oil my cutting board?
It is recommended to oil your cutting board once a month or whenever it starts looking dry and dull.
Q3: Is it safe to put a wooden cutting board in the dishwasher?
No, wooden cutting boards should not be placed in the dishwasher as excessive water and heat can cause the wood to warp and crack.
As an Amazon Associate, I earn from qualifying purchases.


