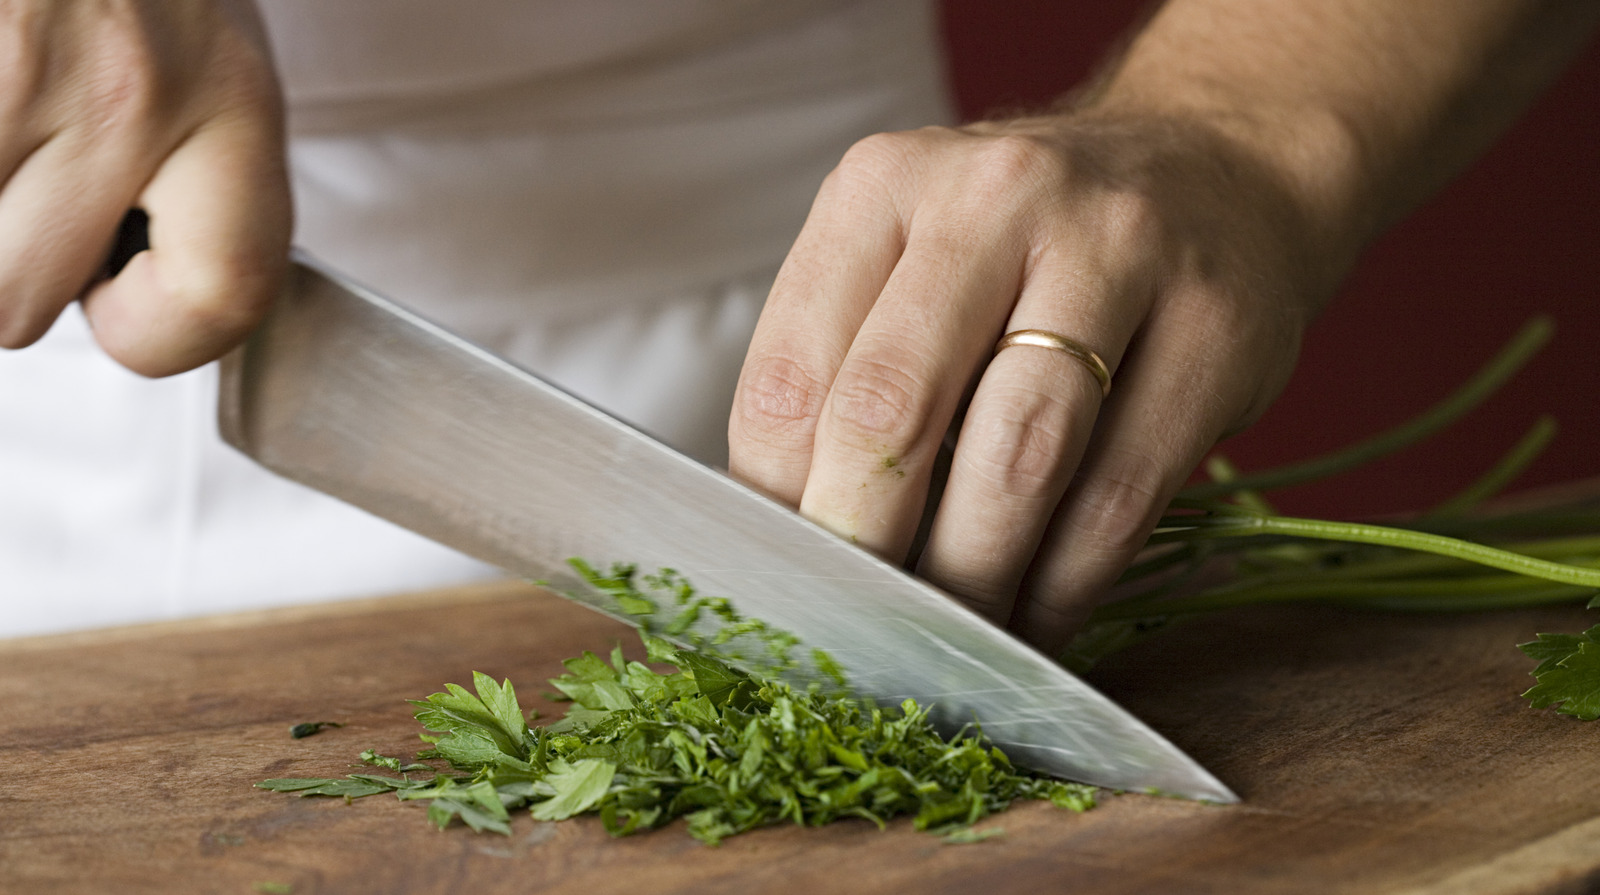
How to Reseal a Wood Cutting Board: Exclusive Guide for Barbecue Enthusiasts
Written By James Morgan
Wood cutting boards are an essential tool for any serious barbecue enthusiast. They provide a sturdy and durable surface to chop, slice, and dice your favorite meats and vegetables. However, like any other kitchen tool, they require regular maintenance to ensure they remain in tip-top condition. Knowing how to reseal a wood cutting board is crucial in prolonging its lifespan and maintaining its performance.
Resealing a wood cutting board is a straightforward process but requires some attention to detail. When you properly maintain your wood cutting board, you'll prevent it from drying out, cracking, or absorbing unwanted flavors. Let's dive into this exclusive, unmissable guide on how to reseal your wood cutting board like a pro.

Understanding the Importance of Resealing
The main reason for resealing a wood cutting board is to create a protective barrier that keeps out moisture and bacteria. This process also helps to maintain the appearance and functionality of the board. Here are some of the benefits:
- Prevents Warping: Regular sealing helps to stop the wood from warping due to moisture absorption.
- Increases Lifespan: A well-maintained board can last for years, making it a cost-effective choice.
- Maintains Hygiene: Sealing helps prevent bacteria and meat juices from absorbing into the wood.

Materials You'll Need
Before you start, gather the following materials:
- Mineral Oil or Beeswax
- Clean Cloths
- Sandpaper (Optional)
- Brush for Application
Step-by-Step Resealing Process
Follow these steps to properly seal your wood cutting board:
1. Clean the Cutting Board
Thoroughly clean your cutting board with warm, soapy water. Make sure to scrub all surfaces to remove any food residue and bacteria. Rinse and let it dry completely. For more detailed cleaning tips, you can check out this link.
2. Sand if Necessary
If your cutting board has deep gouges or scratches, you may want to sand it down. Use fine-grit sandpaper to smooth out the surface. Be sure to clean off the sawdust with a damp cloth afterwards.
3. Apply Mineral Oil or Beeswax
Using a clean cloth or brush, apply a generous amount of mineral oil or beeswax to the wood. Work it into the surface with circular motions. Make sure to cover all areas, including the edges.
4. Let It Soak
Allow the oil or wax to soak into the wood for several hours, preferably overnight. This will ensure that the wood is thoroughly saturated.
5. Wipe Off Excess
After the soaking period, use a clean cloth to wipe off any excess oil or wax. Your cutting board should now have a shiny, well-sealed surface.

Maintaining Your Wood Cutting Board
Once you've resealed your wood cutting board, it's crucial to keep up with regular maintenance to preserve its condition. Here are some tips:
- Regular Cleaning: Clean your board after each use with warm soapy water and let it dry completely.
- Avoid Soaking: Do not soak your wood cutting board in water as it can cause warping and cracking.
- Monthly Resealing: Reseal your board once a month to keep it in optimal condition.
FAQs
Q: How often should I reseal my wood cutting board?
A: It's recommended to reseal your wood cutting board once a month, especially if you use it frequently.
Q: Can I use olive oil to seal my cutting board?
A: It's best to avoid using cooking oils like olive oil as they can become rancid over time. Stick to mineral oil or beeswax.
Q: What if my cutting board has a strong odor?
A: If your cutting board has absorbed strong odors, clean it with a mixture of baking soda and lemon juice, then reseal it.
If you're interested in more related topics on cooking and grilling, check out How to Cook Lamb Chops or Cooking Salmon on a Cedar Plank
As an Amazon Associate, I earn from qualifying purchases.


