How to Reseason Grill Grates for the Perfect Barbecue?
Written By James Morgan
For every barbecue enthusiast, knowing how to reseason grill grates is an essential skill that ensures your grilling experience is top-notch. Seasoning grill grates is not just about maintaining them; it's about preserving the flavor and ensuring that your favorite grilled dishes come out perfect every time. But why is reseasoning so important, and how can you do it effectively?
Why Reseasoning Grill Grates is Essential
Grill grates are the heart of your grill. Over time, they can accumulate grease, food particles, and even rust. This not only affects the taste of the food but can also pose health risks. Reseasoning helps create a non-stick surface, prevents rusting, and adds a layer of protection that enhances the longevity of your grill. Moreover, it ensures that your food retains its delicious, smoky flavor.
For more on maintaining grill grates, check out this guide on cleaning grill grates.
Preparing to Reseason Your Grill Grates
Before diving into the reseasoning process, it's crucial to clean your grill grates thoroughly. This step ensures that the seasoning sticks properly to the metal and creates an effective protective layer. Here's a brief overview of how to prepare:
1. Cleaning the Grill Grates
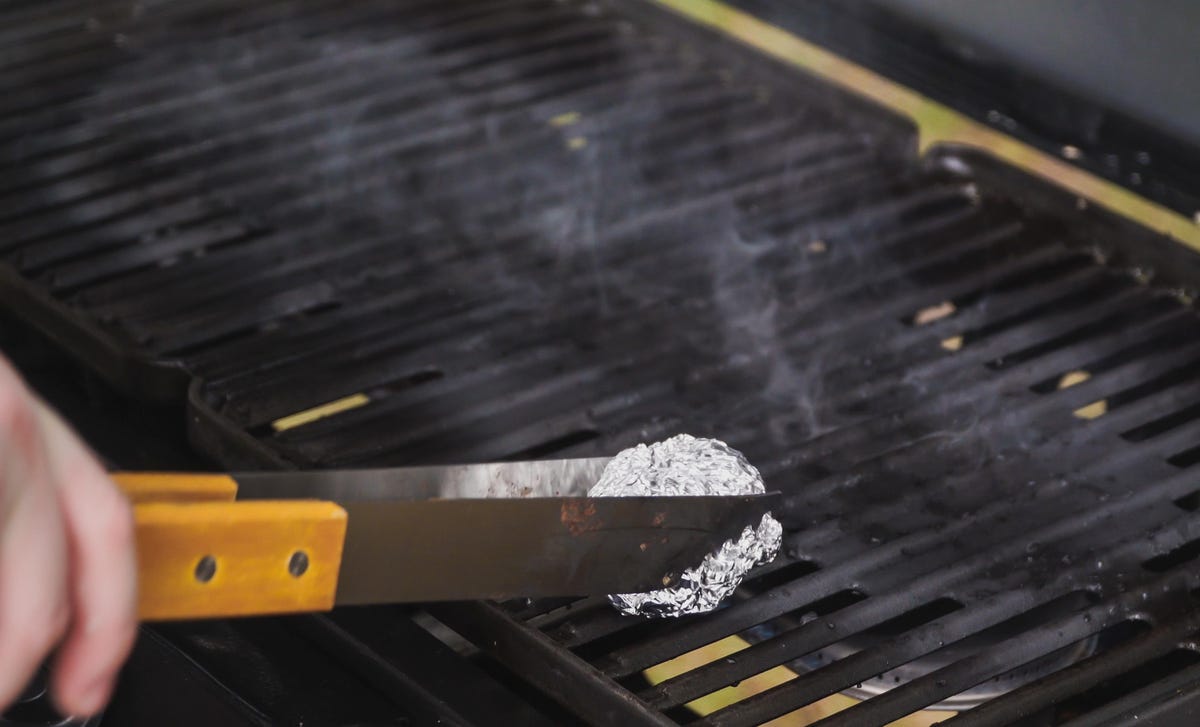
Begin by removing the grates from your grill. Use a grill brush to scrape off any residual food particles. For a more in-depth clean, consider using vinegar, as detailed in this article on cleaning stainless steel grill grates.
2. Dry the Grates Thoroughly
Once cleaned, it's important to dry the grates completely. Moisture can interfere with the seasoning process and lead to rust. Use a towel to dry them and let them air out for a few minutes.
The Reseasoning Process
1. Choose the Right Oil
Choosing the right oil is crucial for a successful reseasoning. Oils with a high smoking point, such as canola or vegetable oil, are ideal. They create a durable, non-stick layer that withstands high temperatures.
2. Applying the Oil
Using a paper towel or a clean cloth, apply a thin layer of oil to the grates. Make sure the oil covers the entire surface, including the corners and edges. This step is critical to ensure even seasoning.
3. Heating the Grates
After applying the oil, it's time to heat the grates. Place them back on the grill and heat them to a high temperature, around 450F. This allows the oil to polymerize, forming a protective layer over the metal.
Maintaining Your Seasoned Grill Grates
Once you've completed the reseasoning process, maintaining your grill grates becomes easier. Regular cleaning and occasional reseasoning will keep them in prime condition. For tips on maintaining grill grates, explore this resource on removing rust from grill grates.
Common Mistakes to Avoid
Even the most seasoned grill masters can make mistakes while reseasoning. Here are some common pitfalls to watch out for:
- Using too much oil: A thin layer is sufficient for effective seasoning.
- Not heating the grates enough: Ensure the oil polymerizes by reaching the correct temperature.
- Skipping the cleaning process: Residual food and grease can hinder the seasoning process.
For more expert tips on grilling, visit this Weber guide.
Final Thoughts
Understanding how to reseason grill grates is a valuable skill for any barbecue enthusiast. By following the steps outlined above, you can ensure that your grill grates remain in excellent condition, providing you with delicious, perfectly grilled meals every time you fire up the grill. For more tips on enhancing your grilling experience, check out the benefits of wearing an apron while cooking.
Frequently Asked Questions
1. How often should I reseason my grill grates?
It depends on how frequently you use your grill. For regular grillers, reseasoning once every few months is ideal.
2. Can I use any oil for reseasoning?
It's best to use oils with a high smoke point, such as canola, vegetable, or grapeseed oil.
3. What should I do if my grill grates rust?
If rust appears, clean the grates thoroughly and reseason them to restore their protective layer. For more on rust removal, refer to our comprehensive guide.


