How to Rotisserie a Duck: A Guide for Barbecue Enthusiasts
Written By James Morgan
Barbecue enthusiasts around the world are always on the hunt for new and exciting ways to elevate their grilling game. One such delicacy that can wow your guests and satiate your culinary curiosity is rotisserie duck. This article will walk you through the detailed process of how to rotisserie a duck, ensuring that it's crispy on the outside and juicy on the inside. Whether you're a seasoned griller or a newbie looking to expand your repertoire, this guide has you covered.

Why Choose Duck for Rotisserie?
Before we dive into the step-by-step process, let's talk about why duck is an excellent choice for rotisserie cooking. Duck meat is rich and flavorful, which makes it a tantalizing alternative to the more commonly grilled chicken or turkey. The high fat content in duck skin renders well during rotisserie, creating a deliciously crispy exterior that is hard to resist.
The Unique Flavor of Duck
Ducks have a gamey, rich taste that stands out compared to other poultry. This unique flavor profile is why many barbecue enthusiasts choose duck as their rotisserie meat of choice. If you've never tried rotisserie duck before, you're in for a treat.

Preparing Your Duck
Preparation is key when it comes to how to rotisserie a duck. Start by selecting a fresh or well-thawed duck. Remove any giblets and excess fat from the cavity. Rinse the duck thoroughly under cold water and pat it dry with paper towels.
Marinating the Duck
Marinating can add an extra layer of flavor to your duck. A simple marinade of soy sauce, ginger, garlic, and orange juice can do wonders. Allow the duck to marinate in the refrigerator for at least 2 hours, but overnight is best.

Trussing the Duck
Trussing is the process of tying the duck to ensure even cooking. Use kitchen twine to truss the legs and wings close to the body. This helps the duck cook evenly and prevents the wingtips and legs from burning.

Setting Up the Rotisserie
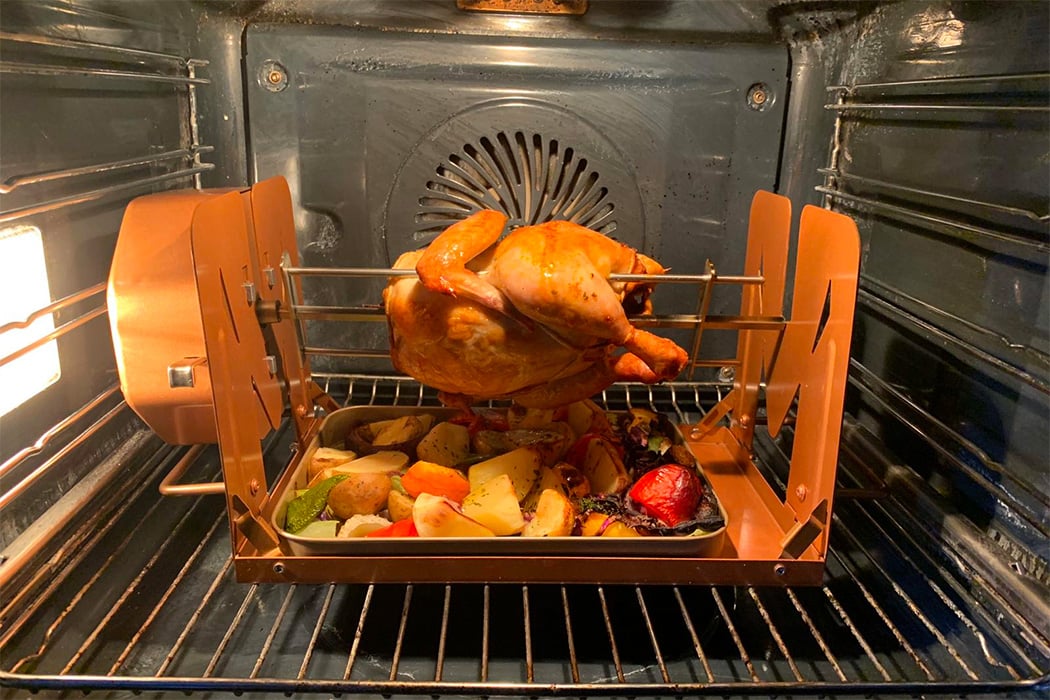
Now, let's set up the rotisserie. Make sure your rotisserie unit is securely attached to your grill. Preheat the grill to a temperature of about 325F. Insert the rotisserie spit through the duck and secure it with the prongs.
Balancing the Duck
Balancing the duck on the rotisserie spit is crucial for even cooking. Check the balance by spinning the spit slowly. Adjust the placement of the duck if necessary to achieve a smooth rotation.
Cooking the Duck
Close the grill lid and let the rotisserie do its magic. Cooking time for a duck usually ranges between 2 to 3 hours, depending on the size of the bird. Use a meat thermometer to check the internal temperature. The duck is done when it reaches an internal temperature of 165F.
Basting for Extra Flavor
Basting the duck every 30 minutes with its own juices or a prepared basting sauce can enhance the flavor and ensure a crispy skin. A mixture of honey and orange juice works particularly well for this purpose.
Resting and Carving
Once the duck reaches the desired temperature, remove it from the rotisserie and let it rest for about 20 minutes. This allows the juices to redistribute, making for a more flavorful and moist result. Carve the duck carefully, serving it with your favorite sides.
Pairing Suggestions
Rotisserie duck pairs wonderfully with a variety of sides. Consider serving it with roasted vegetables, mashed potatoes, or a fresh green salad. A glass of red wine or a light beer can also complement the rich flavors of the duck.
Cleaning Your Rotisserie
After enjoying your delicious meal, don't forget to clean your rotisserie. Proper maintenance ensures it will be ready for your next barbecue adventure. For tips on cleaning, check out our cleaning guide.
Frequently Asked Questions
Q: Do I need to brine the duck before rotisserie?
A: While not necessary, brining can add extra moisture and flavor to the duck.
Q: How long should I marinate the duck?
A: For best results, marinate the duck for at least 2 hours, preferably overnight.
Q: What should the internal temperature be when the duck is done?
A: The internal temperature should reach 165F for the duck to be safely cooked.
External Resources: For more detailed instructions and recipes, visit Grilling4All and Culinary Hill.
As an Amazon Associate, I earn from qualifying purchases.


