When to Re-Season Cast Iron: A Guide for Barbecue Enthusiasts
Written By James Morgan
For barbecue enthusiasts, mastering the art of using cast iron cookware is a rite of passage. Its excellent heat retention and non-stick properties make it a favorite among grill masters. However, knowing when to re-season cast iron is crucial to maintaining its longevity and performance. In this guide, we'll explore the signs that indicate it's time to re-season your cast iron, how to do it effectively, and why it's essential for your grilling success.
Understanding Cast Iron Seasoning
Before diving into the specifics of when to re-season cast iron, it's essential to understand what seasoning is. Seasoning is the process of applying a layer of oil to the surface of the cast iron and heating it to create a protective, non-stick coating. This layer prevents rust and enhances the cooking surface, making it an indispensable part of barbecue cooking.
Signs Your Cast Iron Needs Re-Seasoning
Knowing when to re-season cast iron can be the difference between a successful barbecue session and a frustrating one. Here are some signs that indicate it's time for a touch-up:
1. Food Sticking
If your food starts sticking to the surface, it's a clear sign that your cast iron needs re-seasoning. A well-seasoned pan should have a smooth, non-stick surface where food can easily slide off.
2. Rust Spots
Spotting rust is a telltale sign that your cast iron's protective layer has worn off. Rust can affect the taste of your food and damage the cookware over time. Immediate re-seasoning is necessary to prevent further deterioration.
3. Dull Appearance
A well-seasoned cast iron should have a shiny, glossy finish. If your cookware looks dull or uneven, it's time to re-season to restore its luster.
How to Re-Season Your Cast Iron
Re-seasoning your cast iron is a straightforward process that can significantly improve your grilling experience. Here's a step-by-step guide:
Step 1: Clean the Cast Iron
Start by scrubbing the pan with warm, soapy water and a stiff brush to remove any food particles and old seasoning. This step is crucial to ensure the new seasoning adheres properly.
Step 2: Apply Oil
Once clean and dry, apply a thin layer of vegetable oil or melted shortening to the entire surface of the cast iron, including the exterior and handle.
Step 3: Bake the Cast Iron
Place the oiled cast iron upside-down in an oven preheated to 375F (190C). Put a sheet of aluminum foil on the lower rack to catch any drips. Bake for about an hour, then let it cool inside the oven. This process allows the oil to polymerize and form a strong, durable coating.
Why Re-Seasoning is Essential
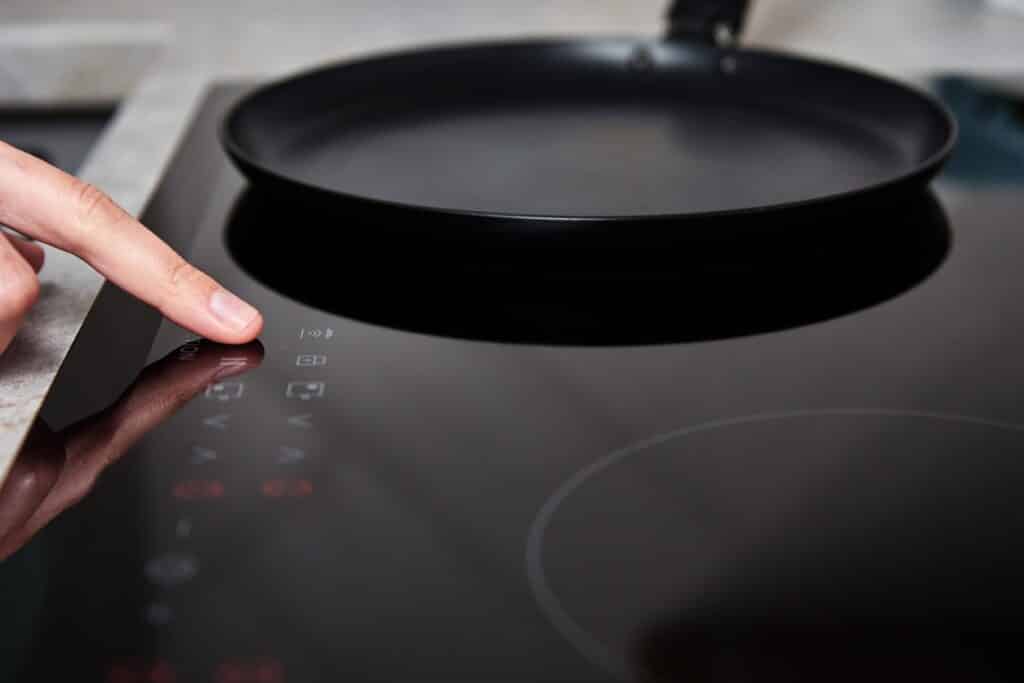
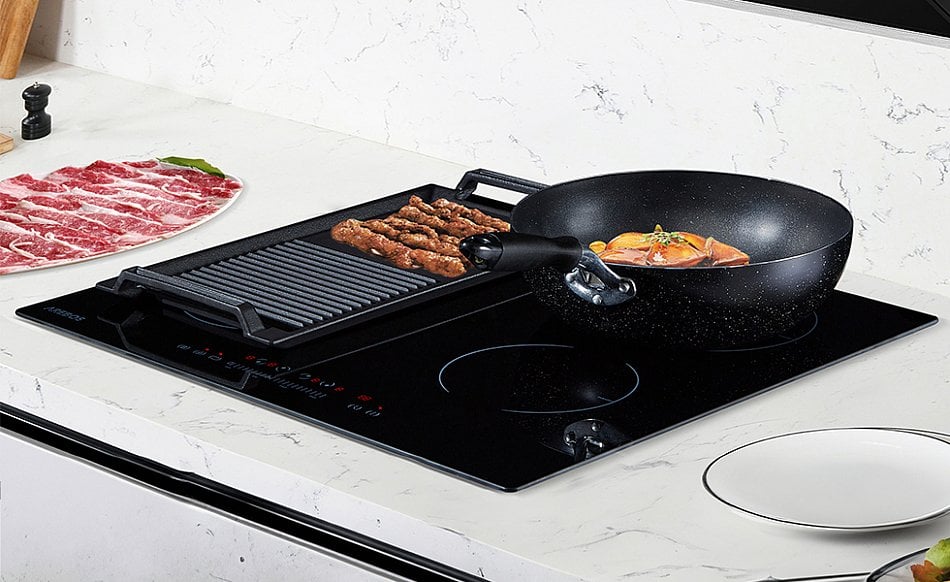
Re-seasoning your cast iron ensures longevity and enhances your cooking experience. A well-maintained cast iron skillet or grill grate is less likely to rust and more efficient at conducting heat evenly.Learn more about cast iron on induction.
Maintaining Your Cast Iron
To minimize the need for frequent re-seasoning, proper maintenance is key. Always dry your cast iron completely after washing and apply a light coat of oil before storing it. Regular use also helps maintain the seasoning by continually building up layers of oil.
For barbecue enthusiasts keen on optimizing their grilling tools, understanding the nuances of cast iron seasoning is invaluable. If you're interested in comparing cast iron with other materials, check out our article on Cast Iron vs Stainless Steel.
FAQs
1. Can I use soap on my cast iron?
Yes, using a small amount of mild soap is fine, especially if you plan to re-season it immediately afterward.
2. How often should I re-season my cast iron?
Re-seasoning frequency depends on usage. If you use it regularly, re-seasoning every few months is recommended.
3. What oils are best for seasoning cast iron?
Vegetable oil, canola oil, and melted shortening are popular choices due to their high smoke points and affordability.
By understanding when to re-season cast iron and following proper maintenance, barbecue enthusiasts can ensure their cookware remains a reliable tool for years to come. For more insights on grill maintenance, visit our article on cleaning grill grates and ensure your grilling tools are always in top shape.


