How to Cook Baby Back Ribs in a Pressure Cooker: A Comprehensive Guide for Smoky Flavor Lovers
Written By James Morgan
There's nothing quite like the tender, fall-off-the-bone perfection of well-cooked baby back ribs, especially when you can achieve it using a pressure cooker. In this article, we'll dive deep into the art of how to cook baby back ribs in a pressure cooker. Whether you're a seasoned barbecue enthusiast or a home cook looking for a quick yet satisfying meal, this guide has something for everyone. Stick with us, and by the end of this post, you'll have everything you need to cook incredible ribs with a fraction of the usual effort and time.
Get the Best Pressure Cookers Here

Why Use a Pressure Cooker for Baby Back Ribs?
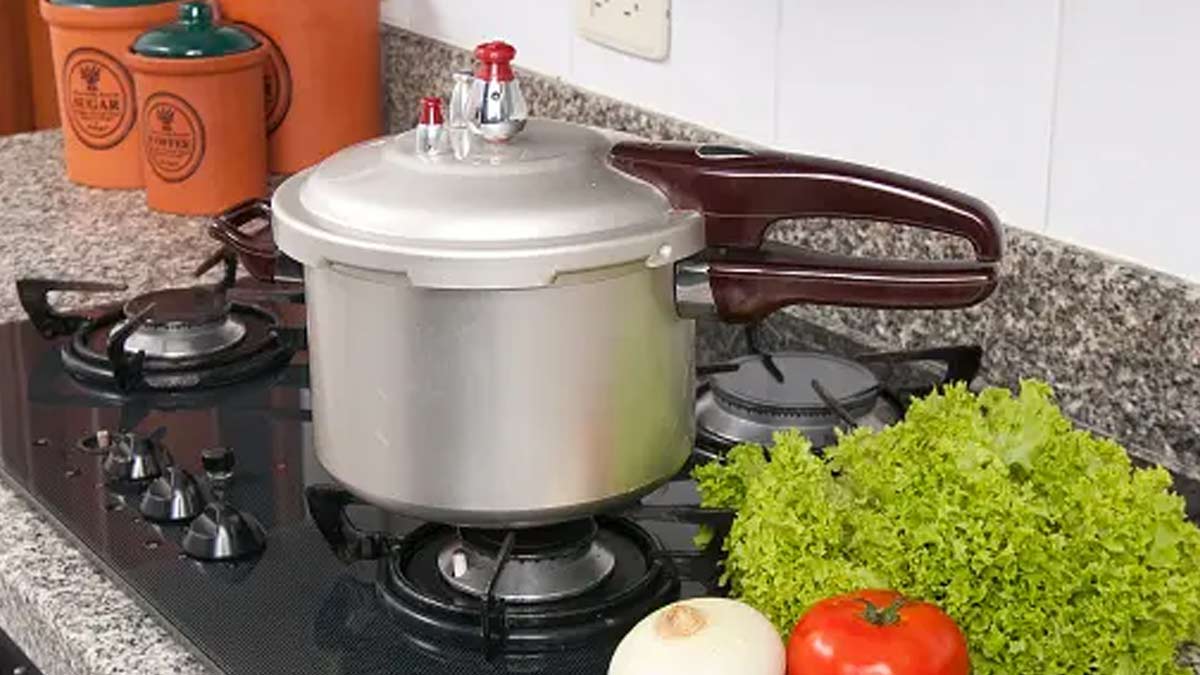
The pressure cooker is a magnificent kitchen appliance that has revolutionized the way we prepare meals. When it comes to cooking baby back ribs, the pressure cooker excels in several areas. Most notably, it reduces cooking time without sacrificing the deep, smoky flavor you'd expect from hours of slow cooking. Modern pressure cookers are designed with multiple safety features, making them both reliable and user-friendly. Additionally, the controlled environment ensures that the ribs are perfectly tender, juicy, and flavorful.
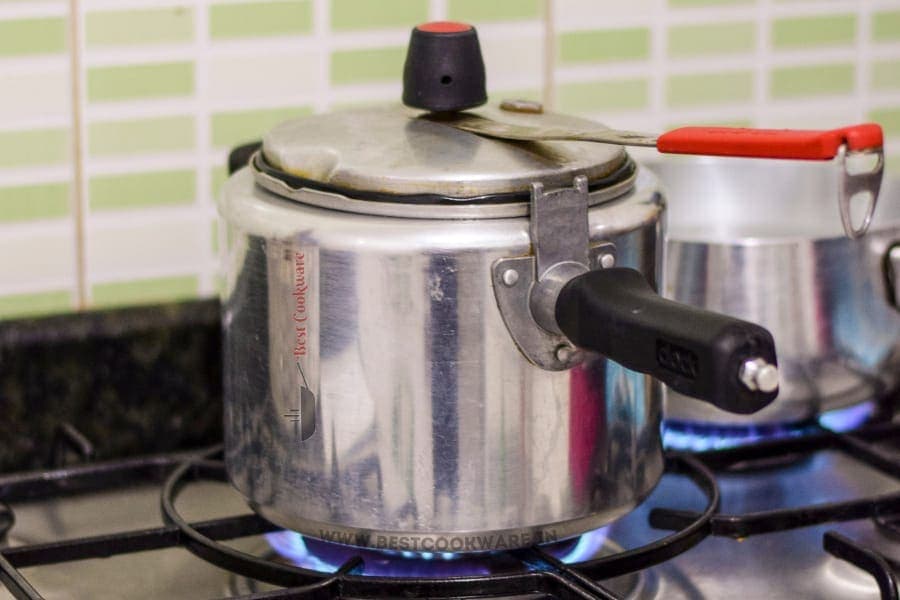
The pressure cooker works by sealing in steam, which creates a high-pressure environment. This elevated pressure raises the boiling point of water, cooking the ribs more quickly while retaining their moisture. Using a pressure cooker also infuses the ribs with any seasonings or sauces you add, making every bite a burst of flavor. It's an efficient way to achieve delicious results in a fraction of the time. To learn more about the science behind pressure cooking, check out this Wikipedia article on pressure cooking.
Choosing the Best Baby Back Ribs
Before we dive into the cooking process, it's essential to select the right baby back ribs. Quality ribs will make a significant difference in the dish's overall flavor and texture. When shopping for baby back ribs, look for meat that is pinkish-red and has good marbling without a lot of excess fat. The ribs should feel firm to the touch and have minimal odor. Avoid meats that appear discolored or have an off-putting smell.
Often, baby back ribs come pre-trimmed, but if you find that your ribs have a thick membrane on the backside, you'll need to remove it for optimal results. Use a sharp knife and work it under the membrane to get a good grip. Once you have a firm hold, you can peel it off. This step is crucial because the membrane can become tough and chewy, affecting the ribs' overall texture. Additionally, removing the membrane allows more flavors to penetrate the meat, enhancing the dish's taste.
Ingredients: What You'll Need
- 2 racks of baby back ribs
- 2 cups of chicken broth or apple juice
- 1/2 cup of your favorite BBQ sauce
- 1/4 cup of brown sugar
- 1 tablespoon of paprika
- 1 tablespoon of garlic powder
- 1 tablespoon of onion powder
- 1 teaspoon of black pepper
- 1 teaspoon of salt
- 1 teaspoon of cayenne pepper (optional)
- 1 tablespoon of apple cider vinegar

Step-by-Step Instructions: How to Cook Baby Back Ribs in a Pressure Cooker
Step 1: Preparing the Ribs
First, your ribs need to be prepped for cooking. Begin by removing the silver skin membrane if it hasn't been removed already. This can be done using a knife and a cutting board. Carefully slide the knife under the membrane and slowly work your way across until you can peel it off entirely. Removing the membrane allows for better flavor absorption and a more tender result. After removing the membrane, give the ribs a quick rinse under cold water and pat them dry with paper towels. For more details on preparing ribs, you can visit our guide on prepping ribs for cooking.
Step 2: Seasoning the Ribs
Once your ribs are prepped, it's time to season them. In a small bowl, mix together the brown sugar, paprika, garlic powder, onion powder, black pepper, salt, and cayenne pepper if using. This blend of spices will give your ribs a mouth-watering flavor profile. Rub the seasoning mixture liberally all over both sides of the ribs. Be sure to cover every inch so that each bite is packed with flavor. If you have time, you can let the ribs sit with the rub for an hour or even overnight in the refrigerator. This extra step allows the flavors to penetrate the meat more deeply. For more seasoning tips, check out our article on rib seasoning secrets.
Step 3: Preparing the Pressure Cooker
With your ribs seasoned, the next step is to prepare the pressure cooker. Pour the chicken broth or apple juice into the bottom of the cooker. These liquids not only help create the steam needed to cook the ribs but also add a layer of flavor. Place a trivet or a steam rack in the bottom of the pressure cooker to keep the ribs elevated above the liquid. This helps ensure that the ribs cook evenly and stay tender. Carefully place the seasoned ribs on the trivet, curling them around the pressure cooker's interior if needed. For more tips on preparing your pressure cooker, visit our guide on pressure cooker setup.
Step 4: Pressure Cooking the Ribs
Seal the lid on the pressure cooker and set it to high pressure. Cook the ribs for 25-30 minutes, depending on their thickness. Once the cooking time is up, let the pressure cooker naturally release for 10 minutes before using the quick-release method to let out any remaining steam. The natural release helps retain moisture and flavor, ensuring that the ribs are juicy and tender. Carefully remove the ribs from the pressure cooker and place them on a baking sheet lined with aluminum foil.
Step 5: Adding the BBQ Sauce
Brush a generous amount of BBQ sauce onto the ribs, covering every surface. This step adds sweetness and tanginess and gives the ribs their signature sticky, caramelized exterior. For an even more authentic barbecue flavor, you can finish the ribs off in an oven preheated to 400F or on a grill. Place the ribs under the broiler for about 5-7 minutes, or until the sauce has caramelized and created a beautiful, sticky glaze. Keep a close eye on them to prevent burning.
Step 6: Serving the Ribs
Once the ribs are beautifully caramelized, they're ready to serve. Use a sharp knife to cut the ribs into individual portions. Serve them hot, garnished with additional BBQ sauce if desired. These ribs pair wonderfully with classic barbecue sides like coleslaw, corn on the cob, and baked beans. The combination of flavors and textures will surely make for a memorable meal that will leave everyone at the table thoroughly satisfied.
Tips and Tricks for Perfectly Cooked Baby Back Ribs
To achieve the best results when learning how to cook baby back ribs in a pressure cooker, keep these tips and tricks in mind. First, always select high-quality ribs. Look for meaty racks with plenty of marbling, which indicates tenderness and flavor. Second, don't skip the seasoning. The rub is crucial for developing a deep, complex flavor profile. It's worth the extra time to let the ribs marinate in the rub, even if you only have an hour to spare.
Another tip is to ensure the pressure cooker has enough liquid to generate steam without causing the ribs to boil. Using flavorful liquids like chicken broth or apple juice can enhance the overall taste of the ribs. Also, consider the importance of the natural release phase after cooking. This step helps lock in moisture, resulting in juicier ribs. Finally, don't rush the caramelization process. Giving the ribs a few extra minutes under the broiler can make a significant difference in the final texture and flavor, transforming them from good to phenomenal. For more expert tips, check out our guide on perfecting your ribs.
Pairing Your Ribs with Signature Sauces
While the dry rub creates a solid flavor base, the BBQ sauce elevates the dish to new heights. Choosing the right sauce to pair with your ribs can be a game-changer. There are countless varieties of BBQ sauces, ranging from sweet and tangy to spicy and smoky. Feel free to experiment with different flavors to find the one that best complements your taste preferences. You can even try making your own sauce for a truly personalized touch.
For a classic barbecue experience, opt for a traditional Kansas City-style BBQ sauce. This sauce is known for its thick, sweet, and tangy profile, usually made with ketchup, molasses, and vinegar. If you prefer a bit of heat, consider using a spicy Texas-style BBQ sauce that incorporates chili peppers and smoky flavors. For those who enjoy a more vinegar-based sauce, a Carolina-style BBQ sauce might be the perfect match. This type of sauce is lighter and tangier, made with vinegar, mustard, and a touch of sweetness.
Common Mistakes to Avoid
Even seasoned cooks can benefit from understanding common pitfalls when cooking baby back ribs in a pressure cooker. One mistake is overcooking the ribs. Although the pressure cooker speeds up the cooking process, leaving the ribs under high pressure for too long can lead to a mushy texture. It's essential to adhere to recommended cooking times and use the natural release method to finish.
Another common mistake is not properly seasoning the ribs. If you skimp on the seasoning, the final dish can turn out bland. Be generous with the rub and consider letting the ribs marinate for an extended period. Additionally, make sure to balance the liquid in the pressure cooker. Too much liquid can dilute the flavor, while too little can prevent proper steam formation. Stick to the recommended amounts for the best results.
Storing and Reheating Leftover Ribs
If you find yourself with leftover ribs, don't worrythey can be just as delicious the next day. To store leftover ribs, let them cool to room temperature before wrapping them tightly in aluminum foil. Place the wrapped ribs in an airtight container and store them in the refrigerator for up to three days. To reheat, preheat your oven to 300F, place the ribs on a baking sheet, and cover them with foil. Heat the ribs for about 20-30 minutes, or until they're warmed through. Adding a bit of extra BBQ sauce before reheating can help keep the ribs moist and flavorful.
Get Top-Rated Cookware Cleaners Here
Explore Best Cutting Board Oils Here
As an Amazon Associate, I earn from qualifying purchases.


