The Ultimate Guide on How to Cook Calrose Rice in a Rice Cooker
Written By James Morgan
Cooking Calrose rice can be an art, and mastering it using a rice cooker is nothing short of a culinary triumph. **Calrose rice**, known for its short-grain and sticky texture, is a staple in many dishes, from authentic Japanese sushi to hearty rice bowls. In this comprehensive guide, we'll dive into the meticulous steps on how to cook Calrose rice in a rice cooker.

What is Calrose Rice?
Calrose rice is a medium-grain rice variety predominantly used in Asian cuisine. Its name, 'Calrose,' is derived from 'California' and 'rose,' indicating its origin and its delicate nature. This rice has a moist and sticky texture, making it perfect for sushi, soups, and rice bowls. The relatively high starch content in Calrose makes it stick together when cooked, giving it a unique appeal in various culinary applications.
Rice Cooker Must-Haves (Accessories & Tools)
The Importance of a Rice Cooker
For anyone serious about cooking rice, a rice cooker is an indispensable tool. These appliances simplify the process, ensuring that rice cooks evenly and stays warm until you're ready to serve. Modern rice cookers come with various settings tailored for different types of rice, including the finicky Calrose. Whether you're a novice or a seasoned chef, a quality rice cooker can make all the difference in achieving perfectly cooked rice every time.
Ingredients You'll Need
- 2 cups of Calrose rice
- 2.5 cups of water
- 1 teaspoon of salt (optional)
- 1 tablespoon of vegetable oil (optional)
Essential Cookware and Tools

Before getting started, ensure you have the following tools. Investing in good-quality cookware can enhance your cooking experience and final product.
Step-by-Step Guide on How to Cook Calrose Rice in a Rice Cooker

Cooking Calrose rice to perfection involves several key steps, each contributing to the final quality and texture of the rice. Follow these detailed steps for delicious Calrose rice every time.
Step 1: Measure the Rice
Start by measuring two cups of Calrose rice. Use a rice measuring cup for accuracy, as the cups in standard rice cooker measuring units can differ slightly from regular measuring cups. Pour the rice into a bowl and set it aside.
Step 2: Rinse the Rice
Rinsing the rice is a crucial step that removes excess starch, preventing the rice from becoming overly sticky. Using a fine mesh strainer, rinse the rice under cold running water. Swirl it gently with your hand to ensure all grains are thoroughly rinsed. Continue rinsing until the water runs clear, which typically takes about 2-3 rinses.
Step 3: Soak the Rice (Optional)
Soaking Calrose rice before cooking can enhance its texture, making it softer and more palatable. If you choose to soak, place the rinsed rice in the rice cooker bowl and cover it with water. Allow it to soak for 20-30 minutes before proceeding to the next step. However, soaking is optional and can be skipped if you're short on time.
Step 4: Add Water and Seasoning
Transfer the rinsed (and soaked, if applicable) rice into the rice cooker. Add 2.5 cups of water; you can adjust this based on your preference for rice texture. Adding a pinch of salt and a tablespoon of vegetable oil can enhance flavor and prevent the rice from sticking. Stir gently to mix the ingredients.
Step 5: Cook the Rice
Close the rice cooker lid and select the appropriate setting for Calrose rice. Most modern rice cookers have a specific setting for medium-grain or sushi rice. If your cooker doesn't have this, the standard white rice setting will suffice. Start the cooking process by pressing the 'Start' button. Now, let the rice cooker do its magic.
Step 6: Let the Rice Rest
Once the rice cooker finishes its cycle, let the rice rest for an additional 10-15 minutes with the lid closed. This resting period allows the steam to complete the cooking process, leading to fluffier rice. Avoid opening the lid during this time as it can release necessary steam.
Step 7: Fluff and Serve
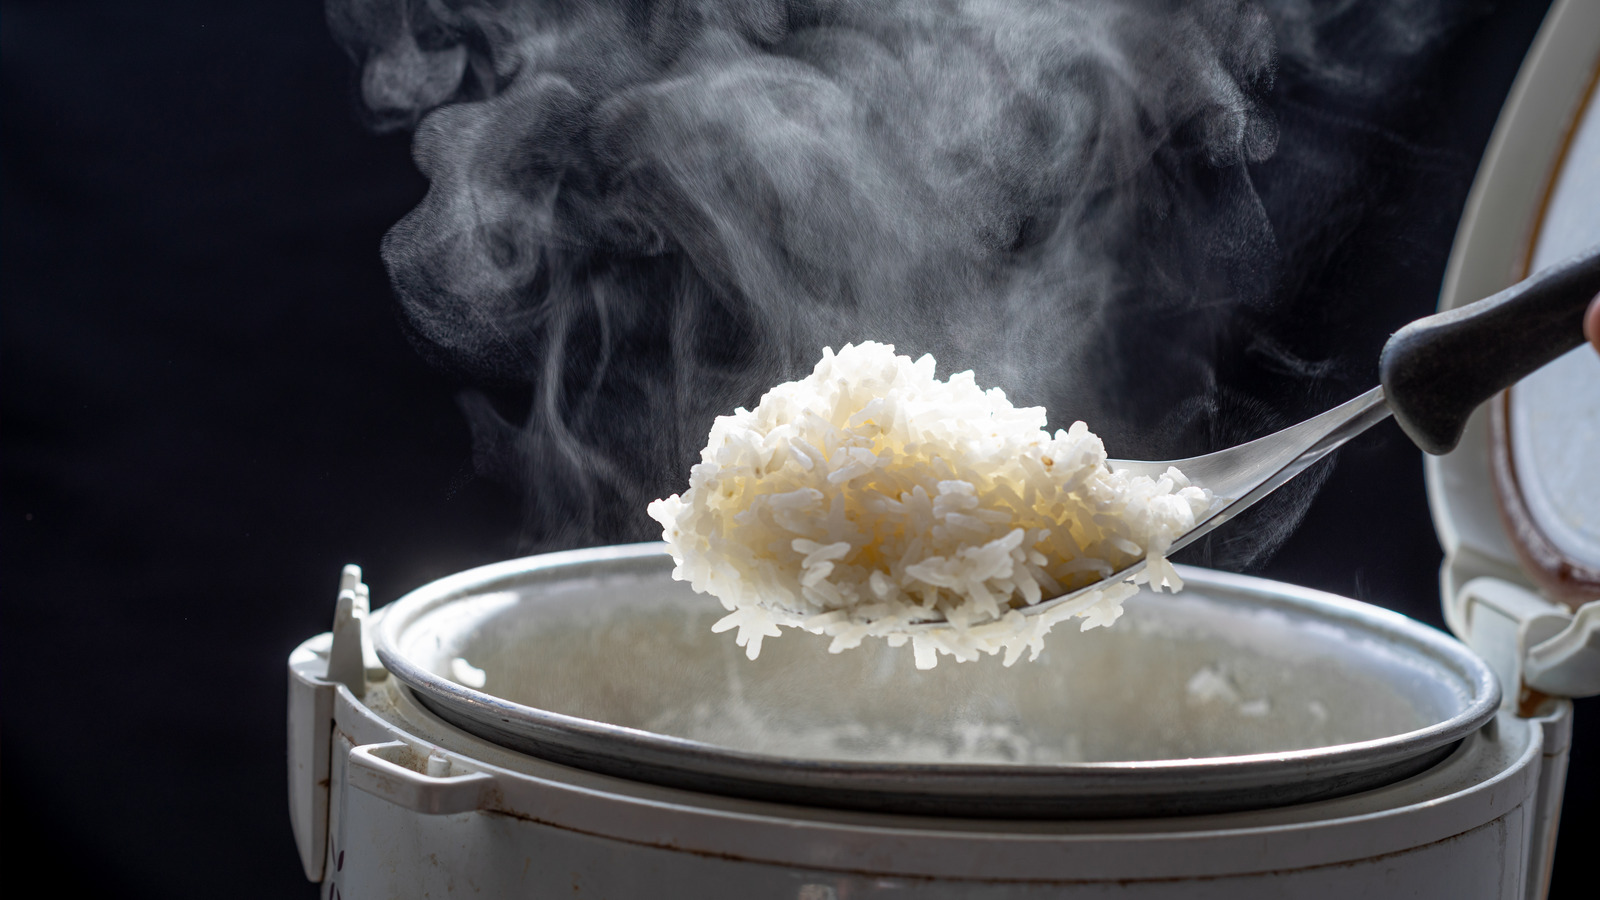
After the resting period, open the lid and use a rice paddle or fork to fluff the rice gently. Fluffing helps in separating the grains, ensuring a light and airy texture. Your Calrose rice is now ready to be served as a base for various dishes or as a delightful side. You can also explore Best rice recipes for more ideas.
Troubleshooting Common Issues

Even with the best techniques, sometimes things can go wrong. Here are some common issues faced while cooking Calrose rice in a rice cooker and how to address them.
The Rice is Too Sticky
If your rice turns out too sticky, it might be due to insufficient rinsing or too much water. Ensure to rinse the rice thoroughly next time and adjust the water quantity slightly to achieve a less sticky texture.
The Rice is Too Dry
If the rice is too dry, it's usually because of too little water. Add slightly more water next time, and consider the rice cooker's specific water level markings as a guide.
Unevenly Cooked Rice
Unevenly cooked rice can result from the rice cooker itself being older or inferior in quality. Ensure your rice cooker is in good working condition and consider investing in a high-quality model if problems persist.
Related Products
Conclusion
Cooking perfect Calrose rice in a rice cooker is an achievable goal with the right techniques and tools. By following this comprehensive guide on how to cook Calrose rice in a rice cooker, you'll be well on your way to preparing delicious and perfectly textured rice every time. Remember, the quality of the cookware plays a significant role in the outcome, so don't hesitate to invest in good tools and maintain them well. Happy cooking! Also, check out our guides on Perfect Steak, Chicken Casserole, and Vegetable Skewers.
Post-Cooking Maintenance
To ensure longevity and consistent performance of your cookware, proper maintenance is essential. After cooking, make sure to clean your rice cooker and other tools thoroughly. Here's how:
- Clean your rice cooker with a cookware cleaner.
- Use a cutting board oil to maintain the quality of your cutting board.
As an Amazon Associate, I earn from qualifying purchases.


