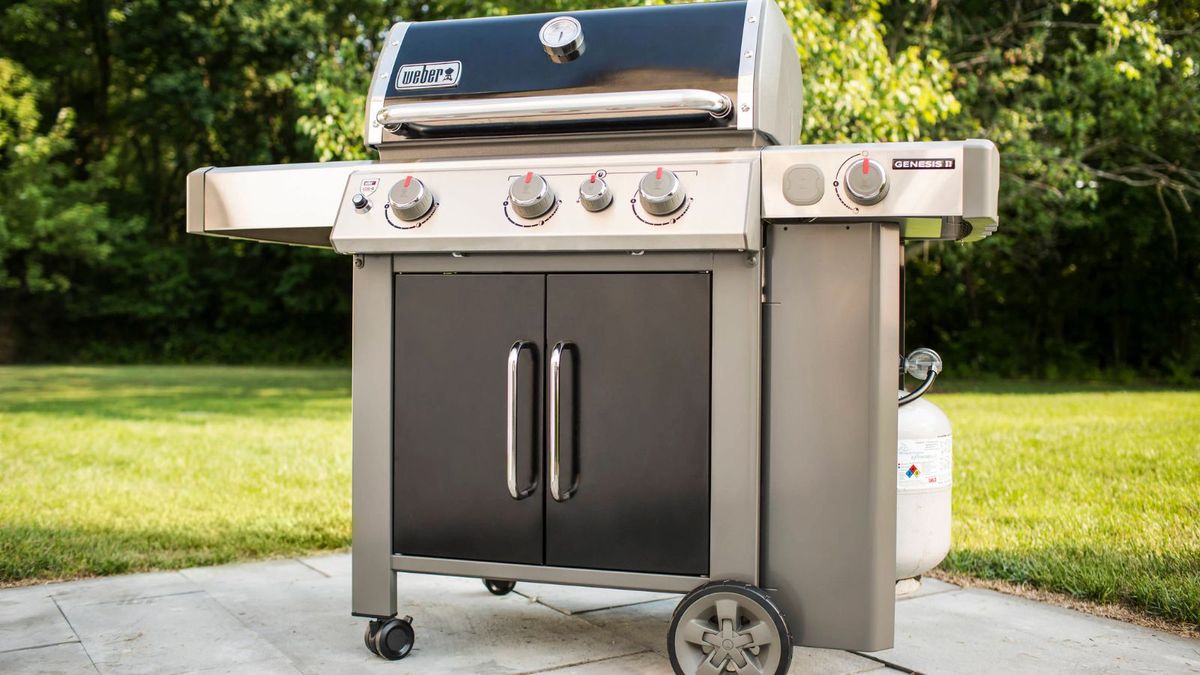
Mastering Chicken Breast on a Gas Grill: The Ultimate Guide
Written By James Morgan
When it comes to grilling, one of the most popular choices is chicken breast due to its lean properties and versatility. If you've ever wondered how to cook chicken breast on a gas grill for that perfect, juicy bite every time, you're in the right place. In this comprehensive guide, we'll take you through each step, ensuring you not only impress your guests but also consistently create mouthwatering chicken breasts.

Getting Started: Preparing Your Ingredients
Grilling chicken breast starts long before you light up your Gas Grill. The process of marinating and seasoning plays a crucial role in ensuring that delectable flavor. Let's delve into the essential prep work.
Choosing the Right Chicken Breast
Not all chicken breasts are created equal. Opt for organic, free-range chicken breasts for the best flavor and quality. These are devoid of antibiotics and hormones, ensuring a healthier meal. Check for freshness by the pinkish color and absence of off-odors. A good knife and Cutting Board are essentials for trimming excess fat or any unsightly parts.
Marinating for Maximum Flavor
Marinating chicken breast is one of the key steps to infuse rich, deep flavors. A simple yet effective marinade can be made with olive oil, lemon juice, garlic, salt, and spices of your choice. Allow the chicken to marinate for at least 30 minutes, and if possible, leave it overnight in the fridge. This not only tenderizes the meat but also lets the spices permeate, resulting in an aromatic and flavorful chicken breast. Remember that the longer you marinate, the more intense the flavors will become.

Prepping Your Gas Grill
A preheated, clean grill helps obtain those aesthetically pleasing grill marks and prevents the chicken from sticking onto the grates. Begin by preheating your Gas Grill on high for about 10-15 minutes. Use a sturdy grill brush to clean off any residue from previous use, ensuring a pristine surface for your chicken breasts.
Setting Up Direct and Indirect Heat Zones
A significant grilling technique involves creating direct and indirect heat zones on your gas grill. Direct heat is ideal for searing, while indirect heat ensures thorough cooking without burning. To do this, turn on the burners on one side of the grill while leaving the other side off. This method helps regulate the cooking process and prevents the chicken from charring or drying out too quickly.
Oil and Seasoning the Grill Grates
Before placing your marinated chicken on the grill, it's crucial to oil the grates. This minimizes sticking and aids in achieving those beloved grill marks. Use a paper towel dipped in vegetable oil and tongs to carefully brush the grill grates. Seasoning the grill with a bit of salt also helps, but make sure that it's not oversalted following the marination process.

Grilling the Chicken Breast
Now that your grill is prepped and ready, it's time to cook your chicken breasts. Managing the heat and monitoring the internal temperature are key to grilling success.
Placing and Searing the Chicken
Begin by placing the marinated chicken breasts on the grill grates directly over the heat source. Close the lid and allow the chicken to sear for about 5-6 minutes. This high-heat exposure initiates the Maillard reaction, responsible for that enticing brown crust. Avoid constantly checking the chicken, as it can prevent the development of proper grill marks.
Finishing on Indirect Heat
Once the chicken breasts have seared properly, move them to the cooler, indirect heat side of your gas grill. This method ensures even cooking without excessive charring. Close the grill lid and let the chicken cook for an additional 20-25 minutes. It's crucial to use a meat thermometer to check the internal temperature, aiming for 165F (75C). This guarantees that the chicken is thoroughly cooked and safe to eat.

Final Touches and Serving
Completing the grilling process with some finishing touches can greatly enhance the presentation and flavor of your chicken breasts.
Resting the Chicken
Resting your chicken breast after cooking is a step that should never be skipped. Allowing the chicken to rest on a cutting board for 5-10 minutes helps in the redistribution of juices, resulting in a moist and tender bite. Cover the chicken with aluminum foil during this resting period to retain warmth.
Slicing and Plating
When it's time to serve, slice the chicken breast against the grain for the tenderest pieces. This technique preserves the texture and prevents the meat from being too chewy. Arrange the slices on a platter and garnish with fresh herbs or a squeeze of lemon for added flavor and visual appeal.
Serving Suggestions
Chicken breast cooked on a gas grill pairs excellently with a variety of sides. Consider serving with a fresh garden salad, roasted vegetables, or even a zesty quinoa dish. The versatility of grilled chicken breast makes it a perfect addition to any meal, catered to your audience's preferences.
Cleaning Your Grill and Accessories
Ensuring your grilling accessories are clean and well-maintained is crucial for their longevity and performance.
Cleaning the Gas Grill
After enjoying your delicious meal, it's time to focus on cleaning your grill. Start by turning up the heat to burn off any food residue; then, once cooled, use a Cookware Cleaner and a grill brush to scrub the grates. Wipe down the exterior with a damp cloth and mild detergent, ensuring all parts are spotless.
Maintaining the Cutting Board
Your Cutting Board is an essential tool in your kitchen, and taking care of it ensures it remains in top condition. Clean it thoroughly with hot, soapy water after each use. Apply Cutting Board Oil regularly to prevent the wood from drying out and cracking, preserving its surface for future culinary adventures.
As an Amazon Associate, I earn from qualifying purchases.
Final Thoughts
Mastering how to cook chicken breast on a gas grill involves a combination of proper preparation, attentive grilling, and thoughtful finishing touches. By following this guide, you can ensure that your grilled chicken breasts are always juicy, flavorful, and impressive. Happy grilling!


