Mastering the Art of How to Cook Curry in a Pressure Cooker
Written By James Morgan
Have you ever wondered how to cook curry in a pressure cooker? Whether you're a seasoned chef or a culinary newbie, the pressure cooker can transform your curry-making experience. Not only does it save precious time, but it also enhances the depth of flavors, creating a rich, aromatic curry that's hard to beat.
Imagine a world where you can whip up a delicious curry in a matter of minutes, rather than hours. The good news? This can be your everyday reality! In this article, we will delve deeply into the realm of pressure cooker curries, unraveling the tricks and tips that make this method foolproof.

Why Choose a Pressure Cooker?
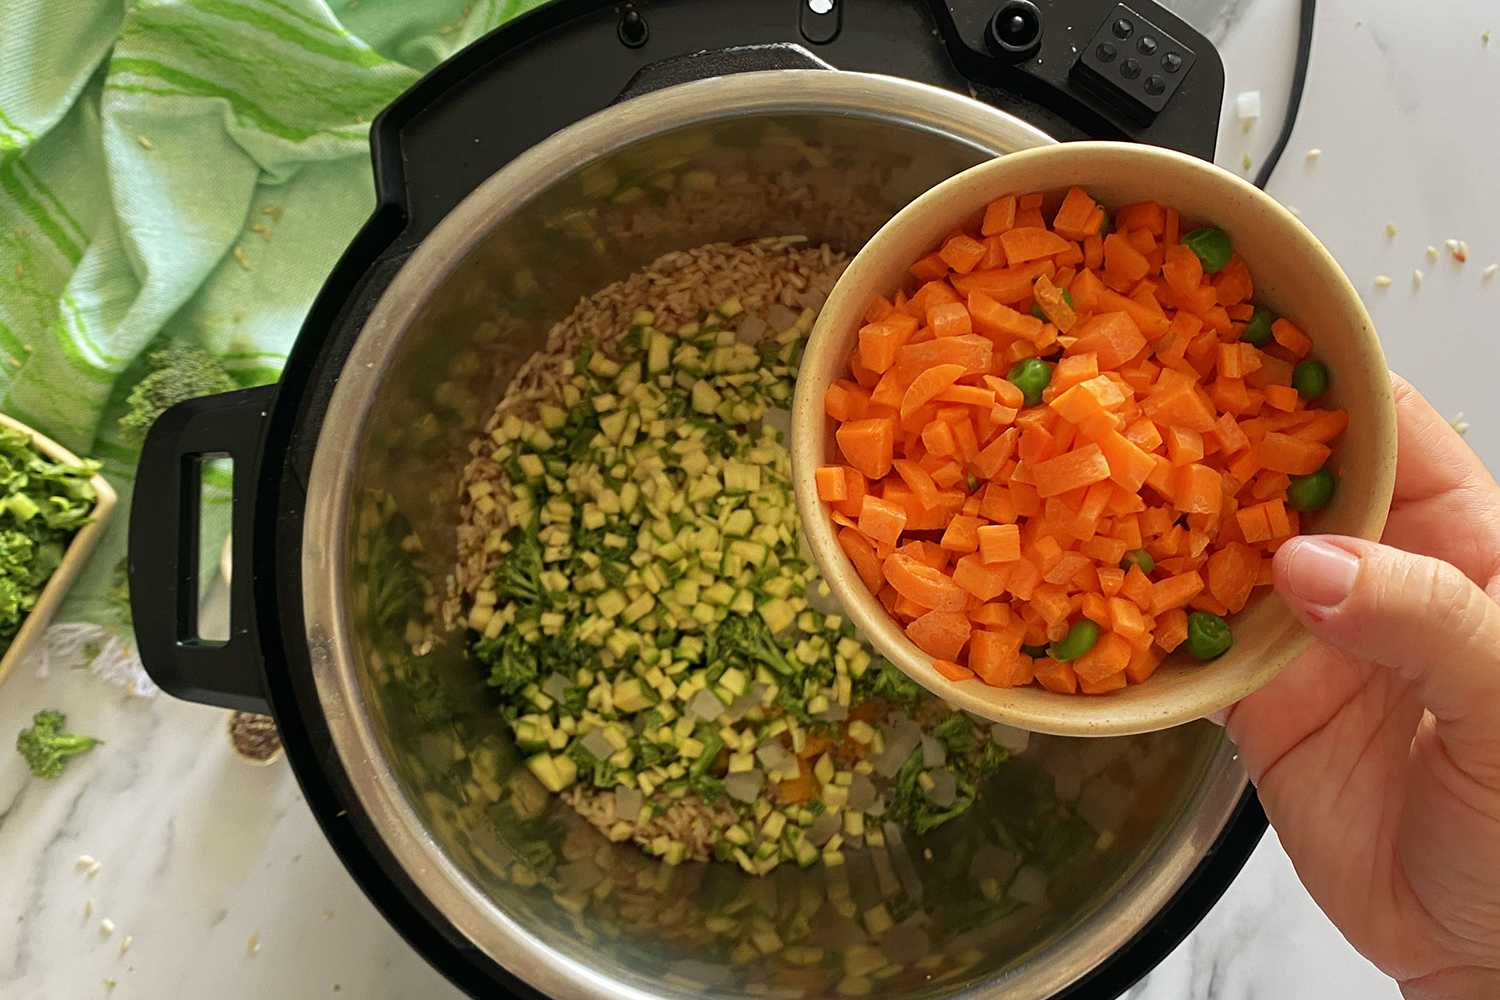
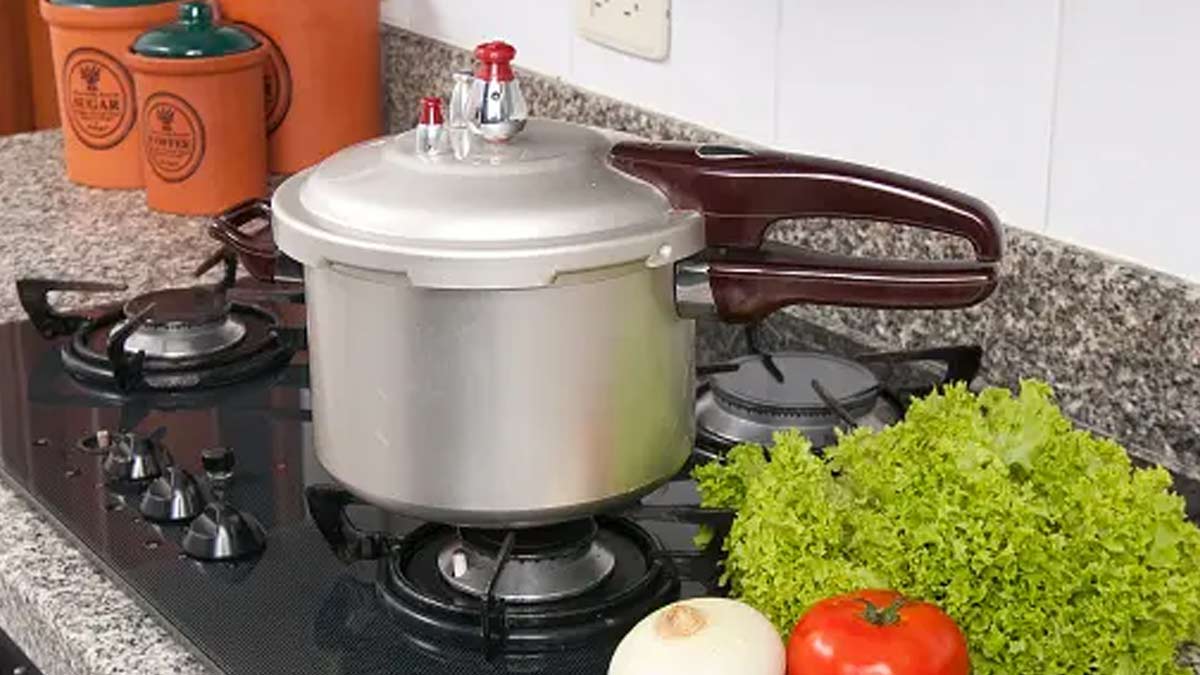
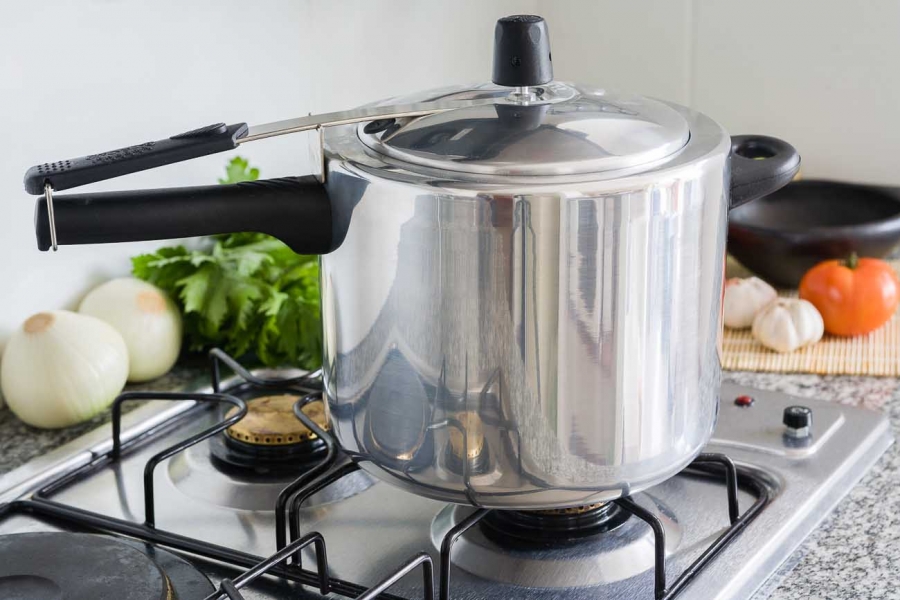
A pressure cooker is a versatile kitchen appliance that speeds up the cooking process by using high pressure to increase the boiling point of water. This results in reduced cooking times and perfectly tender meats and vegetables. For those new to the food preparation world, learning how to cook curry in a pressure cooker is a game-changer. Let's explore why:
- Time-saving: Traditional curries can take hours to cook, but with a pressure cooker, you can achieve the same depth of flavor in a fraction of the time.
- Retains Nutrients: Cooking under high pressure helps retain more vitamins and minerals.
- Energy Efficient: Less cooking time means less energy consumption.
- Convenience: Set it and forget ita pressure cooker allows you to prep, cook, and have a meal ready with minimal supervision.
Discover more about the basics of pressure cooking.

Essential Equipment
Before diving into the recipe, let's ensure you have the necessary equipment:
Knife: A good chef's knife is crucial for chopping vegetables and proteins. Find quality knives here.
Cutting Board: Necessary for preparing ingredients. Look for durable options here.

Ingredients
- 2 tbsp vegetable oil
- 1 large onion, finely chopped
- 4 cloves garlic, minced
- 1 tbsp ginger, grated
- 2 lbs chicken breast or thighs, cut into chunks
- 2 tbsp curry powder
- 1 tsp cumin
- 1 tsp coriander
- 1 tsp turmeric
- 1 can (14 oz) diced tomatoes
- 1 can (14 oz) coconut milk
- 1 cup chicken broth
- Salt and pepper, to taste
- 2 tbsp freshly chopped cilantro
- Juice of 1 lemon
- Cooked rice or naan, for serving

Step-by-Step Guide on How to Cook Curry in a Pressure Cooker
Step 1: Saut the Aromatics
Start your culinary journey by heating the vegetable oil in your pressure cooker on the saut setting. Add the finely chopped onion and saut until it turns a beautiful golden brown. This process can take about 5-7 minutes. Dont rush this step as it builds the foundational flavor of your curry. Follow by adding the minced garlic and grated ginger, allowing them to cook for another minute. These ingredients will give your curry an aromatic base that's both inviting and flavorful.
Step 2: Season and Introduce the Protein
Once your aromatics are well sauted, introduce the chunks of chicken into the pressure cooker. Season generously with salt and pepper. Stir the chicken pieces to ensure they are browned on all sides. This step is crucial as it locks in the juices and flavor of the chicken, ensuring that your curry has a rich and deep taste.
Step 3: Spice it Up
This is where the magic happens. Add your spicescurry powder, cumin, coriander, and turmericdirectly into the pressure cooker. Stir well to coat the chicken and aromatics with these fragrant spices. Cooking the spices for about 2 minutes will help to release their essential oils, enhancing the flavor profile of your curry. The result will be a beautifully fragrant base ready to absorb the liquids and develop into a delicious curry.
Interested in more spice-based recipes? Check them out!
Step 4: Add the Liquids
Now it's time to add your canned diced tomatoes, coconut milk, and chicken broth into the pressure cooker. These liquids will not only help to deglaze the pot, lifting all the tasty bits stuck to the bottom, but they will also form the luscious sauce for your curry. Stir all the ingredients together to make sure everything is well combined. The combination of these liquids adds a balance of acidity, creaminess, and depth to the curry.
Step 5: Pressure Cook
Secure the lid of your pressure cooker and set it to high pressure. Cook for about 10-12 minutes if using chicken breast, and a bit longer if using chicken thighs (14-15 minutes). The high-pressure environment will cook your curry quickly while infusing the chicken with all the spices and flavors. Once the timer goes off, use the natural release method for about 5 minutes before releasing the remaining pressure manually.
Step 6: Final Touches
Once it's safe to open the pressure cooker, check the consistency of the curry. If it's too thick, you can add a bit more chicken broth. Stir in the freshly chopped cilantro and the juice of one lemon. The cilantro adds a fresh, herby finish, while the lemon juice cuts through the richness of the dish, brightening the overall flavor.
Step 7: Serve
Your pressure cooker curry is now ready to be served. Ladle it over a bed of cooked rice or serve alongside warm naan bread. The aroma will be intoxicating, and the flavors will be a delightful explosion on your taste buds. It's a complete meal that's both satisfying and exotic, perfect for any day of the week.
Cleaning Up
After enjoying your delicious curry, it's time to clean up. Maintaining your cookware will ensure it lasts for many more meals to come. Here are a few useful links:
Cutting Board Oil: Keep your cutting board looking new with cutting board oil, details here.
Conclusion
Learning how to cook curry in a pressure cooker is not just about saving time; it's about unlocking a whole new dimension of flavors. This method will quickly become your go-to for making curries that are as quick as they are delicious. Whether you are a busy professional, a parent on the go, or someone who simply loves to experiment with flavors, this guide will simplify your cooking process while delivering the same great taste. So, why wait? Try it out today and transform your culinary skills!
For more detailed guides and tips, visit our cooking tips section or check out these pressure cooker recipes on Serious Eats.
As an Amazon Associate, I earn from qualifying purchases.


