The Ultimate Guide on How to Cook Jeerakasala Rice in a Pressure Cooker
Written By James Morgan
Jeerakasala rice, known for its unique fragrance and short grain, holds a special place in South Indian cuisine. Cooking this delightful rice to perfection can seem daunting, but with the convenience of a pressure cooker, you can achieve restaurant-quality results with ease. In this comprehensive guide, we'll delve into every minute detail on how to cook jeerakasala rice in a pressure cooker, ensuring you master this dish in your very own kitchen.
Jeerakasala rice is not just ordinary rice; it's the backbone of many traditional South Indian dishes. Whether you're making biryani, pulao, or a simple rice accompaniment, the essence of jeerakasala rice elevates the meal to a whole new level. With its rich aroma and delicate texture, it provides an exotic twist to your culinary repertoire.
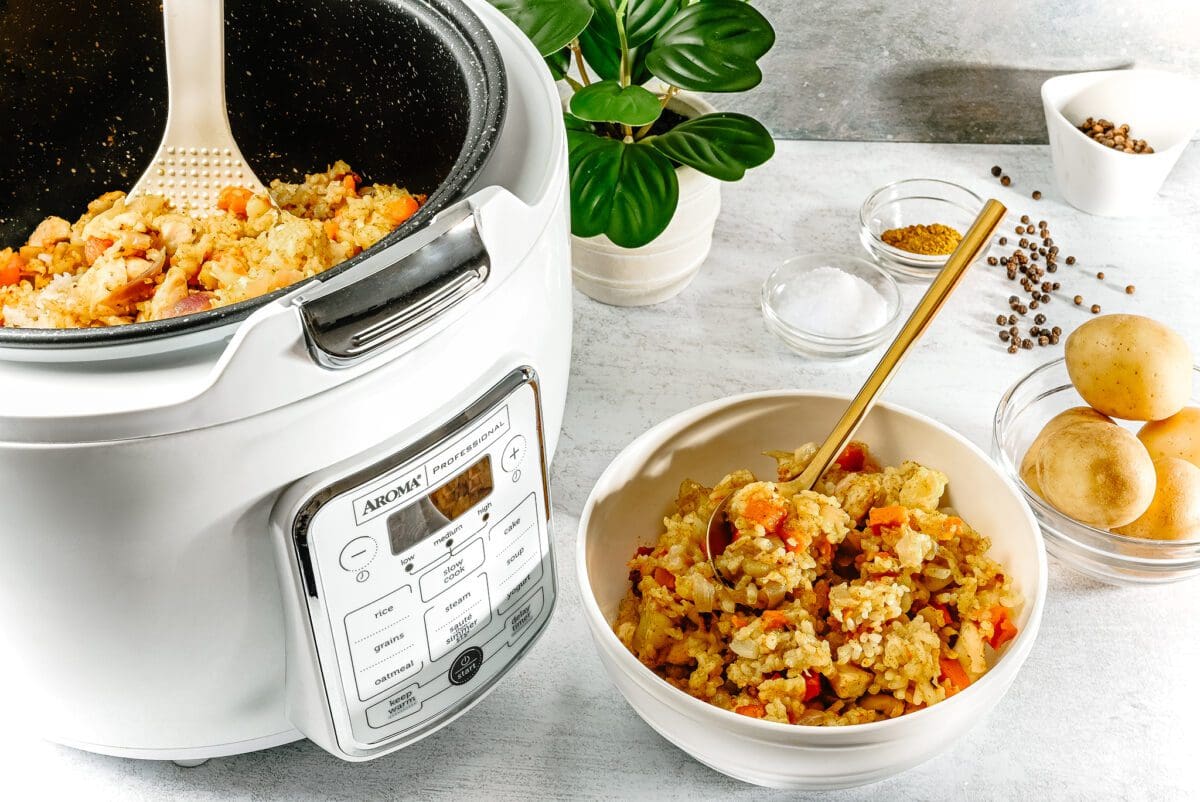
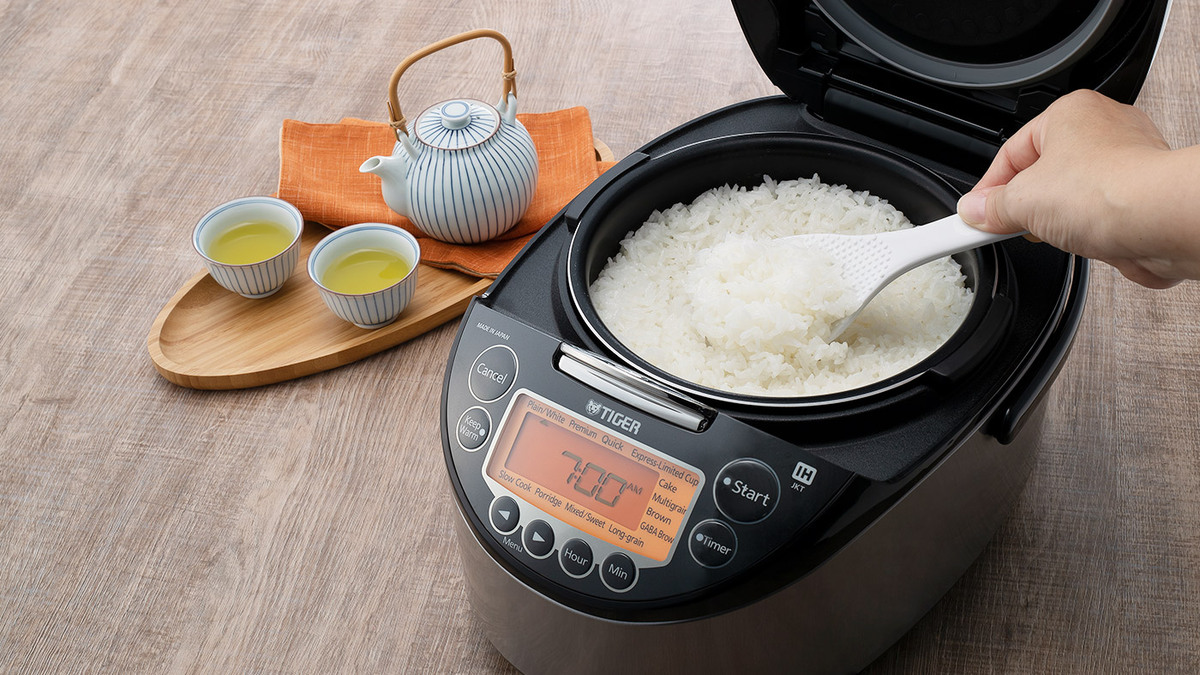
One cannot emphasize enough the importance of using the right tools and ingredients to maximize the flavors and make the cooking process seamless. Aside from the must-have pressure cooker, having the right rice cooker, knife set, and cutting board can make a huge difference.

What Makes Jeerakasala Rice Special?
When talking about how to cook jeerakasala rice in a pressure cooker, it is crucial to first understand what sets jeerakasala rice apart. Jeerakasala rice, also known as Wayanadan Kaima, is a traditional rice variety from Wayanad, Kerala. Unlike basmati, this rice is short, robust, and boasts a uniquely captivating aroma that is unparalleled.
The grain itself has a firm texture which ensures that it doesn't turn mushy upon cooking. The rice grains remain separate, making it an ideal candidate for various pilafs and biryanis. Its ability to absorb flavors and aromas makes it a beloved ingredient in South Indian festive cooking and everyday meals alike.

Ingredients You'll Need
- 1 cup Jeerakasala rice
- 1.5 cups water
- 1 tablespoon ghee (clarified butter)
- 1 teaspoon cumin seeds
- 1-2 green cardamom pods
- 1 small bay leaf
- Salt to taste
The ingredient list for how to cook jeerakasala rice in a pressure cooker is straightforward and comprises items that are usually found in your pantry. The quality of these ingredients, particularly the jeerakasala rice and the ghee, plays a vital role in the final taste of your dish.

Step-by-Step Guide on How to Cook Jeerakasala Rice in a Pressure Cooker
Let's dive into the detailed steps on how to cook jeerakasala rice in a pressure cooker. Ensuring each step is followed meticulously will result in a bowl of perfectly cooked aromatic rice.
Step 1: Rinse the Rice
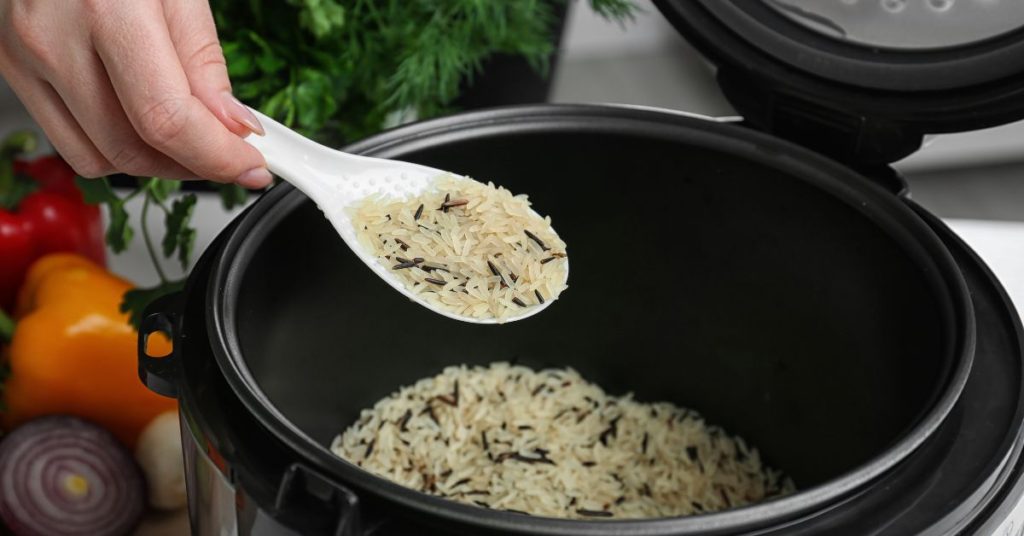
Begin by thoroughly rinsing the jeerakasala rice under cold running water. This helps remove excess starch and prevents the grains from becoming too sticky. Place the rice in a fine mesh strainer and rinse until the water runs clear. This step can often be overlooked but is crucial for achieving the desired texture.
Step 2: Soak the Rice
Soak the rinsed rice in water for about 20-30 minutes. Soaking aids in hydrating the grains and reduces the cooking time. It also helps in obtaining a uniform cook, ensuring each grain remains evenly fluffy and perfectly separated.
Step 3: Preparing the Pressure Cooker
While the rice is soaking, prepare your pressure cooker. Add the ghee to the cooker and melt it over medium heat. Once the ghee is hot, add the cumin seeds, green cardamom pods, and bay leaf. Saut these spices for about a minute or until they release their aromatic oils. This step builds the base flavors to infuse the jeerakasala rice.
Step 4: Adding the Rice
Drain the soaked rice thoroughly and add it to the pressure cooker. Saut the rice gently for a couple of minutes, allowing the grains to get evenly coated with the ghee and spices. This step enhances the nutty flavor of the rice and adds depth to the dish.
Step 5: Adding Water and Salt
Pour in the measured water and add salt to taste. Give it a gentle stir to ensure the salt is evenly distributed. It's important to use the right amount of water to achieve the perfect fluffy texture too much water will make the rice gummy, while too little will leave it undercooked.
Step 6: Cooking the Rice
Close the lid of the pressure cooker and set the weight on. Cook the rice on medium-high heat for 1 whistle. Then, reduce the heat to low and let it simmer for another 2-3 minutes before turning off the heat. Allow the pressure cooker to release its pressure naturally. This gradual cooling process completes the cooking without overcooking the rice.

Serving Suggestions
Perfectly cooked jeerakasala rice is incredibly versatile and can be served with a wide range of main dishes. It pairs wonderfully with rich curries, spicy gravies, or simply with a side of vegetables for a lighter meal. Additionally, jeerakasala rice is a favorite base for fried rice, enhancing the flavor profile with its aromatic qualities.
Garnish your jeerakasala rice with fried onions, fresh coriander leaves, or a squeeze of lemon juice to elevate the dish. For a richer experience, you may even want to add a handful of roasted nuts or dried fruits.
Tips and Tricks for Perfect Jeerakasala Rice
Even though the steps on how to cook jeerakasala rice in a pressure cooker are straightforward, a few tips and tricks can help you ensure success every time:
- Always rinse and soak your rice to achieve a clean, non-sticky texture.
- Use high-quality ghee for the best flavor, as it adds a rich, aromatic dimension.
- Measure the water precisely to avoid ending up with mushy or undercooked grains.
- Allow the pressure cooker to release pressure naturally for softer and evenly cooked rice.
- Be mindful of the rice-to-water ratio and adjust based on the specific brand of rice.
Common Mistakes to Avoid
Even seasoned cooks can make mistakes when learning how to cook jeerakasala rice in a pressure cooker. Here are some common pitfalls and how to avoid them:
- Skipping the rinsing step can make the rice excessively starchy.
- Over-soaking can lead to breaking the grains and a mushy texture.
- Adding too much water is a common error always stick to the recommended amount.
- Releasing pressure quickly can result in undercooked rice.
- Not using fresh spices and ghee can dull the flavor of the final dish.
Health Benefits of Jeerakasala Rice
Jeerakasala rice is not only a treat for the palate but also offers several health benefits. This special rice variety is packed with essential nutrients, vitamins, and minerals. It's a good source of carbohydrates, providing the energy required to carry out daily activities. Additionally, the fiber content aids in digestion and helps maintain a healthy gut.
The antioxidants present in jeerakasala rice can contribute to reduced inflammation and protection against certain chronic illnesses. The low glycemic index makes it a suitable choice for individuals managing their blood sugar levels. When paired with balanced accompaniments, jeerakasala rice can be an integral part of a well-rounded diet.
Conclusion
Mastering how to cook jeerakasala rice in a pressure cooker opens up a world of culinary possibilities. With its unique aroma and distinct texture, jeerakasala rice can transform even the simplest meals into something extraordinary. Whether you're a seasoned cook or a beginner, following this guide will ensure you create a dish that stands out, both in flavor and presentation.
For those looking to elevate their cooking experience, investing in quality kitchen tools can make all the difference. Here's a list of recommended tools and cleaners to maintain them:
Embrace the aroma, serve with pride, and enjoy the delightful journey of cooking jeerakasala rice. Happy cooking!
As an Amazon Associate, I earn from qualifying purchases.


