Mastering the Art of Cooking Kasha in a Rice Cooker: A Step-by-Step Guide
Written By James Morgan
Kasha, also known as buckwheat groats, is a nutritious and versatile ingredient that can be enjoyed in a variety of dishes. Learning how to cook kasha in a rice cooker makes the process almost effortless. This guide will show you how to perfectly prepare kasha using a rice cooker, making it a go-to method for busy individuals and cooking enthusiasts alike.
Get the perfect rice cooker for your kitchen here.

Why Use a Rice Cooker for Cooking Kasha?
Understanding how to cook kasha in a rice cooker not only simplifies the cooking process but also ensures that the kasha is cooked evenly and perfectly each time. Rice cookers are designed to regulate the temperature and cooking time accurately, making them an ideal tool for grains like kasha. This method minimizes the need for constant attention, freeing you up to focus on other tasks or simply relax.
Benefits of Using a Rice Cooker
Using a rice cooker offers several benefits. It provides a consistent cooking environment with an automated process, ensuring uniform heat distribution. This leads to a perfectly cooked texture, whether you are preparing fluffy or porridge-like kasha. Moreover, rice cookers often come with a keep-warm feature, which is perfect for maintaining the temperature of the kasha without overcooking it. This convenience makes it an invaluable tool for both novice and seasoned cooks.

Ingredients and Equipment
Before diving into the cooking process, it's essential to gather all the necessary ingredients and equipment:
- 1 cup of kasha (buckwheat groats)
- 2 cups of water or broth
- Salt to taste
- Butter or olive oil (optional)
- Rice cooker
- Knife set
- Cutting board
Having the right tools and ingredients ensures a smooth cooking process and contributes to the overall success of the dish. Investing in a quality rice cooker enhances your cooking experience and makes it easier to achieve consistent results.
Preparing the Ingredients
Proper preparation of the ingredients is crucial for achieving the best results. Start by measuring the kasha accurately using a measuring cup. Rinse the kasha under running water using a fine-mesh strainer to remove any dust or debris. Once rinsed, allow it to drain thoroughly. If you prefer a more intense flavor, consider toasting the kasha in a dry skillet over medium heat for a few minutes before cooking. This step enhances the nutty taste of the kasha and adds a wonderful depth of flavor to the final dish.
:max_bytes(150000):strip_icc()/make-sticky-rice-in-rice-cooker-3217199-hero-02-90beca8ebad94497a1d5cc941d52fa1c.jpg)
The Cooking Process
Step 1: Prepare the Rice Cooker
Begin by ensuring that your rice cooker is clean and ready for use. Most rice cookers come with a non-stick inner pot, which helps prevent the kasha from sticking or burning. If your rice cooker has a removable inner pot, take it out and give it a quick rinse. For an added layer of protection, you can rub a small amount of butter or oil on the inner pot's surface before adding the kasha and liquid.
Step 2: Add the Ingredients
Next, add the rinsed kasha to the rice cooker's inner pot. Pour in 2 cups of water or broth, depending on your preference for flavor. Adding broth often results in a richer, more savory dish, whereas water brings out the kasha's natural taste. If you wish, you can add a pinch of salt or a teaspoon of butter or olive oil for extra flavor and richness. Gently stir the ingredients to ensure that the kasha is evenly distributed in the liquid.
Step 3: Cooking the Kasha
Place the inner pot back into the rice cooker and close the lid. Set the rice cooker to the regular or white rice setting, which typically takes around 20-25 minutes. It's essential to let the rice cooker do its job without interference. Avoid opening the lid during the cooking process, as this can disrupt the temperature and steam distribution. The automatic timer will handle the cooking time accurately, ensuring that the kasha is cooked to perfection.
Step 4: Letting It Rest
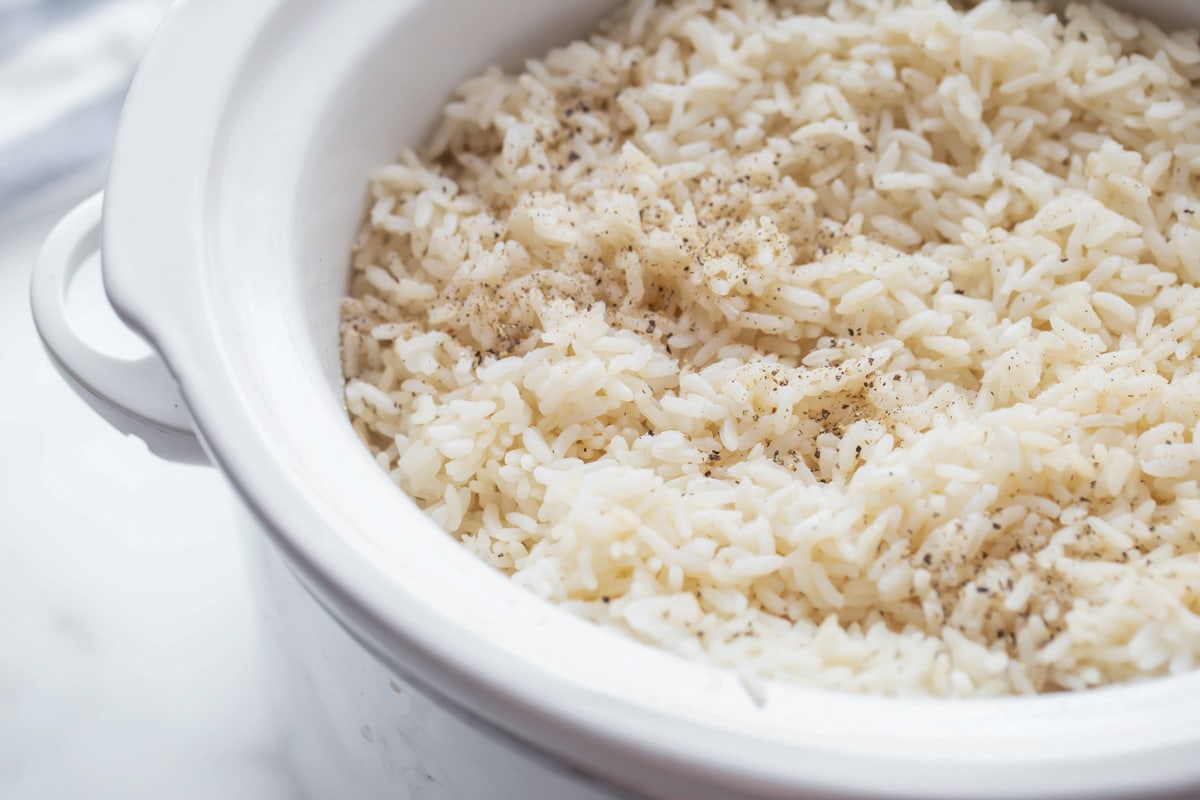
Once the cooking cycle is complete, allow the kasha to rest in the rice cooker for an additional 10-15 minutes. This resting period lets the kasha absorb any remaining liquid and continue cooking through residual heat. It also helps in achieving the desired texture, making the kasha fluffier and more cohesive. During this time, the keep-warm feature of the rice cooker helps maintain the perfect serving temperature.

Enhancements and Serving Ideas
Flavor Enhancements
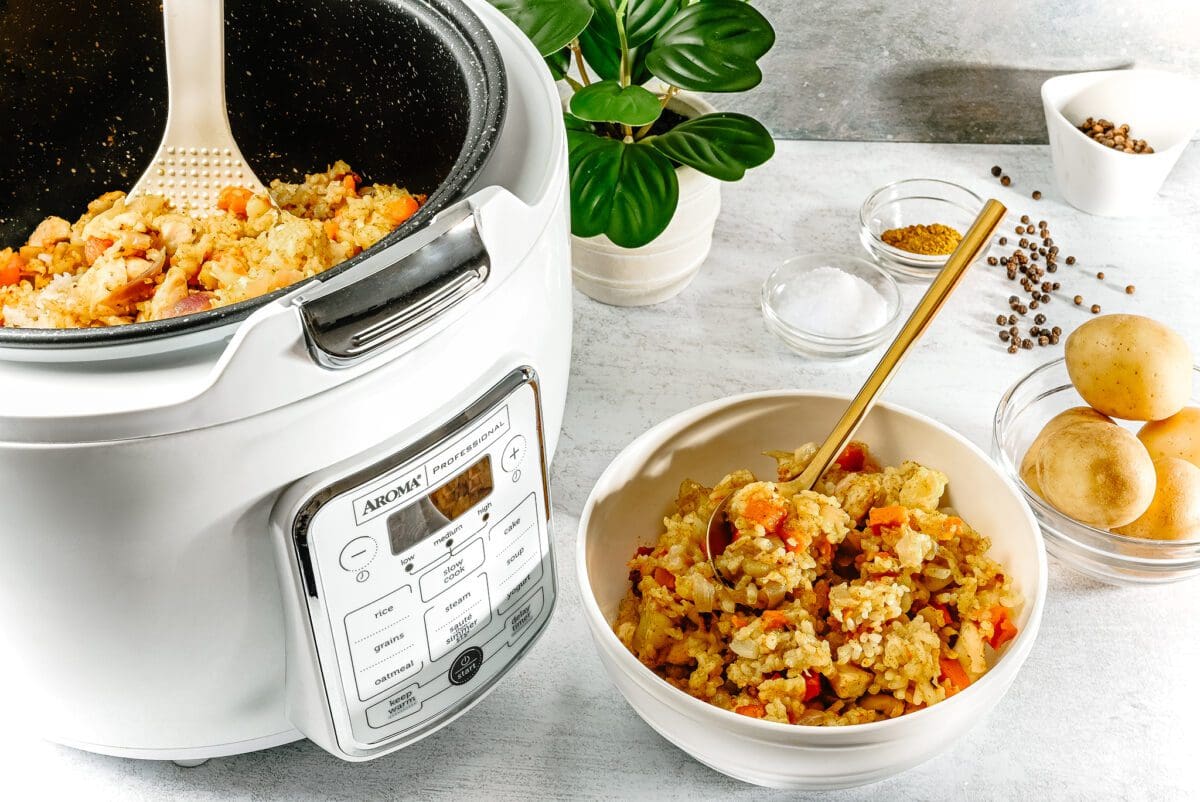
One of the beauties of kasha is its versatility. After mastering how to cook kasha in a rice cooker, you can explore various ways to enhance its flavor. Consider adding sauted onions, garlic, or mushrooms to the kasha. Fresh herbs like parsley, dill, or cilantro can also provide a vibrant taste boost. For a heartier meal, mix in cooked vegetables, beans, or even chunks of meat.
For more creative vegetable recipes, you might want to try this delicious vegetable dish.
Serving Suggestions
Kasha cooked in a rice cooker can be served in numerous ways. It pairs well with a variety of dishes, making it a versatile side or base. Serve it as a breakfast porridge with fruits and nuts, or as a savory side dish to accompany meats and vegetables. You can also use it as a stuffing for peppers or a base for grain salads. Its nutty flavor and firm texture complement a wide range of ingredients, making it an excellent addition to your culinary repertoire.
Troubleshooting Common Issues
Issue 1: Sticky or Mushy Kasha
If you find that your kasha is too sticky or mushy, you may have used too much water or cooked it for too long. To prevent this, ensure that you measure the liquid accurately and follow the recommended cooking time. A quick fix for sticky kasha is to spread it out on a baking sheet and let it cool slightly. This helps to reduce moisture content and restore the desired texture.
Issue 2: Undercooked Kasha
On the other hand, if your kasha is undercooked, it likely didn't have enough cooking time or liquid. Add a small amount of water or broth, set the rice cooker to the cook setting, and let it steam for an additional 5-10 minutes. This should bring the kasha to the perfect texture without overcooking it.
Cleaning and Maintenance of Your Rice Cooker
Proper cleaning and maintenance of your rice cooker extend its lifespan and ensure that it remains in top working condition. After cooking, allow the rice cooker to cool down completely before cleaning. Remove the inner pot and wash it with warm soapy water. Most rice cookers have dishwasher-safe parts, making cleanup easy. For stubborn residue, soak the inner pot in warm water for a few minutes before scrubbing. Don't forget to clean the exterior of the rice cooker and the heating plate as well. Regular maintenance is key to consistent cooking results and the longevity of your appliance.
Find the best cookware cleaner to keep your rice cooker in pristine condition.
Conclusion
Learning how to cook kasha in a rice cooker opens up a world of culinary possibilities. Not only is this method convenient and reliable, but it also produces consistently delicious results. Whether you're preparing a quick weeknight dinner or experimenting with new recipes, having kasha as a staple ingredient can enhance your meals. So go ahead, embrace the simplicity and versatility of cooking kasha in your rice cooker, and enjoy the wholesome goodness it brings to your table.
Explore other beef recipes for more culinary inspiration.
Remember to maintain your cutting board with cutting board oil for a seamless cooking experience.
As an Amazon Associate, I earn from qualifying purchases.


