Master the Art of How to Cook Onigiri Rice in a Rice Cooker
Written By James Morgan
For many, learning how to cook onigiri rice in a rice cooker represents a culinary milestone that brings forth the authentic flavors of Japanese cuisine. This delectable Japanese dish is not only a staple in Japanese households but is also gaining widespread popularity globally. The combination of savory fillings with fluffy, perfectly cooked rice makes onigiri an irresistible item that appeals to kids and adults alike. In this comprehensive guide, we will walk you through each detailed step to prepare and mold the perfect onigiri rice using a rice cooker, ensuring your journey from ingredients to finished product is seamless and delightful.

Understanding the Basics of Onigiri
Before diving into the nitty-gritty of how to cook onigiri rice in a rice cooker, it's important to understand what onigiri is. Onigiri, also known as rice balls or musubi, is a traditional Japanese snack made from white rice formed into various shapes, usually triangular or cylindrical, and often wrapped in nori (seaweed). Despite their simple ingredients, making the perfect onigiri requires attention to detail.
The essence of onigiri lies in its simplicity, yet it manifests in numerous varieties, thanks to the endless possibilities of creative fillings ranging from pickled plums (umeboshi) and salted salmon, to modern additions like tuna with mayonnaise. Regardless of the filling, the star of onigiri is the rice — it's all about achieving the right texture and flavor.
The Key Role of Rice in Onigiri
The type of rice used in onigiri is crucial. For that authentic taste and texture, short-grain Japanese rice, known for its stickiness, is the preferred choice. This stickiness helps the rice grains to hold together, forming a compact shape that doesn't fall apart. Remember, the goal is to achieve rice that is tender yet firm enough to stay intact.

The Importance of a Good Rice Cooker
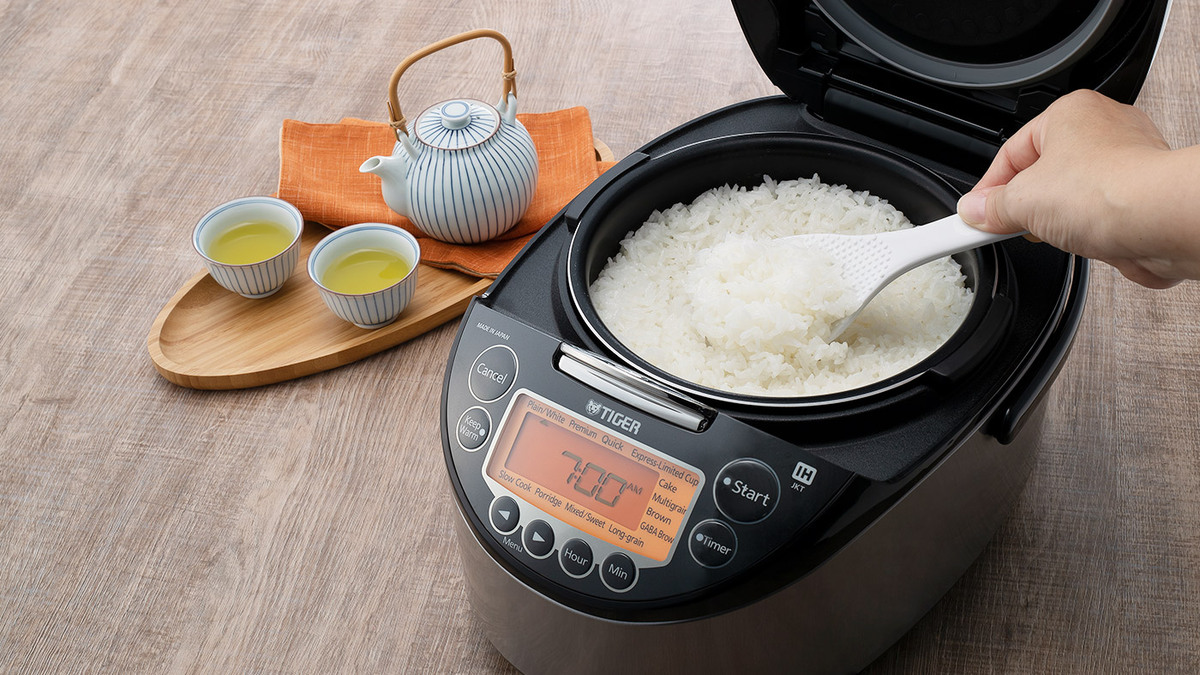
Using a rice cooker simplifies the process of achieving the perfect onigiri rice. Modern rice cookers are equipped with features that ensure consistent results, making them an invaluable kitchen tool for any rice enthusiast. Whether you're a novice or an experienced cook, a rice cooker can ease your rice-cooking process significantly.
Discover top-rated rice cookers
How to Choose the Right Rice Cooker
If you do not already own a rice cooker, choosing the right one is paramount. While selecting a rice cooker, consider features such as cooking functions, capacity, and ease of cleaning. Rice cookers come with various functions that go beyond just cooking rice, including porridge settings, slow cooking, and even yogurt making.

Essential Ingredients for Onigiri
- 2 cups short-grain Japanese rice
- Water (as per rice cooker's instructions)
- Nori (seaweed sheets)
- Salt
- Your choice of filling (tuna, umeboshi, salmon, etc.)
Having the right ingredients is the first step toward creating delicious onigiri. Ensuring that the rice and nori are of high quality will impact the overall taste and texture of your onigiri. Moreover, using a well-balanced filling will add the perfect touch of flavor to complement the rice.
Preparing the Ingredients
Preparation is key to making great onigiri. Start by washing the rice to remove excess starch. Rinse the rice in cold water, swirling it around with your hand, draining, and repeating until the water runs clear. This process will result in glossy, well-separated grains.
Next, measure the water accurately to ensure the right texture. Japanese rice typically requires slightly less water than other types. Use the instructions provided by your rice cooker as a guide.

Step-by-Step Guide on How to Cook Onigiri Rice in a Rice Cooker
Step 1: Washing the Rice
Begin with rinsing your short-grain Japanese rice thoroughly. Place the rice in a bowl and fill it with cold water. Swirl the rice around gently with your hand, then drain the water. Repeat this process several times until the water remains clear, signifying that excess starch has been removed. This step is critical for preventing the rice from becoming too sticky or mushy when cooked.
Step 2: Cooking the Rice
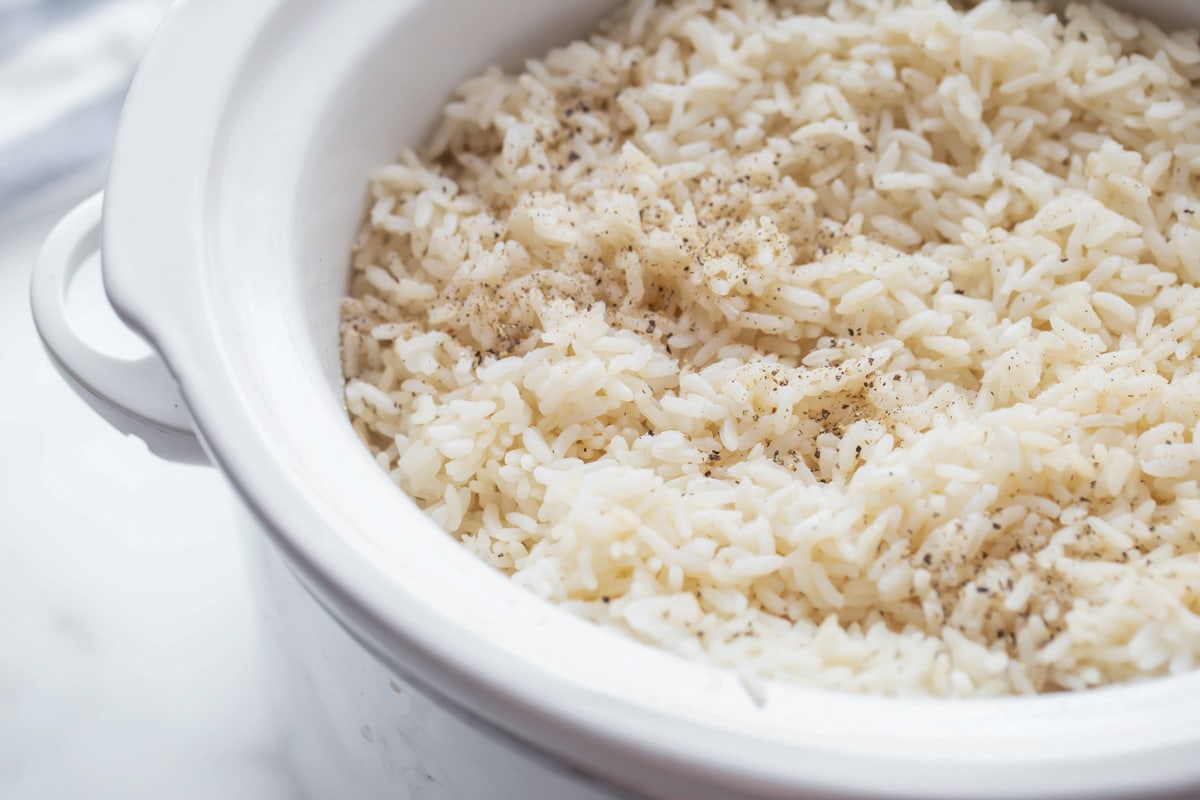
Now, transfer the washed rice to the rice cooker. Add the appropriate amount of water recommended by the rice cooker instructions, ensuring the perfect cooking balance. Set your rice cooker to the white rice or plain rice setting and let it work its magic. During this time, you can prepare your fillings and prepare for the final assembly of the onigiri.
Step 3: Preparing Fillings
While the rice is cooking, prepare your desired fillings. Some traditional choices include salted salmon, umeboshi (pickled plums), and tuna with mayonnaise. Cut larger fillings into appropriate sizes, ensuring they fit well within your onigiri. Use a sharp knife and a sturdy cutting board to maintain a clean and efficient preparation process.
Step 4: Seasoning the Rice
Once the rice cooker finishes its cycle, let the rice sit covered for an additional 10-15 minutes to steam and complete the cooking process. This resting time enhances the texture of the rice. After steaming, transfer the rice to a wide bowl and gently fluff it with a rice paddle. Add a pinch of salt to season the rice, mixing it lightly to ensure an even distribution of seasoning.
Molding the Onigiri
Shaping the Rice Balls
With the cooked rice and fillings ready, it's time to shape the onigiri. Start by wetting your hands with water and sprinkle a little bit of salt on them. Take a small portion of rice and mold it into a ball. Using your thumb, create a small indentation in the center for the filling. Place the filling inside and gently cover with more rice, shaping it into a triangle or your desired shape. Be careful not to compress the rice too much to maintain its fluffy texture.
Wrapping with Nori
Finally, complete your onigiri by wrapping it with a strip of nori. Ensure the nori wraps tightly around the rice ball to keep everything in place. The crispy nori will provide a delightful contrast to the soft rice, adding an extra layer of flavor and texture to your onigiri.
Tips for Perfect Onigiri
Maintaining Consistency
Achieving perfect consistency in your onigiri rice requires practice and attention to detail. Carefully measuring your ingredients and ensuring the rice is evenly cooked will yield the best results. Avoid overworking the rice while shaping the balls to retain its fluffy texture.
Creative Fillings and Variations
Feel free to experiment with different fillings and shapes to suit your taste preferences. You can also add seasoning mixes such as furikake (a Japanese seasoning blend) to the rice for extra flavor. The possibilities are endless, from spicy kimchi fillings to sweet azuki beans; let your creativity shine through in every bite.
Serving and Storing Onigiri
Serving Suggestions
Onigiri can be enjoyed as a quick snack, packed lunch, or part of a larger meal. They are perfect for picnics and bento boxes, offering a convenient and delicious way to enjoy Japanese flavors on the go. Serve your onigiri with a side of soy sauce or miso soup for a complete meal experience.
Storing Onigiri
For the best texture and flavor, onigiri should be consumed fresh. However, you can store them in an airtight container at room temperature for a few hours or refrigerate for up to one day. If refrigerating, wrap each onigiri individually with plastic wrap to prevent them from drying out. Reheat gently in the microwave with a damp paper towel to restore their softness before serving.
Cleaning and Maintenance
Care for Your Cookware
After enjoying your homemade onigiri, it's time to clean up. Proper maintenance of your cookware ensures longevity and consistent results in future culinary adventures. Use appropriate cookware cleaners to clean your rice cooker and other utensils thoroughly. Applying cutting board oil to your wooden cutting boards will keep them in good condition and ready for the next use.
Eco-friendly cookware cleaners
Conclusion
Learning how to cook onigiri rice in a rice cooker is both an art and a skill that can bring the tastes of Japan into your kitchen. With the right ingredients, a reliable rice cooker, and attention to detail, you can master the creation of these delightful rice balls. Whether you're making onigiri for a simple meal or a festive occasion, the satisfaction of crafting and enjoying this traditional Japanese snack is unparalleled.
As an Amazon Associate, I earn from qualifying purchases.


