Mastering the Art of Pit Beef: How to Cook Pit Beef on a Gas Grill
There's something incredibly satisfying about a well-prepared pit beefespecially when you know you cooked it on your own gas grill. If you're looking to perfect your barbecue skills, learning how to cook pit beef on a gas grill is an essential culinary milestone. This in-depth guide will take you through each step, ensuring you not only understand the process but also enjoy it. By the end, you'll have a delicious pit beef that will impress family and friends alike.

What is Pit Beef?
Before diving into how to cook pit beef on a gas grill, it's crucial to understand what pit beef actually is. Originating from Maryland, pit beef is a unique form of barbecue that boasts a distinct charred exterior while maintaining a juicy, tender interior. Traditionally, pit beef is cooked over a charcoal pit, but we're going to modernize this method by using a gas grill. The result is equally delicious and somewhat easier to manage.

Necessary Equipment
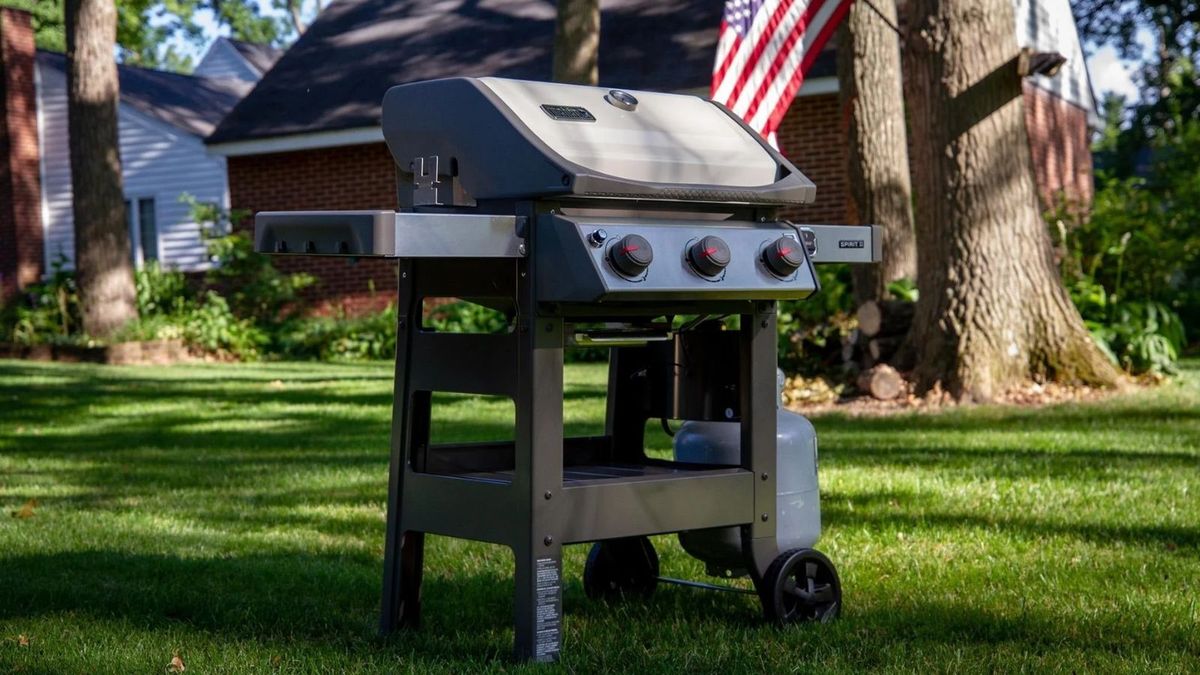
To cook a perfect pit beef, you'll need the following equipment:

Ingredients
- 4-5 pound top round beef roast
- 2 tablespoons kosher salt
- 2 tablespoons freshly ground black pepper
- 1 tablespoon garlic powder
- 1 tablespoon onion powder
- 1 tablespoon paprika (optional)
- 1 cup wood chips (for smoking)
- Soft sandwich rolls
- Horsey sauce (horseradish sauce)
- Freshly sliced onions
- Dill pickles

Step-by-Step Instructions on How to Cook Pit Beef on a Gas Grill
Now that you have your equipment and ingredients ready, let's dive into the process of cooking pit beef on a gas grill. This comprehensive guide will cover everything from seasoning the meat to slicing it for the perfect sandwich. Also check out this guide on grilling chicken breast for more gas grill tips.
Step 1: Preparing the Meat
Start by unwrapping your top round beef roast and placing it on a cutting board. Using a sharp knife, trim any excess fat but leave a thin layer to ensure the meat stays moist during grilling.
Next, create a dry rub using your kosher salt, freshly ground black pepper, garlic powder, onion powder, and paprika. Generously coat the entire beef roast with the dry rub, massaging it into the meat to ensure even coverage. Let the seasoned beef sit at room temperature for around 30 minutes before you start grilling.
Step 2: Prepping the Gas Grill
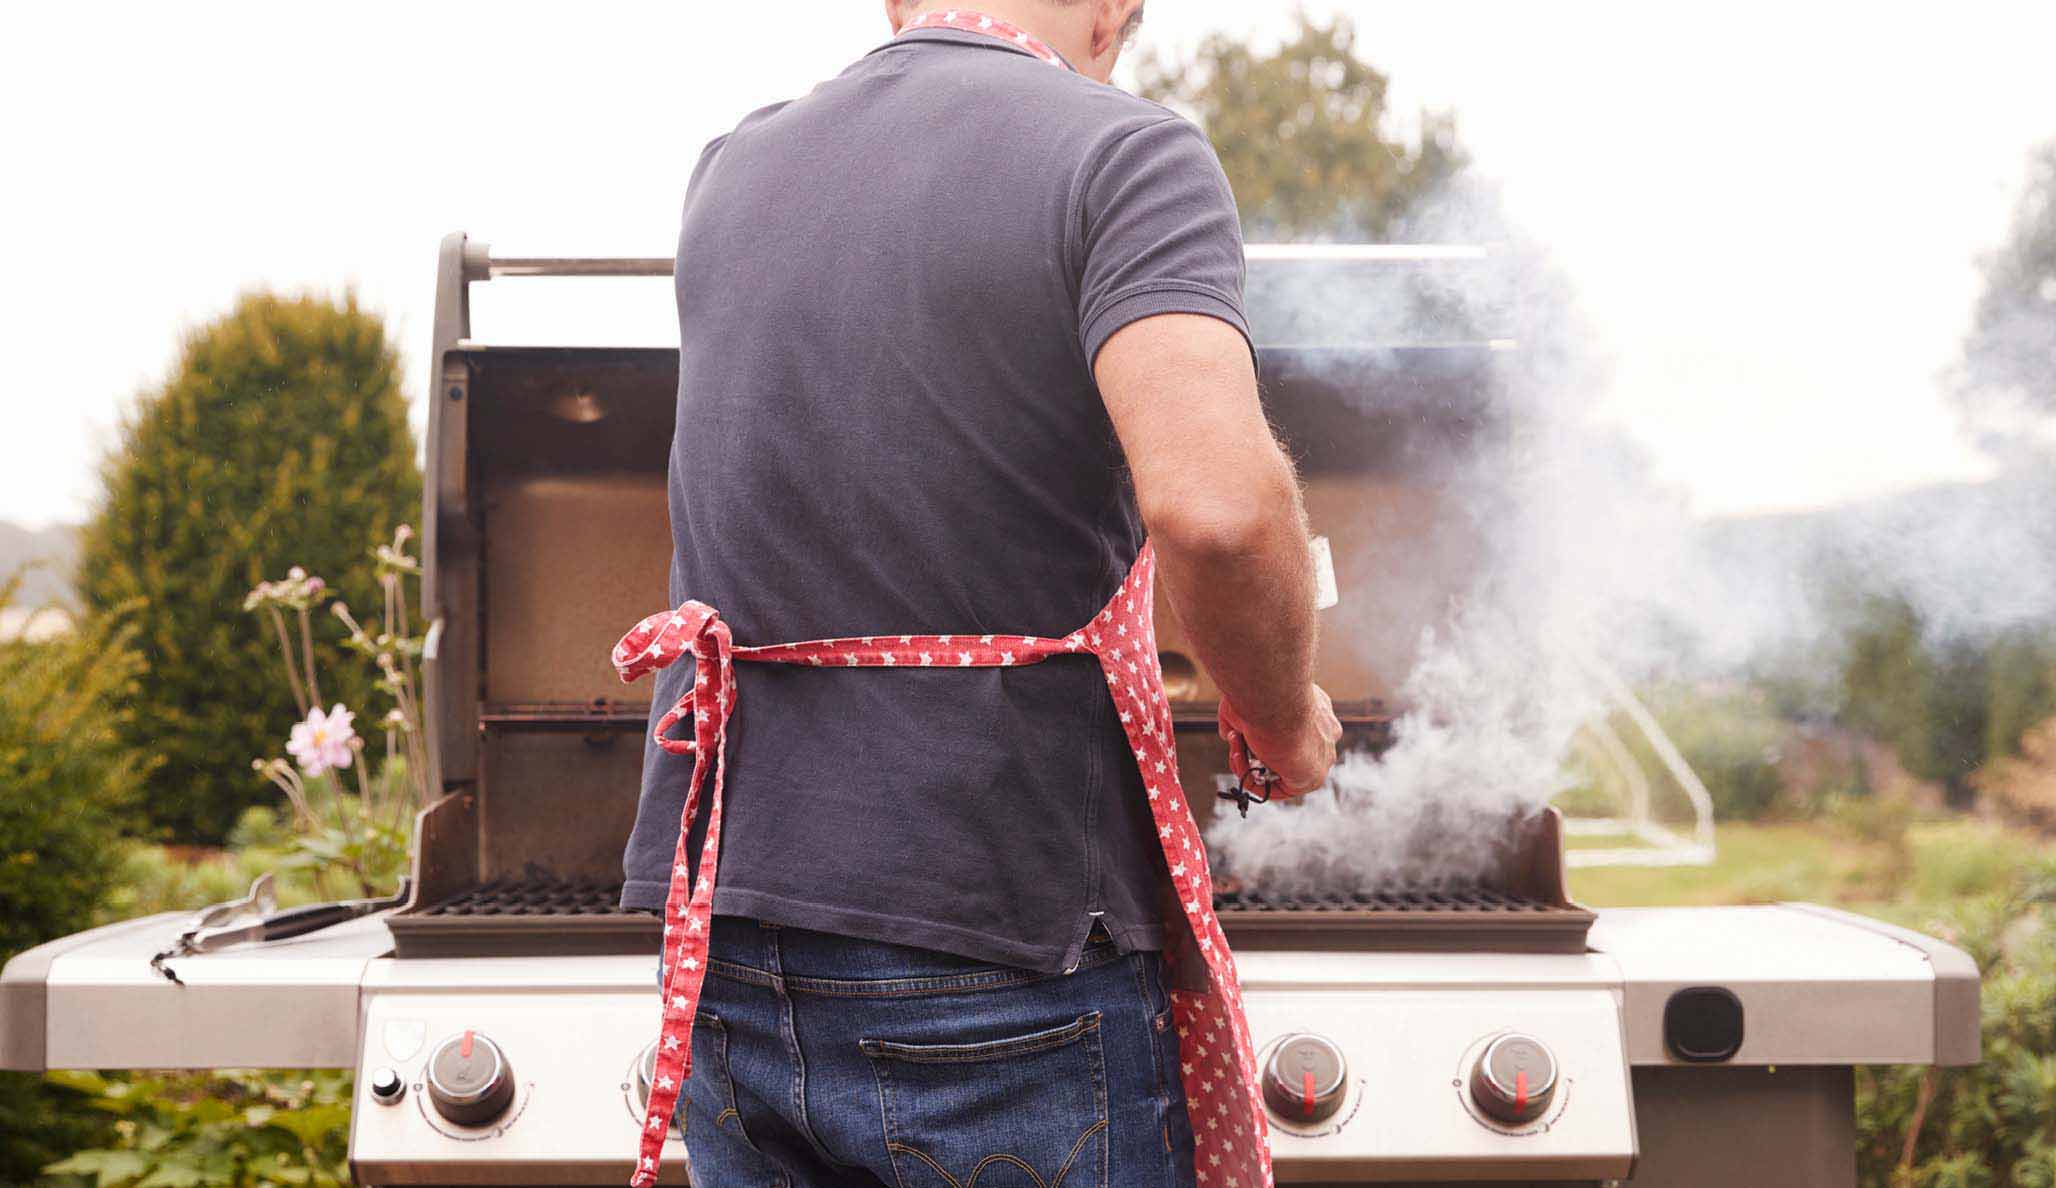
Time to head outdoors! Preheat your gas grill to high. A good rule of thumb is to let it heat for at least 15 minutes. If your grill has multiple burners, you'll want to set it up for indirect grilling. This means turning off one or two of the burners while keeping the remaining burners on high.
While the grill is heating up, soak your wood chips in water for about 15 minutes. Once soaked, place them in a smoker box and place it directly on the heated side of the grill. This will create a smoky atmosphere within the grill that will impart a fantastic flavor to your pit beef.
Step 3: Grilling the Beef
Place your seasoned beef roast on the unheated side of the grill (indirect grilling method). Cover the grill and adjust the temperature to maintain an internal grill temperature of around 250F. This low and slow cooking method is key to achieving that tender yet slightly charred exterior that pit beef is known for.
Cook the beef until it reaches an internal temperature of 125F for medium-rare. This usually takes about 2 to 2.5 hours, but it's crucial to monitor the temperature using a meat thermometer. Once the desired temperature is reached, remove the beef from the grill and let it rest for 20 minutes. Resting is essential as it allows the juices to redistribute within the meat, ensuring every bite is flavorful and moist. For more in-depth tips, see this guide on smoking meat.
Step 4: Slicing and Serving
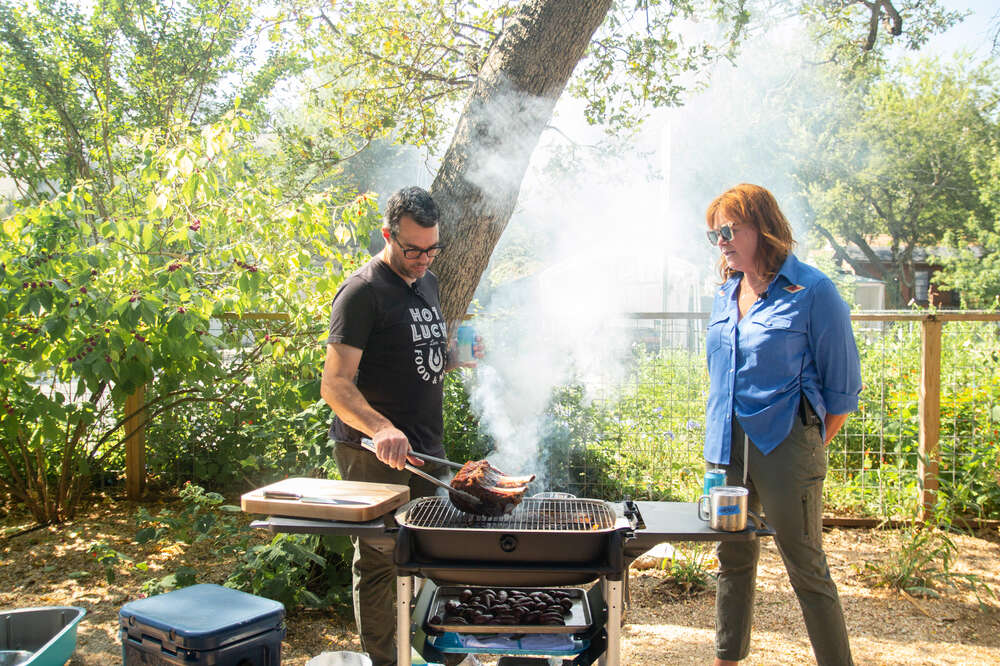
Once your pit beef has properly rested, transfer it back to your cutting board and slice it thinly against the grain. Thin slices are key to achieving the signature texture and tenderness of pit beef.
To assemble your pit beef sandwich, place a generous amount of sliced beef in a soft sandwich roll. Top it with freshly sliced onions, dill pickles, and a hearty dollop of horsey sauce. Serve immediately while the meat is still warm.
Tips for Perfect Pit Beef
Learning how to cook pit beef on a gas grill is a process that benefits from a few insider tips. These tips can make the difference between good and extraordinary pit beef:
- Always allow your meat to come to room temperature before grilling.
- Do not skip the resting period after grilling; it significantly enhances the flavor and juiciness of the beef.
- Invest in a high-quality meat thermometer for accurate temperature readings.
- Experiment with different wood chips to find the smoke flavor you prefer; hickory and oak are excellent choices.
- Consider marinating the beef overnight for additional flavor complexity. For more marinade ideas, refer to our article here.
Pairing Your Pit Beef
A fantastic pit beef sandwich deserves equally fantastic side dishes and beverages to round out the meal. Consider these pairings:
- Coleslaw: A refreshing coleslaw can add a delightful crunch and a touch of acidity that pairs beautifully with the rich flavors of pit beef.
- Baked Beans: Sweet and savory baked beans provide a wonderful contrast to the smoky, robust flavors of the beef. Check out our bean casserole recipe for inspiration.
- Grilled Vegetables: Complement your pit beef with an array of grilled vegetables, such as bell peppers, zucchini, and asparagus.
- Cold Beverages: Consider offering a selection of cold beers, lemonades, or iced teas to keep your guests refreshed and satisfied.
Cleaning Up
After enjoying your delicious pit beef, it's time to clean up. Ensure the longevity of your grill and cookwares by taking proper care of them:
Final Thoughts
Mastering how to cook pit beef on a gas grill is a rewarding experience that enhances your grilling repertoire and delights your taste buds. By following these detailed instructions and tips, you're well on your way to creating a memorable barbecue experience.
For more grilling tips and recipes, continue exploring our blog here.
As an Amazon Associate, I earn from qualifying purchases.


