Mastering the Art of Cooking Premade Steak Pinwheels on Stove: A Comprehensive Guide
Written By James Morgan
Cooking has always been a form of art, and when it comes to steak pinwheels, it's all about grabbing the right techniques to serve up something exceptional. In this ultimate guide on how to cook premade steak pinwheels on stove, you'll discover not just the steps involved but also tips, tools, and culinary wisdom to ensure a mouth-watering meal.

Understanding Steak Pinwheels
Steak pinwheels are an enticing dish made by filling a great cut of steak with various ingredients, rolling it up, and securing it into a wheel shape before cooking. It's a dish that brings imagination to the plate, offering a delightful combination of flavors, textures, and aromas that can be enjoyed on any occasionfrom casual family dinners to elaborate celebrations. They can include fillings like vegetables, herbs, cheese, and even bacon, making every pinwheel a burst of deliciousness.

Ingredients Needed to Prepare Steak Pinwheels
| Ingredient | Quantity |
|---|---|
| Premade steak pinwheels | 1 package (about 1-1.5 lbs) |
| Olive oil | 2 tablespoons |
| Salt | to taste |
| Black pepper | to taste |
| Fresh herbs (optional) | 1 tablespoon, chopped |
:max_bytes(150000):strip_icc()/the-best-way-to-cook-a-steak-FT-BLOG0320-3e179616d1e94a329f764a67c287605e.jpg)
Essential Cookware for Your Steak Pinwheels
Having the right cookware is crucial for preparing anything in the kitchen, including our star today, the steak pinwheels. Heres a list of essential tools you'll need:
- Griddler: A versatile appliance allowing you to sear, grill, and cook evenly.
- Knife: A quality knife is essential for portioning your steak pinwheels accurately.
- Cutting board: You'll need a sturdy surface to prep your pinwheels effectively.

Preparation Steps for Cooking Steak Pinwheels on Stove
Now that you have your main ingredients and cookware ready, let's dive into the actual preparation process. Follow these steps closely to achieve perfectly cooked steak pinwheels that will leave your taste buds wanting more:
Step 1: Unpacking and Preparing Your Premade Steak Pinwheels
When you buy premade steak pinwheels, they often come pre-seasoned and ready to cook. Begin by removing them from the packaging and placing them on your cutting board. Inspect each pinwheel to make sure theyre tightly rolled. If you notice any that are loose, feel free to gently press them back into shape. This step is crucial to ensure that the fillings remain intact while they're being cooked. Set the rolled pinwheels aside while you prepare your cooking space.
Step 2: Heating the Griddler
Plug in your griddler and let it heat to medium-high. Properly preheating the griddler is essential for even cook and ensuring that those flavorful juices stay locked inside your pinwheels. If you prefer a crispy outer layer, you may want to increase the heat slightly, but keep an eye on them to prevent burning. A hot cooking surface aids in developing that beautiful golden-brown crust that enhances both appearance and flavor.
Step 3: Seasoning Your Pinwheels
Even though your premade steak pinwheels might already have seasoning, a little additional love can elevate their flavor dramatically. Drizzle a bit of olive oil over them and sprinkle salt, black pepper, and your choice of fresh herbs. Rub it gently over the pinwheels to ensure an even coating. Remember, seasoning is entirely subjective, so feel free to modify according to your taste. You can experiment with different spices and herbs to create a unique spin on your dish.
Step 4: Cooking the Pinwheels
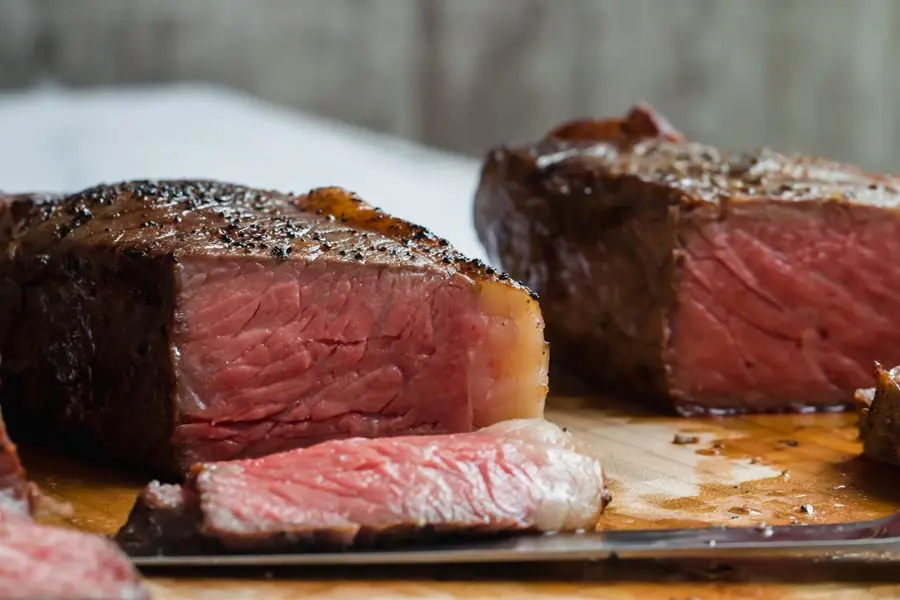
Once your griddler is hot and your pinwheels are seasoned, its time to get cooking! Place the pinwheels on the hot griddler, giving each enough room to cook without crowding. Each pinwheel will need about 5-7 minutes on each side, or until they reach an internal temperature of 145F for medium-rare. A meat thermometer comes in handy for checking doneness without cutting into the meat. Remember to flip them carefully to maintain their shape while cooking! And do indeed take a moment to appreciate the irresistible aromas wafting through your kitchenthis is an experience in more ways than one!
Step 5: Resting the Pinwheels
Once the pinwheels have achieved the perfect golden-brown crust and the internal temperature has been reached, transfer them to a plate and allow them to rest for about 5 minutes. Resting is essential as it gives the juices a chance to redistribute throughout the meat, ensuring that each bite is succulent and flavorful. Cutting into them right away can lead to savory juices escaping, which would be quite unfortunate!
Step 6: Slicing and Serving
After resting, its time to get back to your cutting board. Using your sharp knife, slice the pinwheels into rounds, about an inch thick, for a delightful presentation. These spirals not only look stunning on the plate but also allow everyone to enjoy the burst of flavors inside each pinwheel. Serve them warm on a platter, perhaps garnished with fresh herbs and accompanied by your favorite sides such as roasted vegetables or a fresh salad. The visual appeal combined with the delicious taste is sure to impress your guests!
Cleaning Up Your Cookware
After enjoying the sumptuous meal, cleaning up is the next necessary step. Its important to keep your cookware in top condition to ensure its longevity. Make use of the cookware cleaner and cutting board oil for a simple yet effective cleaning routine. Simply wipe the griddler with a soft cloth and appropriate cleaner once it has cooled down. For your cutting board, apply a thin layer of the oil to maintain its integrity and prevent any cracks or warping over time. Cleaning is just as crucial as cooking, as a well-maintained kitchen ensures safety and better cooking experiences.
Now that you've successfully learned how to cook premade steak pinwheels on stove, you can treat yourself and your loved ones to this captivating dish any time you wish. Its perfect for gatherings, casual family dinners, or a romantic evening with a loved one. Not to mention, the versatile nature of steak pinwheels means you can experiment with flavors and fillings, making each cooking experience unique to your culinary style!
For more information on grilling and cooking techniques, check out this resource for inspiration and tips.
As an Amazon Associate, I earn from qualifying purchases.


