The Ultimate Guide on How to Cook Pulled Pork in a Pressure Cooker
Written By James Morgan
If you're a fan of tender, succulent barbecue, you've probably asked yourself: How to cook pulled pork in a pressure cooker? This comprehensive guide walks you through every step of creating mouthwatering pulled pork using a pressure cooker. Not only does this method save you hours compared to traditional slow cooking, but it also retains all the juicy flavors that make pulled pork a beloved dish across America, and indeed the world.

Why Choose a Pressure Cooker?
In the realm of modern kitchen gadgets, the pressure cooker stands out as an unparalleled hero for one main reason: efficiency. When it comes to cooking pulled pork, using a pressure cooker cuts down the cooking time drastically without compromising the dish’s tenderness and flavor. Traditional methods, like slow cooking or smoking, can take anywhere from 8 to 12 hours, but with the pressure cooker, you’re looking at around 90 minutes of cooking time total. It’s a game-changer for those who love pulled pork but don’t have an entire day to spend in the kitchen.

Choosing the Right Cut of Pork
One of the primary aspects of learning how to cook pulled pork in a pressure cooker is choosing the right cut of pork. For the best results, opt for a pork shoulder, commonly labeled as pork butt or Boston butt. This particular cut is perfect for pulled pork because of its rich marbling and connective tissues, which break down during the cooking process to produce incredibly tender meat.

Ingredients You’ll Need
The magic of pulled pork lies not only in its cooking process but also in its well-rounded seasoning and complementary ingredients. Here is a list of essentials you'll need:
- 4 to 5 pounds of pork shoulder
- 2 tablespoons olive oil
- 1 large onion, roughly chopped
- 4 cloves of garlic, minced
- 1 cup chicken broth
- 1 cup barbecue sauce of your choice, plus more for serving
- 2 tablespoons brown sugar
- 1 tablespoon smoked paprika
- 1 tablespoon chili powder
- 1 teaspoon ground cumin
- 1 teaspoon salt
- 1 teaspoon black pepper
- 1 tablespoon Worcestershire sauce
- 1 tablespoon apple cider vinegar

Preparation Steps
Step 1: Prepping the Meat
Before you can start learning how to cook pulled pork in a pressure cooker, you should first prepare your pork shoulder. Rinse it under cold water and pat it dry with paper towels. Use a sharp knife to trim away any excess fat, leaving a thin layer for flavor.
On a cutting board, slice the pork shoulder into large chunks. This helps the meat cook more evenly under pressure. In a small bowl, mix together the smoked paprika, chili powder, cumin, salt, and black pepper, and then rub the mixture generously over the pork chunks.
Step 2: Searing the Meat
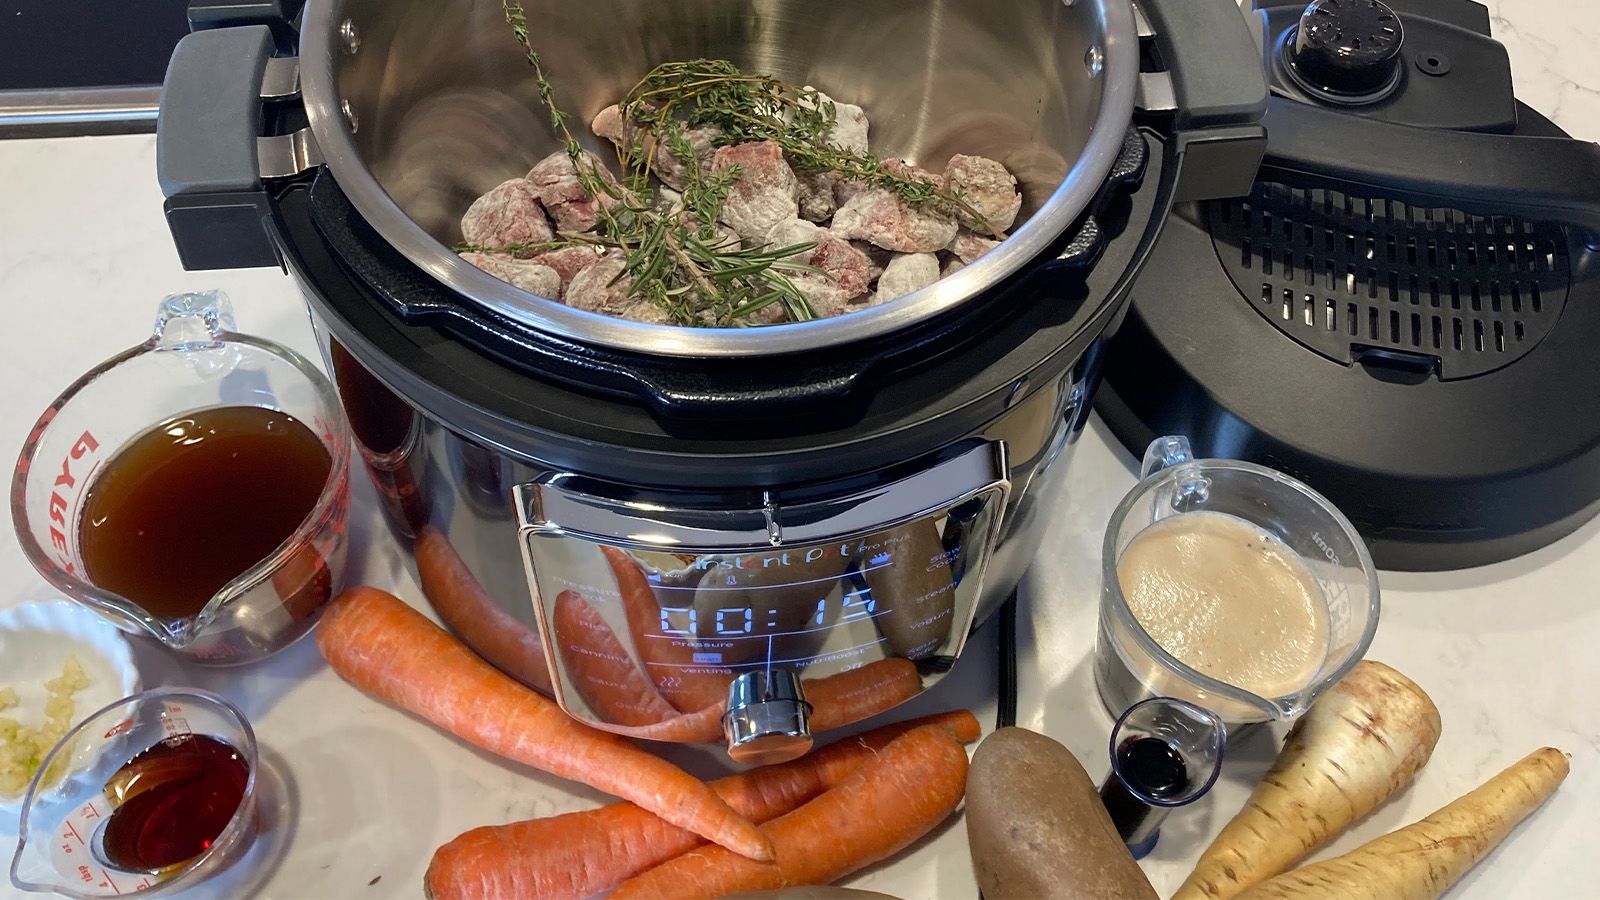
Turn your pressure cooker to the saut setting and add the olive oil. Once hot, add the pork chunks in batches to ensure even browning on all sides. Searing the meat will not only lock in the flavors but also add a delicious crust to the exterior, further enhancing the taste of your pulled pork.
Once each batch of pork chunks is browned, remove them and place them on a plate lined with paper towels to drain any excess fat.
Step 3: Cooking the Aromatics
In the same pressure cooker, add the chopped onion and minced garlic, sauting until they're fragrant and slightly browned. The caramelization will bring out the natural sweetness in the onions and garlic, contributing to the overall flavor profile of your pulled pork.
Step 4: Deglazing the Pot
Add the chicken broth to the pot to deglaze it. Scrape up all the browned bits from the bottom of the pot using a wooden spoon. These bits are packed with flavor and will enrich the cooking liquid, making your pulled pork taste even better. For more tips on deglazing, check this deglazing guide.
Step 5: Adding the Sauces and Spices
Add in the barbecue sauce, brown sugar, Worcestershire sauce, and apple cider vinegar, stirring well to combine. These ingredients will give your pulled pork that signature sweetness and tanginess that makes it irresistible.
Step 6: Pressure Cooking the Pork
Return the seared pork chunks to the pressure cooker, nestling them into the sauce. Secure the lid and ensure the valve is set to the sealing position. Select the manual or pressure cook setting and set the timer for 60 minutes at high pressure. Once the cooking time is complete, allow the pressure to release naturally for about 10 minutes before using the quick-release valve to release any remaining pressure. For other tasty pressure cooker recipes, see this Taste of Home collection.
Shredding the Pork
After the pressure has been released and it is safe to open the lid, transfer the pork chunks to a cutting board. Use two forks to easily shred the pork. The meat should be incredibly tender and fall apart effortlessly.
Return the shredded pork to the pressure cooker and mix it into the remaining sauce. This step ensures that every bite is infused with the rich, smoky flavors of the sauce. For more shredding techniques, visit our shredding guide.
Serving Suggestions
There are endless ways to enjoy your pulled pork. Serve it on toasted buns for classic pulled pork sandwiches, topped with coleslaw for a bit of crunch. Alternatively, you can serve it over a bed of rice, in tacos, or even stuffed into baked potatoes. For more creative serving ideas, check out our pulled pork serving suggestions.
Cleaning Up
After you’ve enjoyed your delectable meal, cleaning up is a crucial part of the process. To keep your pressure cooker in pristine condition, be sure to clean it thoroughly. Check out this cookware cleaner for maintaining your kitchenware. For your cutting board, consider using cutting board oil to keep it in top shape.
As an Amazon Associate, I earn from qualifying purchases.


