How to Cook Pulled Pork on a Gas Grill: A Comprehensive Guide for Barbecue Enthusiasts
Written By James Morgan
*How to cook pulled pork on a gas grill* is a question that often arises among barbecue enthusiasts seeking the mouthwatering experience of tender and flavorful pulled pork. This guide will delve into every aspect of preparing this delectable dish, ensuring that your pulled pork turns out perfect every time.
Introduction to Pulled Pork and Gas Grilling
Pulled pork is a beloved dish in the barbecue world, known for its tender, juicy texture and rich, smoky flavor. While traditional pulled pork recipes often call for smoking the meat over wood or charcoal, many home cooks have adapted the process for convenience and accessibility. This is where the gas grill comes in, offering a straightforward and time-efficient way to achieve similar results.
Gas grilling allows for easy temperature control, making it an ideal method for those who may be new to barbecuing or prefer a more hands-off approach. With some essential tips and techniques, you'll master how to cook pulled pork on gas grill and impress your family and friends with your barbecue skills.

Choosing the Right Cut of Pork
The first step in cooking pulled pork on a gas grill is selecting the right cut of meat. The most popular and effective cut for pulled pork is the pork shoulder, also known as pork butt or Boston butt. This cut is well-marbled with fat, which helps keep the meat moist and tender during the long cooking process. When shopping for pork shoulder, look for a cut that weighs between 4-8 pounds, with a good balance of meat and fat.
Once you've chosen your pork shoulder, it's time to prepare the meat for the grill. Start by trimming any excess fat from the exterior of the meat, leaving a thin layer to help maintain moisture. Next, apply a generous amount of your favorite dry rub to the entire surface of the pork. This will create a flavorful crust and infuse the meat with delicious spices. Check out our preferred knife options for efficient trimming and cutting.
:max_bytes(150000):strip_icc()/Web_4000-sea-product-weber-spirit-ii-e-310-3-burner-rkilgore-45-71a7b6f74de047bcbb5e65bcca5c432a.jpg)
Preparing the Gas Grill
Before you can cook your pulled pork on a gas grill, you need to properly prepare the grill itself. Begin by cleaning the grates thoroughly to remove any residue from previous cooking sessions. A clean grill ensures that your pork wont pick up any unwanted flavors and helps prevent sticking.
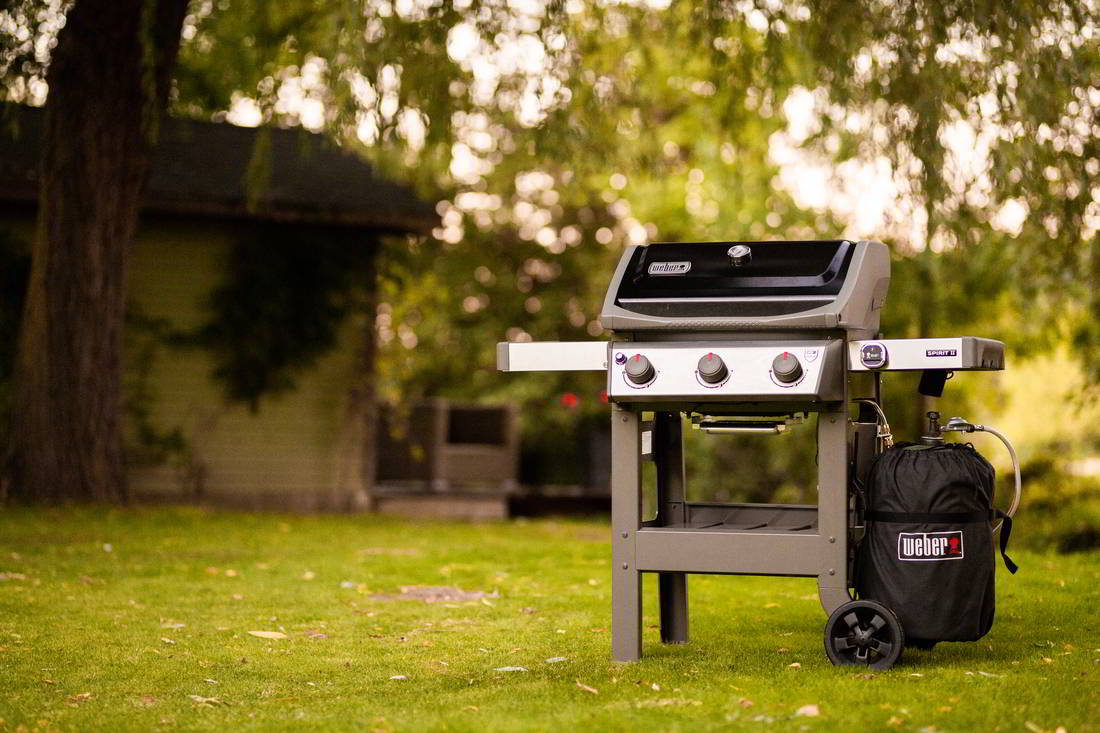
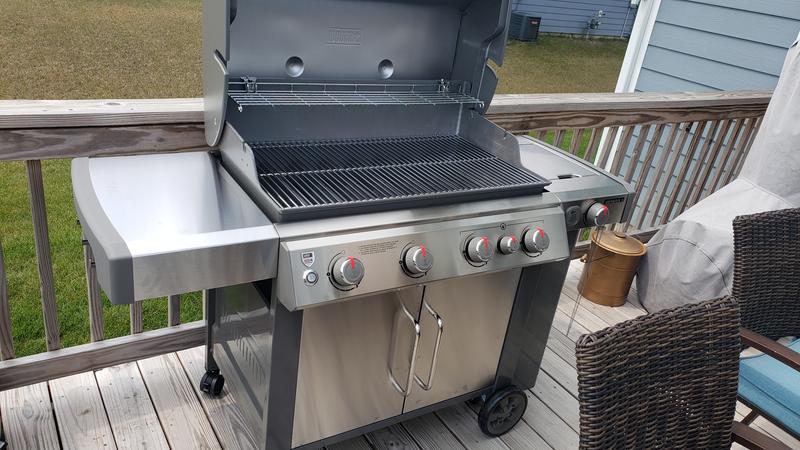
Next, set up your gas grill for indirect cooking. This means that the heat source will be on one side of the grill, while the pork will be placed on the opposite side. This setup allows the meat to cook slowly and evenly, mimicking the low-and-slow method of traditional smoking. Preheat your grill to a temperature of 250-275F, which is ideal for cooking pulled pork. You can find effective grill cleaning tools here.

Cooking the Pork Shoulder
Once your grill is prepped and the pork shoulder is seasoned, it's time to start cooking. Place the pork shoulder on the side of the grill opposite the heat source, using a drip pan underneath to catch any rendered fat and juices. This helps keep your grill clean and prevents flare-ups.
Close the lid of the grill and let the pork cook slowly for several hours. The key to making perfect pulled pork on a gas grill is patiencethe meat needs to cook low and slow to break down the collagen and fat, resulting in tender, juicy pork. Plan for a cooking time of around 1.5-2 hours per pound of meat, though this can vary based on factors like temperature consistency and the type of grill you're using.
During the cooking process, it's important to monitor the internal temperature of the pork shoulder. Use a meat thermometer to check the temperature in the thickest part of the meat. You're aiming for an internal temperature of 195-205F, which indicates that the pork has reached the perfect level of tenderness for pulling.
Adding Smoke for Extra Flavor
Even though you're cooking pulled pork on a gas grill, you can still achieve that coveted smoky flavor. One way to do this is by using wood chips or chunks in a smoker box or wrapped in aluminum foil with holes poked in it. Place the smoker box or foil packet directly on the heat source, allowing the wood to smolder and produce smoke that will infuse your pork with delicious flavor.
Popular wood choices for smoking pulled pork include hickory, apple, cherry, and mesquite. Experiment with different wood types to find the one that best suits your taste preferences. Keep in mind that a little smoke goes a long way; you don't need to overdo it, as too much smoke can result in a bitter taste. Add wood chips periodically throughout the cooking process to maintain a steady stream of smoke.
Wrapping the Pork Shoulder
As the pork shoulder nears the end of its cooking time, you may choose to wrap it in aluminum foil or butcher paper. This technique, known as the Texas crutch, helps accelerate the cooking process and retain moisture. Wrapping the pork can also prevent the outer bark from becoming too dark or crunchy.
To wrap the pork, remove it from the grill when it reaches an internal temperature of around 160-170F. Place the pork shoulder on a large sheet of foil or butcher paper and wrap it tightly, ensuring there are no gaps or holes. Return the wrapped pork to the grill and continue cooking until it reaches the desired internal temperature of 195-205F.
Resting and Pulling the Pork
Once your pork shoulder has reached the ideal internal temperature, it's crucial to let it rest before pulling. Resting the meat allows the juices to redistribute throughout the pork, ensuring a moist and flavorful final product. Place the wrapped pork in a cooler or insulated container and let it rest for at least 30-60 minutes.
After resting, it's time to pull the pork. Unwrap the pork shoulder and transfer it to a large cutting board. Use a pair of meat claws or two forks to shred the meat into bite-sized pieces. Be sure to remove any large chunks of fat or connective tissue that didn't fully render during cooking. For an added touch of flavor, mix the shredded pork with your favorite barbecue sauce.
Serving Suggestions and Side Dishes
Now that your pulled pork is ready, it's time to serve and enjoy. There are countless ways to enjoy pulled pork, from classic sandwiches to creative dishes like pulled pork nachos, tacos, and pizza. Serve your pulled pork on soft buns with a side of coleslaw for a traditional barbecue experience, or get creative with your own unique recipes.
Complement your pulled pork with delicious side dishes like baked beans, cornbread, macaroni and cheese, and potato salad. These classic barbecue sides enhance the flavors of the pork and create a well-rounded meal that's sure to satisfy any crowd.
Cleaning and Maintaining Your Cookware
After you've enjoyed your delicious pulled pork, it's important to clean and maintain your cookware to ensure it lasts for many cooking sessions to come. Start by cleaning your gas grill grates with a sturdy brush to remove any residual grease and food particles. Wash your knife and cutting board with warm, soapy water, and consider using a cutting board oil to keep the wood in good condition. Find recommended cookware cleaner and cutting board oil here.
As an Amazon Associate, I earn from qualifying purchases.
Conclusion: Mastering Pulled Pork on a Gas Grill
Cooking pulled pork on a gas grill is an accessible and rewarding way to enjoy this classic barbecue dish. By following the steps outlined in this guide, you'll master the art of how to cook pulled pork on a gas grill and impress your guests with tender, flavorful meat. Remember to choose the right cut of pork, season it well, monitor your grill temperature, and be patient during the cooking process. With practice and dedication, you'll become a pulled pork expert in no time.
Whether you're a seasoned barbecue veteran or a beginner looking to try something new, this guide provides all the information you need to achieve pulled pork perfection. So fire up your gas grill, gather your ingredients, and get ready to enjoy some of the best pulled pork you've ever tasted.
To explore more grill recipes, check out our exciting guide on cooking kabobs or learn some amazing techniques for making ribs on a griddle.
For an alternative approach, read this professional guide on using another type of grill for your barbecue needs.


