How to Cook Ribs on a Gas Grill in Foil Using Indirect Heat: The Ultimate Guide
Written By James Morgan
Every barbecue enthusiast dreams of mastering the perfect method for cooking ribs. Whether you're a novice griller or a pitmaster, learning how to cook ribs on a gas grill in foil using indirect heat is an essential skill. The gentle, indirect heat combined with the protective foil wrapper ensures tender, flavorful ribs that will have your guests raving. Let's unlock the secrets to this mouth-watering technique together!

Why Choose Indirect Heat?
Cooking ribs using indirect heat on a gas grill is all about low and slow perfection. Unlike direct grilling, which can cause the exterior to char and the interior to remain undercooked, indirect heat allows the ribs to cook evenly. Indirect heat helps in breaking down the connective tissues in the ribs, resulting in that tender, fall-off-the-bone texture we all crave. This method also reduces the risk of flare-ups, eliminating the need to constantly monitor the grill. For more tips on using indirect heat, check out Cooking a Steak.

Preparing Your Grill
Before we delve into the specifics of seasoning and wrapping, it's crucial to set up your gas grill for indirect cooking. Here's a step-by-step guide:
Step 1: Clean the Grill
A clean grill is essential for achieving the best results. Remove any old food residue from the grates using a quality grill brush. This step not only ensures a better taste but also maintains the longevity of your grill.
Step 2: Set Up for Indirect Heat
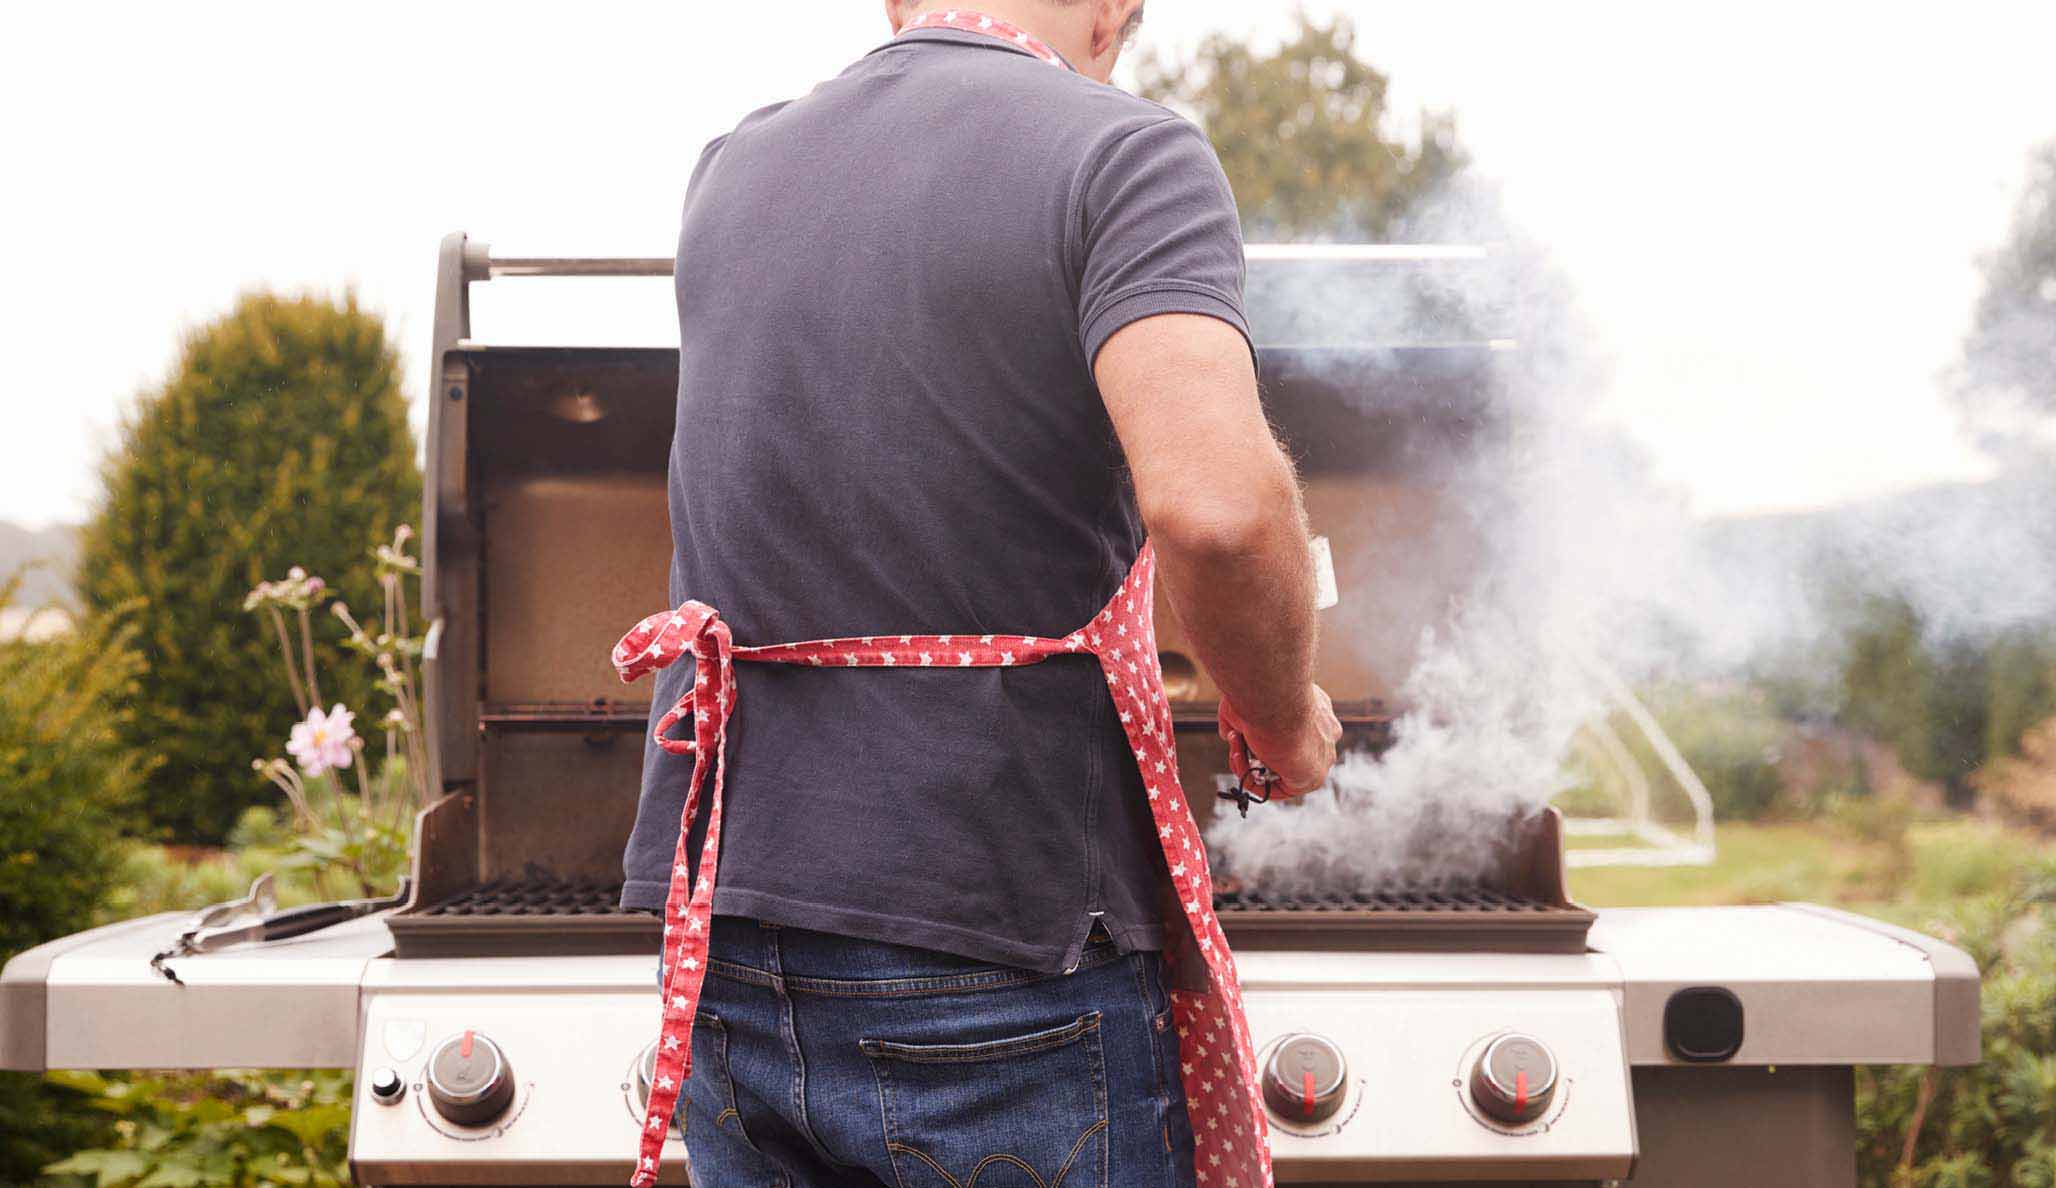
To set the gas grill for indirect cooking, turn on the burners on one side of the grill and leave the other side off. This creates a heat gradient where the lit side provides the heat, and the unlit side becomes the indirect cooking area. Curious about other indirect cooking methods? Read more Cooking on a Griddle.
For this recipe, a recommended tool you might need can be found here.
Step 3: Preheat the Grill
Preheat the grill to around 225-250F (107-121C). Use a built-in thermometer if your grill has one, or invest in an external grill thermometer for more accuracy. This low temperature ensures that the ribs cook slowly and evenly.

Selecting Your Ribs
The type of ribs you choose can make a significant difference. St. Louis style ribs and baby back ribs are popular choices. St. Louis ribs are meatier and slightly fattier, making them ideal for long cooking methods like this one. Baby back ribs, on the other hand, are leaner and cook a bit faster. Whichever type you choose, look for ribs with an even distribution of meat and fat, and avoid ribs with excessive bone or fat. For more on selecting quality meats, check out Selecting Meats.

Ingredients and Equipment
To achieve the best results, gather all the necessary ingredients and equipment before you start. Here's what you'll need:
- 2 racks of ribs (St. Louis style or baby back)
- 4 tablespoons olive oil
- 4 tablespoons yellow mustard
- cup brown sugar
- 2 tablespoons smoked paprika
- 1 tablespoon garlic powder
- 1 tablespoon onion powder
- 1 tablespoon ground black pepper
- 2 teaspoons salt
- 1 teaspoon cayenne pepper (optional, for added heat)
- Your favorite barbecue sauce
- Gas Grill
- Knife
- Cutting Board
- Grill thermometer
- Heavy-duty aluminum foil
- Pair of tongs
Preparing the Ribs
The key to tender and flavorful ribs starts with proper preparation. Follow these detailed steps:
Step 1: Remove the Membrane
Start by removing the silvery membrane from the bone side of the ribs. This membrane can become tough when cooked, so it's crucial to remove it. To do this, use a sharp knife to pry up a corner of the membrane, then grab it with a paper towel and pull it off in one piece. Wondering how to handle other cuts of meat? Read more Green Bean Casserole.
Step 2: Apply a Binder
Add a binder to help the seasoning adhere to the ribs. Olive oil and yellow mustard are excellent choices. These not only help the seasoning stick but also add another layer of flavor. Use a basting brush or your hands to coat both sides of the ribs evenly.
Step 3: Season the Ribs
Mix the brown sugar, smoked paprika, garlic powder, onion powder, ground black pepper, salt, and cayenne pepper (if using) in a bowl. Generously sprinkle this rub all over the ribs, ensuring an even coating. Use your hands to press the rub into the meat, making sure it adheres well.
Wrapping in Foil
One of the secrets to mastering how to cook ribs on a gas grill in foil using indirect heat lies in the wrapping process. Here's a detailed guide:
Step 1: Create a Foil Pouch
Lay out a large sheet of heavy-duty aluminum foil. Place the rack of ribs in the center of the foil, bone-side down. Bring the long edges of the foil together and fold them several times to create a sealed pouch. Then fold the short edges of the foil upwards to fully enclose the ribs. The foil should be tightly sealed to trap moisture and flavor.
Step 2: Add a Splash of Liquid
Before sealing the foil completely, add a splash of liquid to the pouch. Apple juice, beer, or a mixture of water and vinegar are popular choices. This liquid creates steam inside the pouch, which helps keep the ribs moist and tender during cooking.
Step 3: Double Wrapping (Optional)
For added security, you can double wrap the ribs. Use a second sheet of foil to wrap the already-sealed pouch. This step ensures that there are no leaks, keeping all the flavorful juices inside the pouch.
Cooking the Ribs
With the grill preheated and the ribs wrapped, it's time to cook. The indirect heat method allows for a steady, gentle cooking process. Here's a step-by-step guide:
Step 1: Place the Ribs on the Grill
Place the foil-wrapped ribs on the unlit side of the grill, which is your indirect cooking area. Close the grill lid. The indirect heat will circulate around the ribs, cooking them evenly without direct exposure to the flames.
Step 2: Maintain the Temperature
It's important to maintain a consistent temperature of 225-250F (107-121C). Check the grill thermometer regularly and adjust the burners as needed. Consistency is key to achieving perfectly tender ribs.
Step 3: Cook Time
Cook the ribs for about 2-3 hours. The exact time will depend on the size and thickness of the ribs, as well as your specific grill setup. After about 2 hours, you can check for doneness by gently poking a toothpick or skewer through the foil. If it goes in with little resistance, the ribs are done.
Finishing Touches
Once the ribs are cooked, finishing them off with a saucy and grilled exterior adds another layer of flavor and texture. Here's how:
Step 1: Unwrap the Ribs
Carefully remove the foil-wrapped ribs from the grill using a pair of tongs. Place them on a cutting board and let them rest for a few minutes. This allows the juices to redistribute throughout the meat. Carefully unwrap the foil, making sure to keep the flavorful juices that have accumulated inside the pouch.
Step 2: Apply Barbecue Sauce
Brush a generous amount of your favorite barbecue sauce on both sides of the ribs. This adds a sticky, sweet, and tangy layer of flavor. If you prefer a more robust flavor, you can apply the sauce in multiple layers, letting it caramelize slightly between each application.
Step 3: Grill for a Final Sear
Place the ribs directly on the grill grates over the lit burners. Grill for a few minutes on each side, just until the sauce caramelizes and forms a slight crust. Be cautious not to overcook at this stage, as the ribs can dry out quickly. For more grilling ideas, don't miss these Super Easy Grilling Recipes.
Serving and Enjoying
After all the effort, it's time to enjoy your masterpiece. Here's how to serve and savor the ribs:
Let the Ribs Rest: Once you remove the ribs from the grill, let them rest for about 10 minutes. This rest period allows the juices to settle, making each bite flavorful and tender.
Slice and Serve: Using a sharp knife, cut the ribs between the bones into individual portions. Arrange them on a platter and serve immediately. The aroma and the sight of perfectly cooked ribs are sure to impress your guests.
Complementary Sides: Ribs pair beautifully with classic barbecue sides like coleslaw, baked beans, cornbread, and grilled vegetables. You can also add a side of extra barbecue sauce for dipping.
Cleanup and Maintenance
After the feast, it's crucial to clean and maintain your equipment to ensure it lasts for many more barbecue sessions. Here's how:
Grill Cleanup
Once the grill has cooled down, remove any remaining food debris from the grates. A cookware cleaner specifically designed for grills can make this task easier. Regular cleaning prevents buildup and enhances grill performance.
Knife and Cutting Board Maintenance
Clean your knife and cutting board (you can find a quality cutting board here) thoroughly with hot soapy water. Wooden cutting boards can benefit from regular conditioning with a food-safe oil to prevent drying and cracking. Use cutting board oil periodically for maintenance.
Conclusion
Learning how to cook ribs on a gas grill in foil using indirect heat is a rewarding endeavor for any barbecue enthusiast. This method guarantees tender, flavorful ribs that showcase your grilling skills. With patience and attention to detail, you can create a culinary masterpiece that will leave a lasting impression on your guests. So fire up your gas grill, gather your ingredients, and embark on a flavorful journey to rib perfection!
As an Amazon Associate, I earn from qualifying purchases.


