How to Cook Shirakiku Rice in a Rice Cooker: Perfectly Fluffy and Delicious
Written By James Morgan
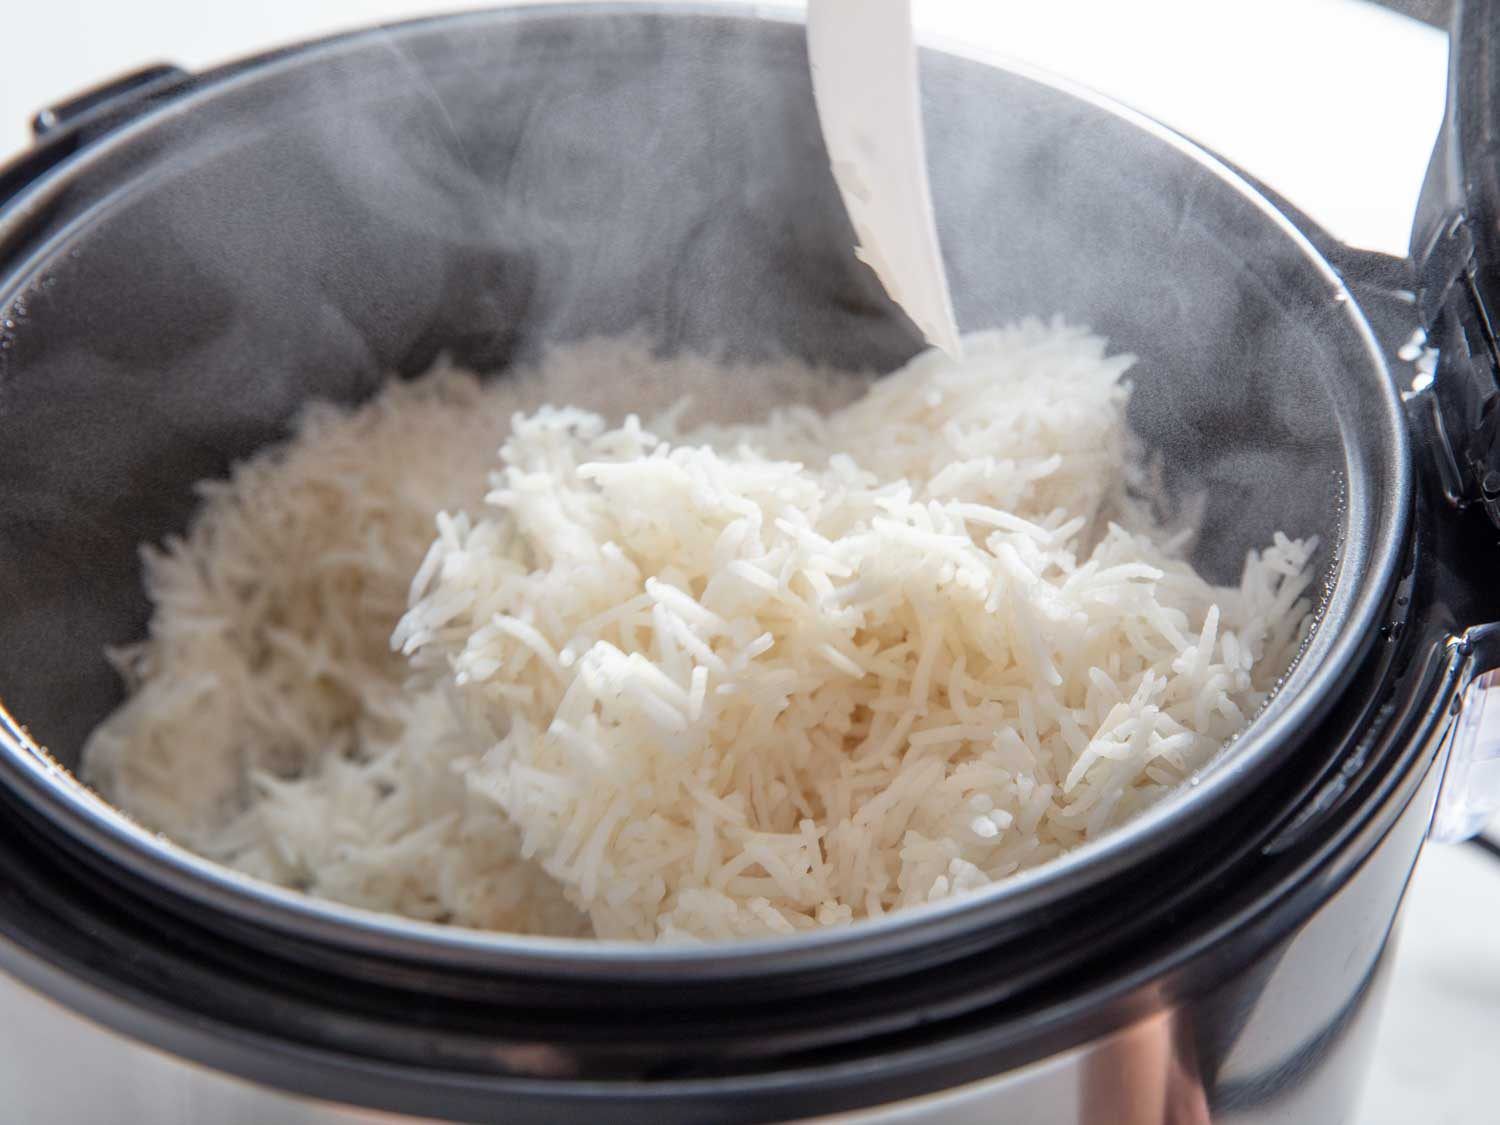
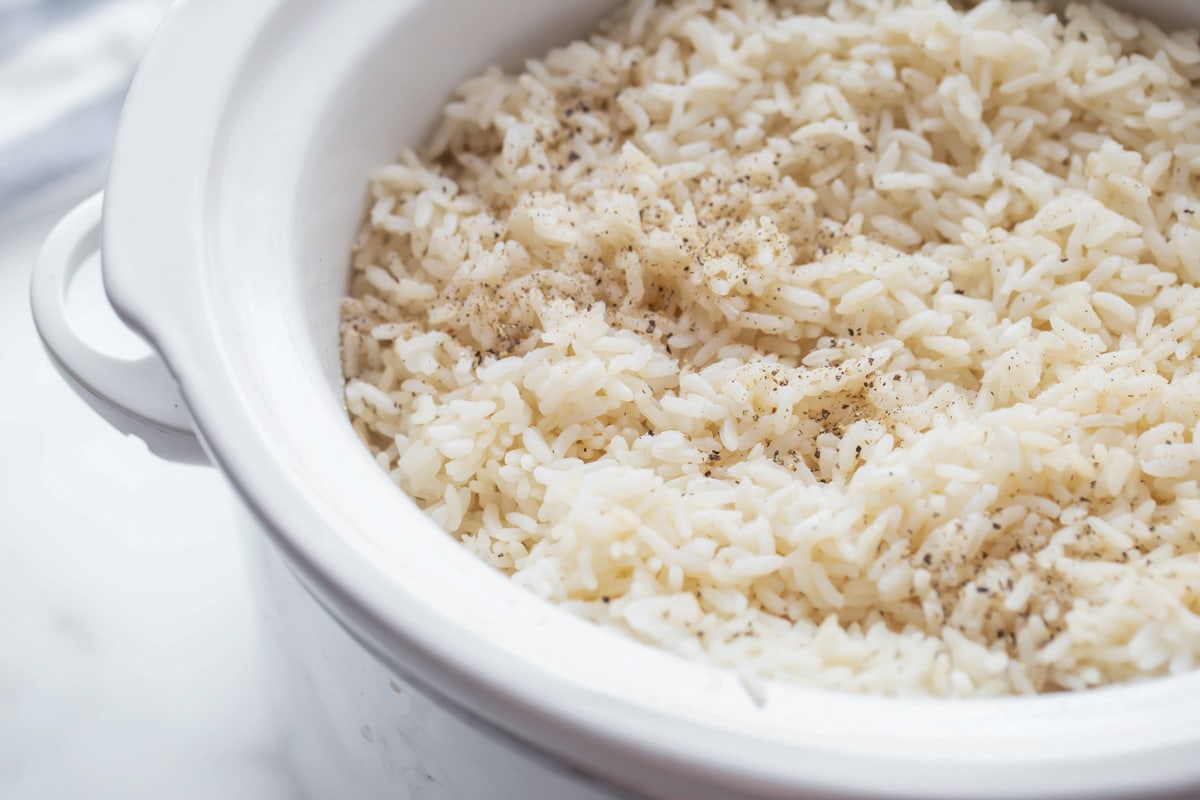
If you are a rice enthusiast seeking the perfect bowl of Shirakiku rice, you've landed at the right place. Learning how to cook Shirakiku rice in a rice cooker can transform your cooking experience and ensure that your rice comes out fluffy, tender, and incredibly delicious every time.

Why Choose Shirakiku Rice?
Shirakiku rice is renowned for its superior quality and exceptional taste. This premium short-grain rice is cultivated under specific conditions that ensure its characteristic sticky and slightly sweet texture. When cooked properly, Shirakiku rice becomes remarkably fluffy, making it perfect for sushi, rice bowls, and a range of other dishes. Its delightful texture and taste can elevate any meal.
:max_bytes(150000):strip_icc()/faw-rice-cookers-test-zojirushi-induction-elizabeth-theriot-02-ee42a4572dfb475380df1e4b12bb422b.jpg)
Benefits of Using a Rice Cooker
Using a rice cooker is a game-changer for cooking rice of any kind. These cookers are designed to provide consistent heat, ensuring every batch of rice is cooked to perfection. They save time, effort, and guesswork. Just set it and forget it, letting the appliance handle the rest. This is especially useful for a busy household where multitasking is a daily routine. Investing in a good rice cooker may also pay off in the long run as it reduces the chances of burning or undercooking your rice.

Essential Tools You'll Need
Before starting, here's a list of essential tools and ingredients you'll need. Having these items ready will streamline the process and ensure that you achieve the desired result.
- High-quality Shirakiku rice
- A reliable rice cooker
- Fresh water
- A cutting board
- A set of sharp knives
- A measuring cup or scale for precise measurements
- A bowl for rinsing the rice

Step-by-Step Guide to Cooking Shirakiku Rice in a Rice Cooker
Step 1: Measure the Rice
Start by measuring the correct amount of Shirakiku rice for your meal. Generally, one cup of uncooked rice will yield about three cups of cooked rice. Use a measuring cup or a kitchen scale for accuracy. Adjust the quantity based on the number of servings you need.
Step 2: Rinse the Rice
Rinsing the rice is an essential step that should not be overlooked. Place the measured rice in a bowl and add enough fresh water to cover it. Gently stir and swish the rice around with your hand. The water will become cloudy, indicating the removal of excess starch. Drain the water and repeat this process two to three times until the water is clear.
Step 3: Soak the Rice
After rinsing, let the rice soak in fresh water for about 30 minutes. Soaking allows the rice grains to absorb water and expand, promoting even cooking. It also contributes to a better texture in the final product.
Step 4: Add Rice and Water to the Rice Cooker
After soaking, transfer the rice to the rice cooker's inner pot. Add the appropriate amount of water based on your rice cooker's guidelines. Typically, the ratio is one cup of rice to one and a half cups of water. However, this may vary depending on the model and brand of your rice cooker. Refer to the rice cooker's manual for precise instructions.
Step 5: Select Cooking Settings
Most modern rice cookers come with various settings to accommodate different types of rice and cooking preferences. For Shirakiku rice, select the white rice or plain rice setting. If your rice cooker has a specialized sushi rice setting, you can use that as well. Close the lid and press the start button to begin cooking.
Step 6: Let the Rice Cook
Once the rice cooker starts, it will take care of the cooking process. The cooking time may range from 30 minutes to an hour, depending on the rice cooker model. Avoid opening the lid during cooking, as this can disrupt the process and affect the texture of the rice.
Step 7: Let the Rice Rest
After the rice cooker signals that the cooking cycle is complete, allow the rice to rest for about 10 minutes with the lid closed. This resting period helps the rice to firm up and prevents it from becoming too sticky.
Step 8: Fluff and Serve
Once the resting period is over, open the rice cooker and gently fluff the rice with a rice paddle or a fork. This helps to separate the grains and release excess steam. Serve the rice immediately while it's warm and enjoy it as a base for your favorite dishes.
Serving Suggestions for Shirakiku Rice
Shirakiku rice is incredibly versatile and can be paired with a wide variety of dishes. Here are some serving suggestions to inspire you:
- Sushi: Use Shirakiku rice as the base for homemade sushi rolls. Its sticky texture makes it perfect for rolling and shaping into sushi.
- Rice Bowls: Create delicious rice bowls with your favorite proteins and vegetables. Top the rice with grilled chicken, beef, or tofu, along with fresh vegetables and sauces.
- Fried Rice: Turn leftover Shirakiku rice into a flavorful fried rice dish. Add eggs, vegetables, and your choice of protein for a quick and satisfying meal. For a fantastic fried rice recipe, check out this guide.
- Rice Pudding: Transform Shirakiku rice into a delightful dessert by making rice pudding. Add milk, sugar, and spices for a creamy and sweet treat.
Conclusion
Learning how to cook Shirakiku rice in a rice cooker is a valuable skill that can elevate your culinary creations. Whether you're making sushi, rice bowls, or even desserts, perfectly cooked Shirakiku rice adds a touch of excellence to your dishes. By following the steps outlined in this guide and using the right tools and techniques, you can achieve fluffy, tender, and flavorful rice every time. So, go ahead and start experimenting with Shirakiku rice in your rice cooker, and enjoy the delicious results!
Don't forget to invest in high-quality kitchen tools like a reliable rice cooker, a cutting board, and a set of sharp knives to enhance your cooking experience. After all, great tools make great food!
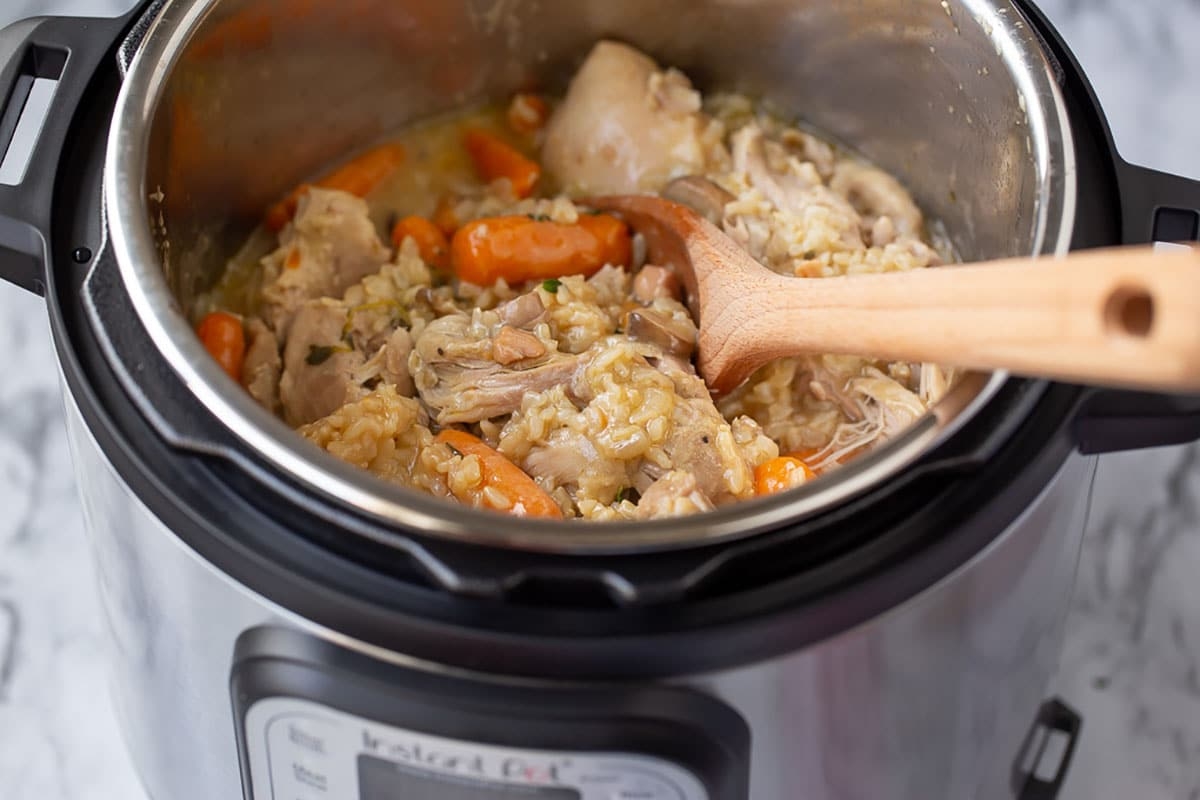
For even more rice recipes, check out our guides on Instant Pot Sushi Rice, Zojirushi Sushi Rice, and Quick and Easy Sushi!
Additional Resources
For more recipes and tips on cooking with Shirakiku rice, check out [related link]. To maintain your cookware, consider using a cookware cleaner and cutting board oil to keep your kitchen tools in top condition.
As an Amazon Associate, I earn from qualifying purchases.


