Mastering the Art of Barbecue: How to Cook St. Louis Ribs on a Gas Grill
Written By James Morgan
Theres something uniquely satisfying about enjoying perfectly grilled St. Louis ribs. If youve ever wondered how to cook St. Louis ribs on a gas grill and achieve that tender and smoky flavor right in your backyard, youve come to the right place. This comprehensive guide will walk you through everything from preparation to the final bite, ensuring an unforgettable barbecue experience.

The St. Louis Ribs Difference
Before diving into the grill specifics, its essential to understand what makes St. Louis ribs distinct. These ribs are cut from the belly of the hog after the belly is removed, giving them a rectangular shape. Unlike baby back ribs, St. Louis ribs are meatier and have more fat, resulting in a richer flavor and tender texture when cooked correctly. For more insights, check out our guide on baby back ribs.

What Youll Need
Before you even fire up the gas grill, you'll need to gather your ingredients and tools. Heres what you will need:
- St. Louis ribs (1-2 racks)
- Dry rub (paprika, brown sugar, garlic powder, onion powder, chili powder, salt, and pepper)
- BBQ sauce (optional, for finishing)
- Olive oil or mustard (for coating)
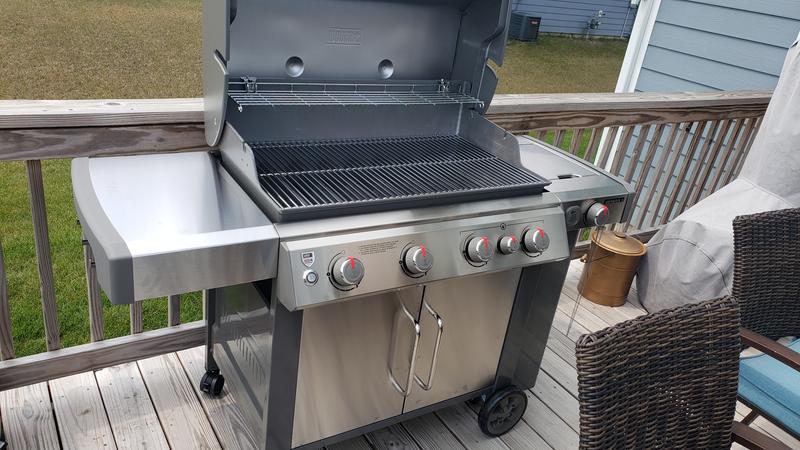
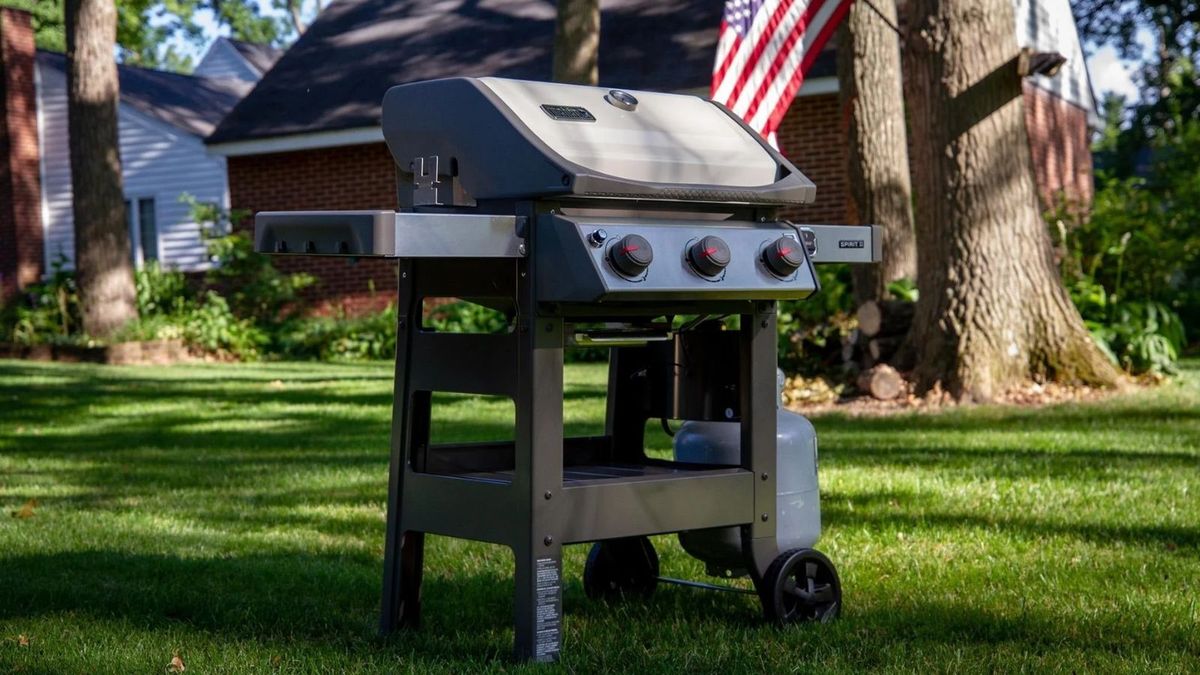
- Gas Grill
- Knife
- Cutting Board
- Aluminum foil
- Wood chips (hickory, apple, or cherry)
- Spray bottle filled with apple juice or apple cider vinegar

Preparation: The Key to Great Ribs
The first step in mastering how to cook St. Louis ribs on a gas grill is thorough preparation. Start by removing the membrane on the bone side of the ribs. You can do this by sliding a knife under the membrane and then using a paper towel to pull it off. This step is crucial for allowing the flavors to penetrate the meat and for achieving that melt-in-your-mouth texture.
Once the membrane is removed, rinse the ribs under cold water and pat them dry with paper towels. Lay them on your Cutting Board and coat them lightly with olive oil or mustard. This acts as a binder for your dry rub, ensuring that it sticks to the meat during the grilling process. Generously apply your dry rub on both sides of the ribs. Dont be afraid to be liberal with the rub as it will create a delicious crust and infuse the meat with incredible flavor. Let the ribs sit for at least an hour or overnight if possible to absorb the spices.

Getting the Grill Ready
The next critical step in learning how to cook St. Louis ribs on a gas grill is setting up your grill correctly. Our aim is low and slow cooking, which is the hallmark of perfect barbecue ribs.
Start by preheating your gas grill to 225F (107C). Only light one or two burners if you have a multi-burner grill. This will create an indirect cooking area where the ribs will cook evenly without direct exposure to the flame. Place a drip pan under the unlit burners to catch any drippings and prevent flare-ups.
For that authentic smoky flavor, we need to add some wood chips. Soak hickory, apple, or cherry wood chips in water for about 30 minutes. Drain the chips and place them in a smoker box or wrap them in aluminum foil with small holes poked in the top. Position the smoker box or foil pouch over the lit burners. The smoke created will infuse your ribs with a deep, smoky flavor thats characteristic of great barbecue. If you're interested in another delicious grilled dish, take a look at our recipe on cooking hibachi at home.
Cooking the Ribs: Patience is a Virtue
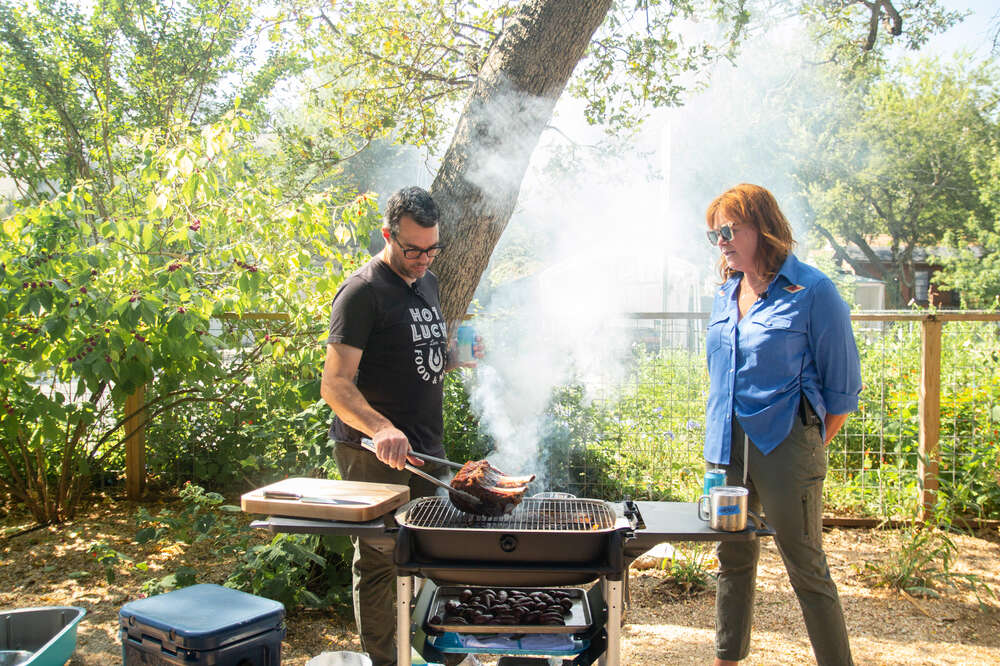
The actual cooking process when you are learning how to cook St. Louis ribs on a gas grill is where the magic happens. Lay the ribs bone-side down on the cooler side of the grill (over the unlit burners). Close the grill lid. The indirect heat will cook the ribs slowly, breaking down the collagen and fat, making the meat tender.
Maintain the grill temperature at a steady 225F. This may require some adjustment of the burners. Every 30 minutes, spritz the ribs with apple juice or apple cider vinegar using a spray bottle. This keeps the meat moist and adds a layer of flavor.
After about 2 to 3 hours of cooking, its time to wrap the ribs. This method is known as the Texas Crutch and helps to accelerate the cooking process and maintain the moisture of the meat. Lay out a large sheet of aluminum foil, place the ribs in the center, and splash some apple juice or cider vinegar over them. Wrap the ribs tightly and return them to the grill. Continue cooking for another 2 hours. If you're looking for a complementary dish, check out our tasty casserole beans.
The Final Touch: Saucing and Searing
The last stage in understanding how to cook St. Louis ribs on a gas grill is finishing with sauce and a light sear. After the ribs have been wrapped for 2 hours, carefully remove them from the foil and place them back on the grill. If you prefer your ribs sauced, brush them with your favorite BBQ sauce at this point.
Turn up the heat slightly to get a bit of a char on the outside of the ribs. Place the ribs directly over the lit burners for a few minutes on each side, just until the BBQ sauce caramelizes and creates a sticky, flavorful crust. Be careful not to leave them on too long as we dont want them to burn. For more amazing recipes, check out this collection of grilling favorites.
Serving the Ribs
Finally, its time to enjoy the fruits of your labor. Remove the ribs from the grill and let them rest for about 10 minutes. This allows the juices to redistribute throughout the meat, ensuring every bite is juicy and flavorful. Use a Knife to slice the ribs between the bones and serve them up to your eagerly awaiting guests.
Clean-Up
After enjoying your delicious grilled ribs, its time to tackle the clean-up. Ensuring your Gas Grill is properly cleaned will maintain its performance and longevity. Additionally, taking care of your cutting board and grilling tools is equally important.
As an Amazon Associate, I earn from qualifying purchases.
As an Amazon Associate, I earn from qualifying purchases.


