Irresistible Onigiri Rice Recipe: A Step-by-Step Guide
Written By James Morgan
If you're craving a taste of Japan but haven't yet tried an onigiri rice recipe, you're in for a delightful treat! Onigiri, or Japanese rice balls, have become increasingly popular worldwide due to their simplicity and flavor-packed varieties. This comprehensive guide will walk you through everything from what onigiri is, to how you can masterfully prepare it at home. Whether you are a busy parent, a culinary explorer, or someone looking to whip up quick and tasty snacks, this is the perfect recipe for you.
What is Onigiri?
Onigiri is a traditional Japanese rice ball commonly wrapped in nori (seaweed). Known for its portability, onigiri can be easily packed for lunches, picnics, or on-the-go snacks. Despite its simplicity, onigiri's versatility means that it can encompass a plethora of flavors, from savory to sweet. Traditionally, it is filled with ingredients like pickled plum (umeboshi), salted salmon, or tuna mixed with mayonnaise.
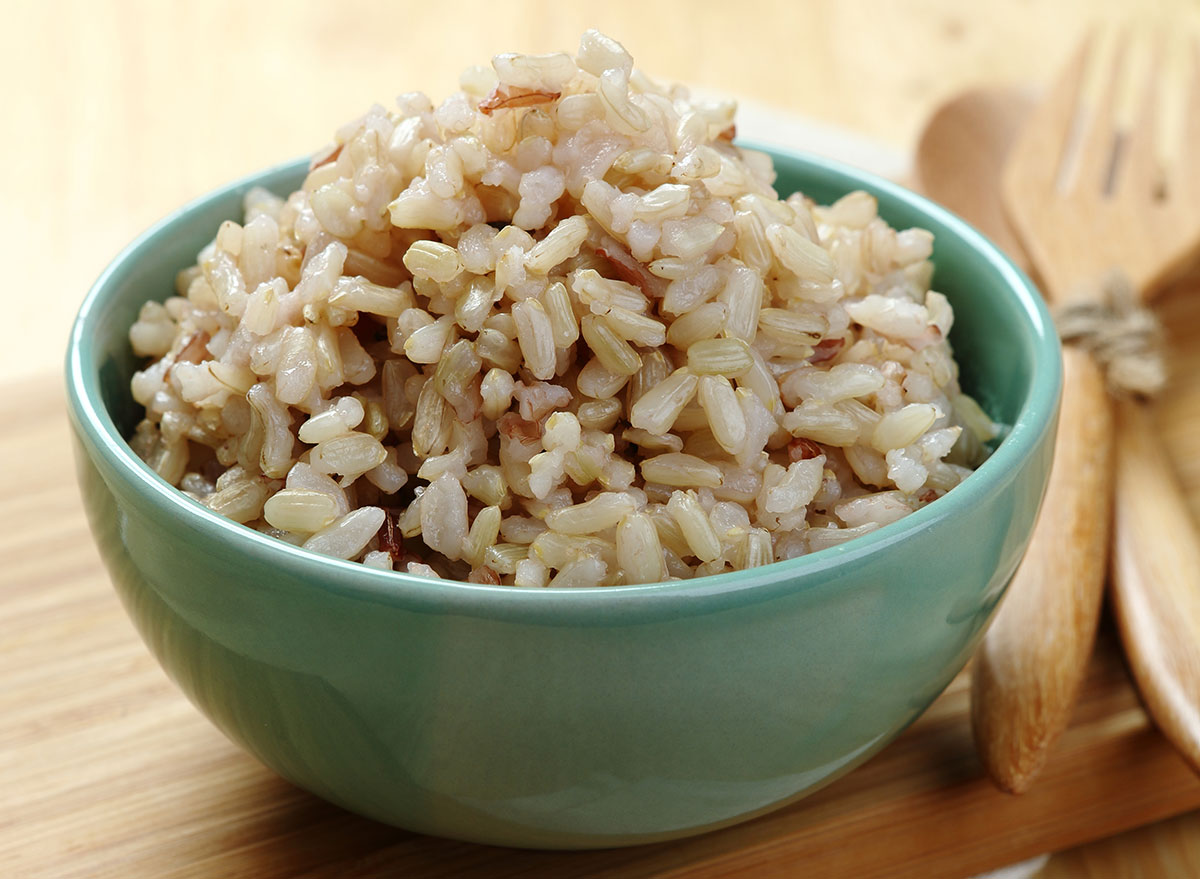
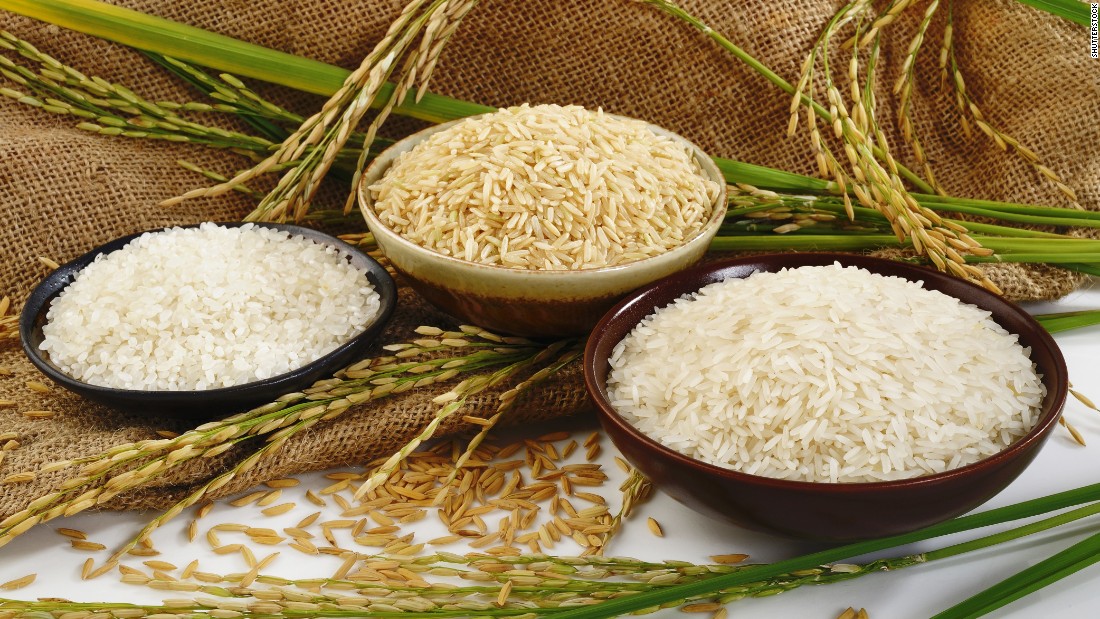
The Importance of Quality Ingredients
In crafting the perfect onigiri rice recipe, paying attention to the quality of your ingredients is crucial. High-quality rice forms the base of this dish. Opting for short-grain Japanese rice is essential because it possesses a sticky texture that keeps the rice ball intact. Don't skimp on ingredients like nori and fillings, each of which lends unique textures and flavors making your onigiri irresistible.
Essential Equipment
Before you dive into making your onigiri rice recipe, ensure you have the essential tools. These tools make the job easier and help achieve that perfect rice ball shape:
- Rice Cooker: A quality rice cooker can make all the difference in cooking perfect, sticky rice.
- Sharp Knife: For ensuring clean cuts, whether you're preparing your fillings or slicing into your finished onigiri.
- Cutting Board: A sturdy cutting board for dicing and assembling ingredients.
Ingredients You'll Need
- 2 cups of short-grain Japanese rice
- 2 1/2 cups water
- Nori sheets (seaweed)
- Fillings of your choice (tuna mayonnaise, salted salmon, pickled plum)
- Salt, for seasoning
- Soy sauce, optional, for extra flavor
Preparation Steps
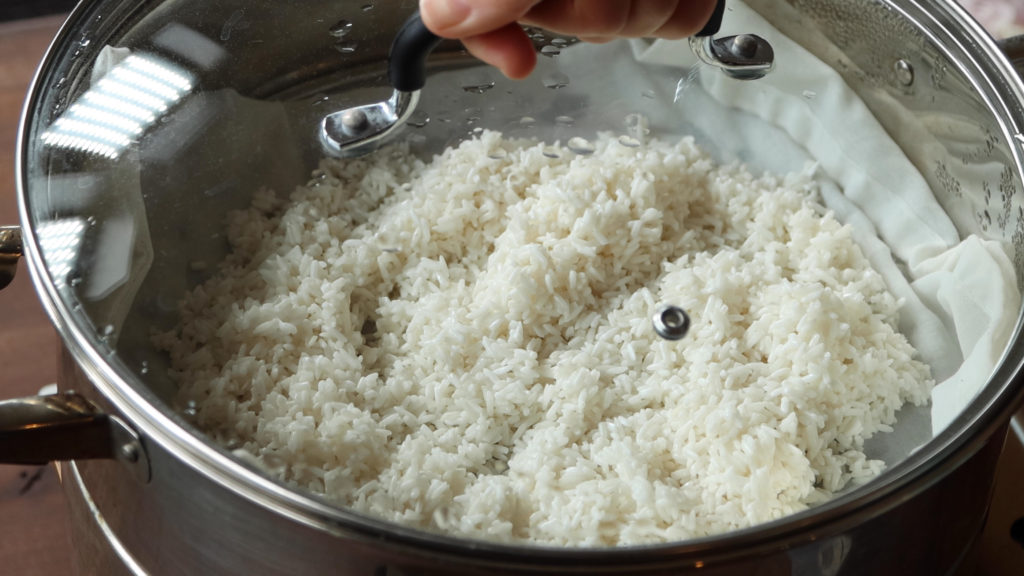
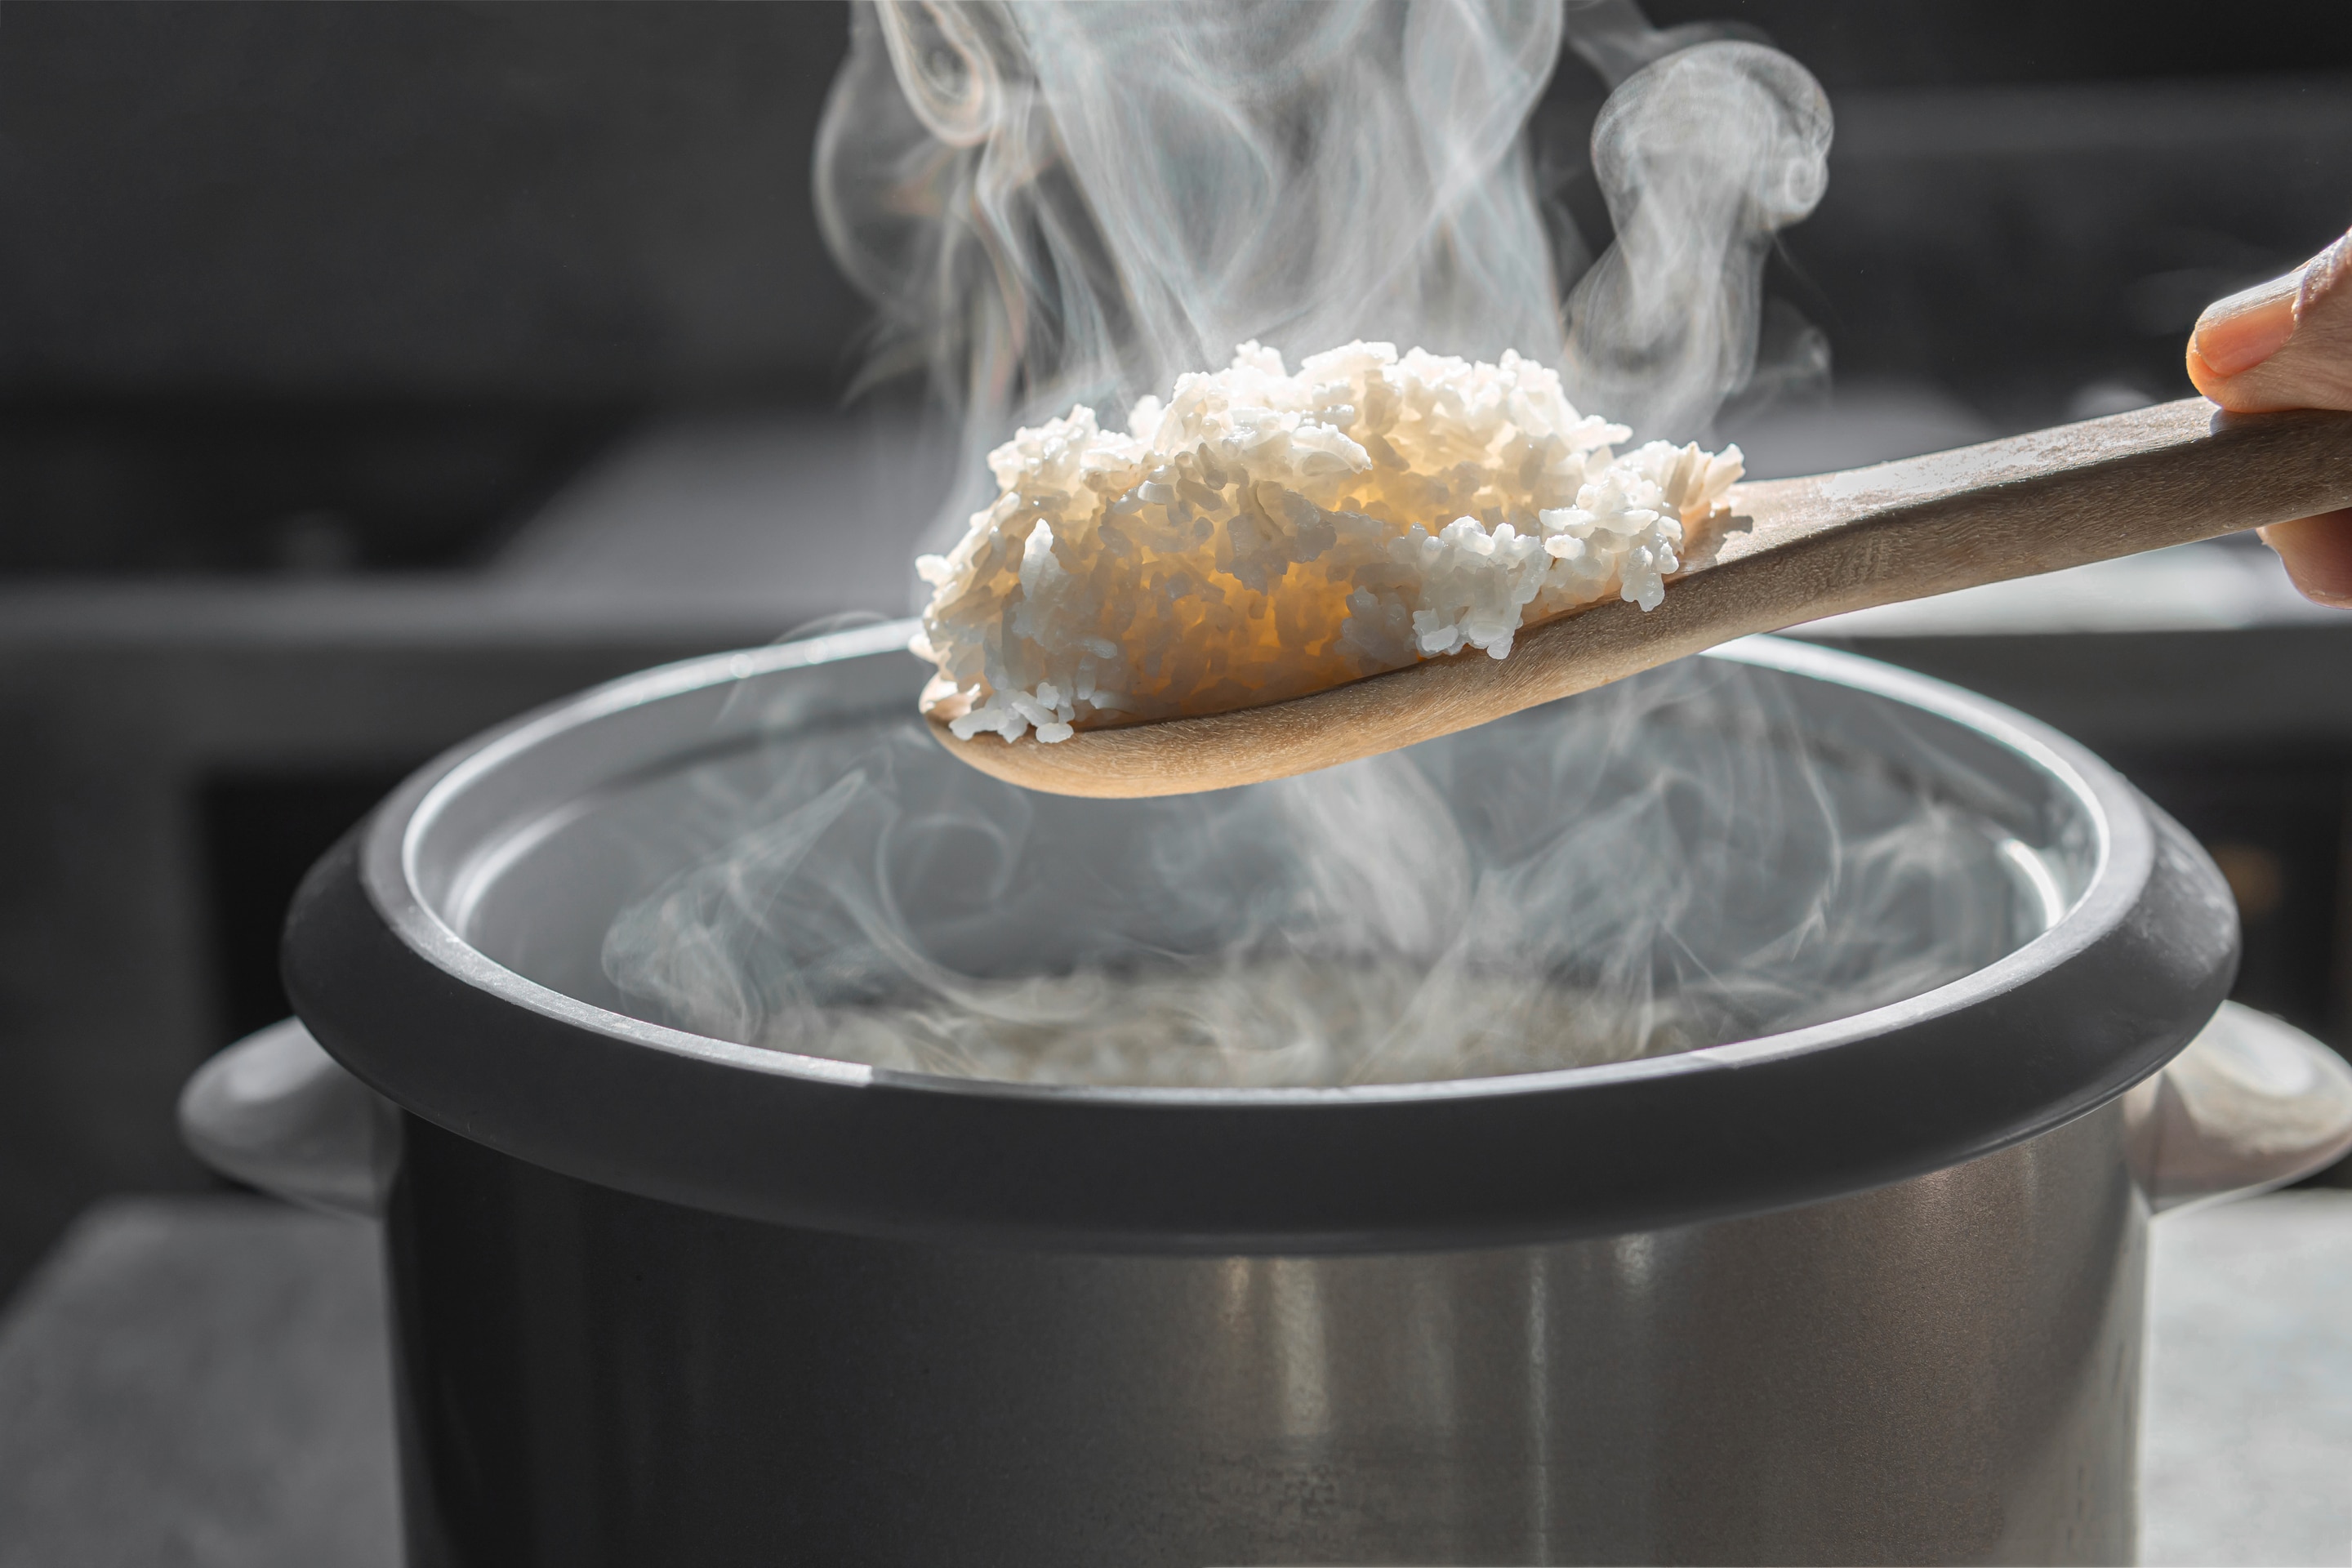
1. Cook the Rice
Start by rinsing the rice under cold water until the water runs clear. This is a crucial step to remove excess starch and ensure the rice doesn't turn out too sticky or gloopy. Next, place your rinsed rice into a rice cooker with 2 1/2 cups of water. Close the lid and let the rice cooker do its magic. Depending on your rice cooker, this could take between 20 to 40 minutes. Once done, let the rice sit for an additional 10 minutes to steam, which will help it achieve that perfect consistency.
2. Season the Rice
Once the rice is cooked and slightly cooled, it's time to season it. Though not always necessary, a light dusting of salt can add an extra dimension to your rice. You can also lightly moisten your hands with salt water before handling the rice to impart a subtle salted flavor.
3. Prepare the Fillings
While your rice is cooking, this is the perfect time to prepare your fillings. Use a sharp knife and cutting board to finely dice your ingredients. Traditional choices include tuna combined with mayonnaise, salted salmon, and pickled plum. However, don't let tradition stymie your creativitytry using leftovers or other favorite ingredients that work well with rice.
4. Assembling Your Onigiri
Once all your components are ready, it's time for the fun partassembling your onigiri. Wet your hands with some salt water to prevent the rice from sticking. Scoop a portion of rice, press a small indent in the center, and add your filling. Enclose the filling with more rice and shape the ball firmly but gently into a triangle or any other desired shape. Finally, wrap a strip of nori around the onigiri before serving.
Serving Suggestions
Onigiri can be enjoyed in many ways. Pack them into lunchboxes, serve them as appetizers, or incorporate them into a larger Japanese-themed meal. Pair with a bowl of miso soup and some pickled vegetables for a complete Japanese experience.
Clean-Up Tips
Cleaning up after making onigiri doesn't have to be a chore. A high-quality Cookware Cleaner can make quick work of any rice residue on your pots and utensils. Don't forget to treat your cutting board with oil periodically to maintain its longevity.
Hanami and Onigiri
Consider sharing your onigiri with friends during Hanami, the traditional cherry blossom viewing in Japan. Packing a variety of onigiri on your next outdoor adventure can also add a cultural touch to your experience.
Related Recipes You Might Enjoy
Common Pitfalls and How to Avoid Them
One common issue when making onigiri is the rice sticking too much to your hands. To avoid this, always keep your hands slightly wet. Using short-grain Japanese rice is essential, as it has the ideal consistency for sticking together without falling apart. Additionally, don't over-stuff your onigiri with fillings, as this can cause them to lose their shape.
Your Custom Onigiri Adventure
Don't be afraid to experiment and make this onigiri rice recipe uniquely yours. From adding ingredients like herbs or different seasonings to trying unconventional fillings, the possibilities are endless. If you're interested in more rice dishes, you might also enjoy this [Fried Rice Recipe](https://www.allrecipes.com/recipe/79543/fried-rice-restaurant-style/ 'Fried Rice Recipe'). (Opens in a new tab, nofollow in rel attribute)
As an Amazon Associate, I earn from qualifying purchases.


