The Ultimate Pickled Ginger Recipe for Sushi Enthusiasts
Written By James Morgan
If you love sushi, then you've likely enjoyed that thinly sliced, pink ginger that often accompanies your rolls. With our comprehensive pickled ginger recipe for sushi, you can create this delightful condiment right at home. In this article, we'll guide you through every step, covering everything you need to know to prepare and enjoy your own pickled ginger recipe for sushi from the comfort of your kitchen.

Introduction to Pickled Ginger
Pickled ginger, or gari as it's known in Japan, is a must-have condiment for sushi lovers. Not only does it provide a refreshing palate cleanser between bites, but it also offers a harmonious balance to the flavors of sushi. The beauty of our pickled ginger recipe for sushi lies in its simplicity and authenticity. By following this recipe, you can enjoy fresh, homemade pickled ginger that far surpasses any store-bought alternative.

Ingredients and Tools You'll Need
Before diving into the preparation process, let's review the essential ingredients and tools required to create the perfect pickled ginger recipe for sushi. Gathering these items in advance will ensure a smooth and enjoyable experience.
Ingredients
- 500g fresh ginger root
- 1 cup rice vinegar
- 1 cup water
- 1 cup sugar
- 1 tablespoon salt
- Red food coloring (optional)
Having the right equipment will make the process of slicing, pickling, and storing your ginger much easier and more enjoyable.

Step-by-Step Pickled Ginger Recipe for Sushi
Now, let's dive into the detailed steps to make your own pickled ginger. Each step is carefully outlined to ensure success, even if you're new to pickling.
Step 1: Prepare the Ginger
Start by cleaning the ginger roots thoroughly under running water. Use a strainer to remove any dirt. Peel the ginger using a spoon to scrape off the skin, preserving as much of the ginger flesh as possible. Once peeled, thinly slice the ginger with a sharp sushi knife. The thinner the slices, the better the texture of your pickled ginger.
Step 2: Blanch the Ginger
Place the sliced ginger in a large pot of boiling water for about two minutes. This step helps to soften the ginger and remove its raw pungency. After two minutes, drain the ginger using a strainer and set it aside.
Step 3: Make the Pickling Solution
In a separate saucepan, combine the rice vinegar, water, sugar, and salt. Bring the mixture to a boil, stirring occasionally, until the sugar and salt have fully dissolved. If you prefer the traditional pink hue of store-bought pickled ginger, you can add a drop or two of red food coloring to the solution.
Step 4: Combine and Store
Place the blanched ginger slices in a clean glass jar. Pour the hot pickling solution over the ginger, ensuring all pieces are fully submerged. Seal the jar tightly and let it cool to room temperature. Once cooled, refrigerate the jar for at least 24 hours to allow the flavors to meld.
Tips for Perfect Pickled Ginger
Ensuring your pickled ginger turns out perfect requires some key tips and tricks. First, always use fresh ginger root. Freshness is key as older ginger tends to be fibrous and tough. Second, be precise with your slicing. Tools like the sushi knife and cutting board can make a significant difference in achieving consistent, thin layers. Third, remember to allow sufficient time for the ginger to soak in the pickling solution. Patience is key to achieving the desired taste and texture.

Pairing Your Pickled Ginger with Sushi
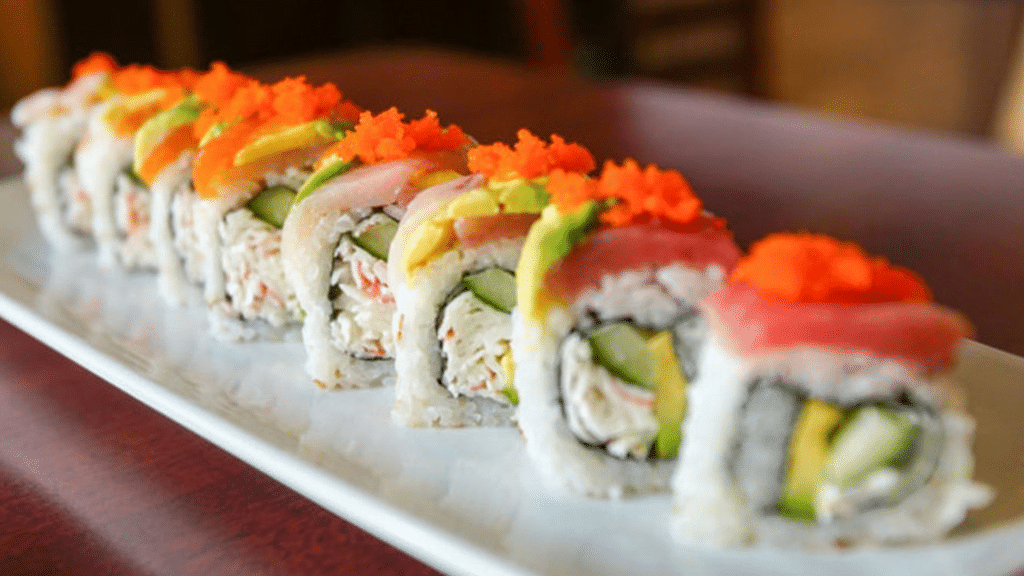
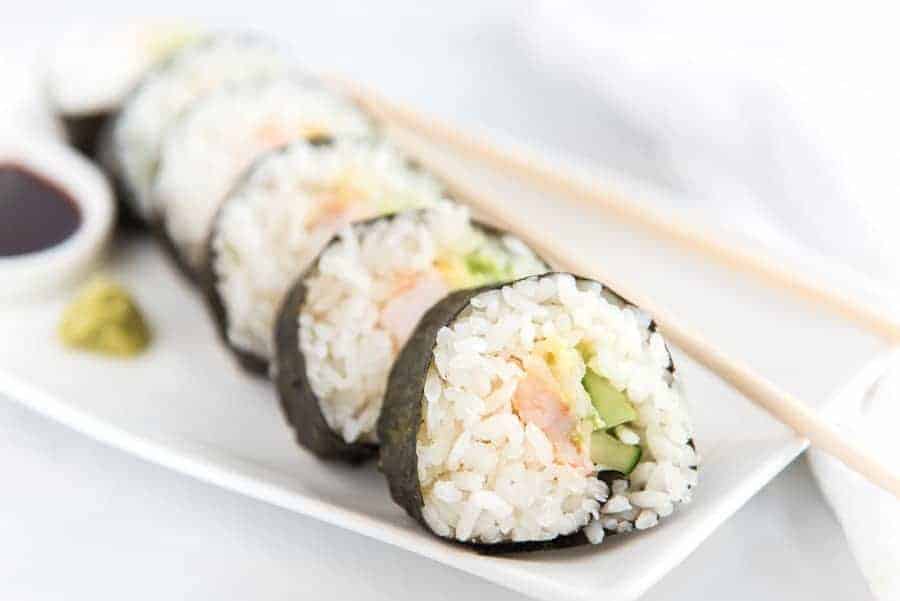
Now that you've mastered our pickled ginger recipe for sushi, the next step is pairing it with delicious sushi rolls. One of the joys of making sushi at home is experimenting with different types of rolls and ingredients. Whether you're a fan of classic tuna rolls, spicy salmon, or veggie combinations, your homemade pickled ginger is a versatile accompaniment. Sushi isn't just about flavor; it's an art form. Presentation is crucial, and fresh homemade pickled ginger adds an authentic, gourmet touch to any sushi platter. For a comprehensive guide on preparing sushi at home, visit this [BBC Good Food Simple Sushi Recipe](https://www.bbcgoodfood.com/recipes/simple-sushi).
Storing and Longevity
Proper storage is important to maintain the freshness and quality of your pickled ginger. Store the jar in the refrigerator, where it can last for several months if properly sealed. Always use a clean utensil when serving the ginger to avoid contamination. Regularly check for any signs of spoilage, such as changes in color or odor, to ensure it remains safe and delicious.
Creative Uses for Pickled Ginger
While pickled ginger is traditionally served with sushi, it has a variety of other culinary applications. It can be a delicious addition to salads, sandwiches, and even grilled dishes. Its unique flavor profile, combining sweetness, tanginess, and a slight hint of spiciness, can enhance many of your favorite recipes. For BBQ enthusiasts, incorporating pickled ginger into marinades or as a topping for grilled meats can offer a delightful and unexpected twist.
Health Benefits of Pickled Ginger
Beyond its culinary appeal, pickled ginger offers several health benefits. Ginger is known for its anti-inflammatory properties and can aid digestion, making it a wise addition to your diet. Incorporating pickled ginger into your meals not only adds flavor but also provides a natural way to support overall health.
Conclusion
Creating your own pickled ginger recipe for sushi is a rewarding and enjoyable experience. By following these detailed steps and tips, you can elevate your sushi-making skills and delight in the flavors of authentic homemade pickled ginger. Whether you're serving it with sushi, adding it to salads, or exploring creative uses, this pickled ginger will undoubtedly become a staple in your kitchen.
For more delicious recipes and culinary inspiration, check out our other articles on Squash Casserole, Cooking Squash, and Chicken Thighs in Dutch Oven.
As an Amazon Associate, I earn from qualifying purchases.


