How to Clean Kitchen Exhaust Fan Without Removing Easily
Written By James Morgan
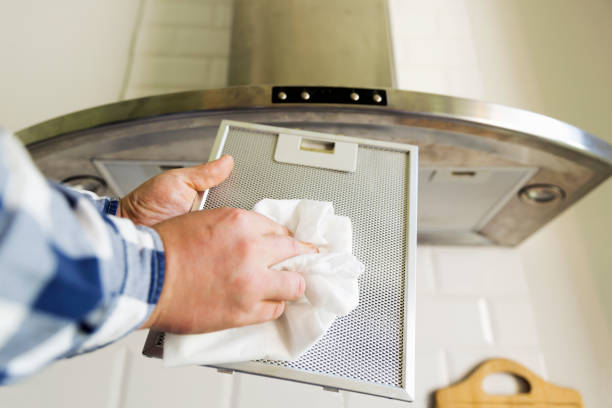
Cleaning a kitchen exhaust fan may seem like a daunting task, especially if you're thinking about dismantling it. Fortunately, there's no need to detach the entire unit to get it spotless. Our step-by-step guide will walk you through the process of cleaning your kitchen exhaust fan without removing it from its place, leaving it as good as new.
As a barbecue enthusiast, you know the importance of a clean kitchen setup. Whether it's to maintain the perfect grilling environment or just ensure your kitchen stays fresh, cleaning your exhaust fan is a necessary task to keep the area free from grease and smoke residue.

Why Clean Your Kitchen Exhaust Fan?
Your kitchen exhaust fan works hard to eliminate smoke, odors, and grease particles from your cooking area. Over time, grease can build up, reducing the efficiency of the exhaust fan and even posing a fire hazard. Regular cleaning not only ensures better performance but also prolongs the life of the fan and keeps your kitchen air clean.

Supplies Needed
- Dish soap
- Baking soda
- Vinegar
- Scrub brushes
- Microfiber cloths
- Protective gloves

Preparation
Before you start cleaning, ensure you've switched off the power supply to your exhaust fan. This step is crucial for your safety to avoid any electrical hazards. Lay down some old newspapers or towels under the fan to catch any drips during the cleaning process.
Step-by-Step Cleaning Guide
1. Clean the Exterior
First, wipe down the exterior surfaces of the exhaust fan using a mixture of dish soap and warm water. For tougher stains, use a paste made of baking soda and water to scrub off any persistent grease buildup. Rinse with a damp cloth and dry thoroughly.
2. Remove and Clean the Filters
Most exhaust fans have removable filters that can be taken out for cleaning. Soak these filters in a sink filled with hot water and dish soap. After soaking for about 15 minutes, scrub them using a brush to remove grease and grime. Rinse with clean water and allow them to air dry completely before reinserting them into the fan.
3. Clean the Vent and Internal Components
To clean the vent and other internal parts without removing the exhaust fan, use a combination of vinegar and water. This solution can dissolve grease effectively. Spray the mixture onto a scrub brush and meticulously clean all accessible parts. Use a toothbrush for tight spaces.
4. Final Wipe Down
After cleaning all parts and reassembling the filters, give the entire unit one last wipe-down with a microfiber cloth to ensure no moisture is left behind. This will help prevent any future grease buildup.

Maintenance Tips
Regular maintenance can keep your exhaust fan running efficiently for a longer time. Consider cleaning the filters every month and doing a thorough cleaning every three to six months. This will not only maintain air quality but also ensure that your fan lasts longer.
FAQ
How often should I clean my kitchen exhaust fan?
Ideally, you should do a thorough cleaning every three to six months. However, you should clean the filters and wipe down the exterior once a month.
Can I use commercial cleaners?
Yes, but make sure they are safe for use on your specific fan model. It's often best to stick with natural solutions like vinegar and baking soda to avoid potential damage to the fan components.
What if my exhaust fan is too greasy?
If your exhaust fan has significant grease buildup, you may need to repeat the cleaning process or use a stronger degreaser. Ensure you wear protective gloves and follow the manufacturer's guidelines.
By following this step-by-step guide, you can easily clean your kitchen exhaust fan without the need to remove it. Not only will this approach save you time and effort, but it will also help you achieve a clean and efficient kitchen environment.
For more tips on maintaining a clean kitchen, check out our articles on cleaning grease off laminate kitchen cabinets, cleaning kitchen trash can, cleaning kitchen ceiling, and more.
As an Amazon Associate, I earn from qualifying purchases.
As an Amazon Associate, I earn from qualifying purchases.


