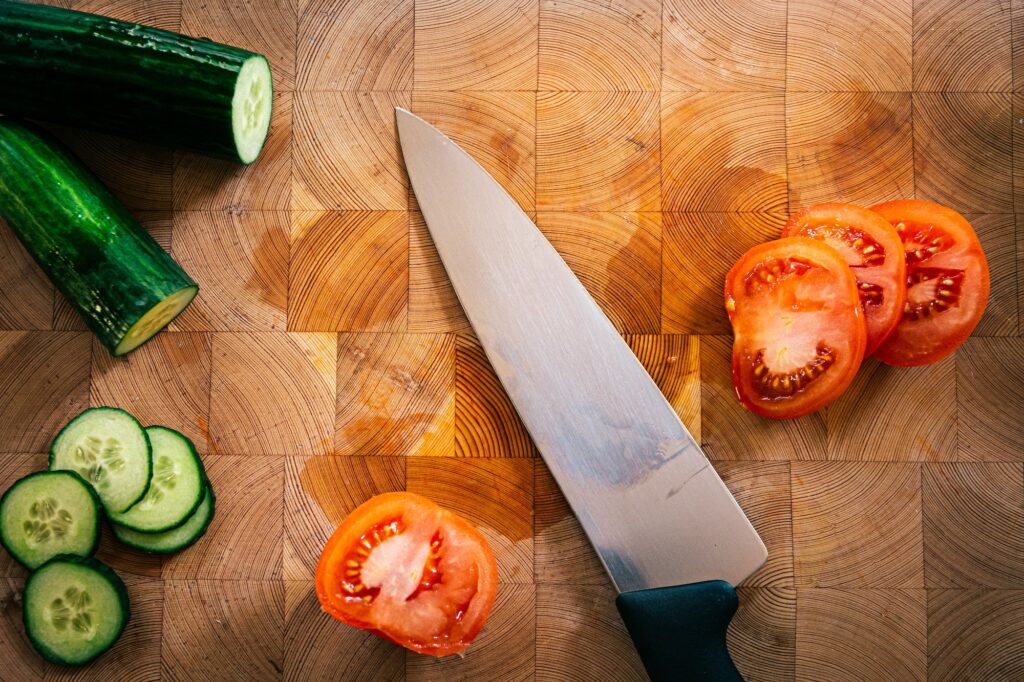
How to Craft a Beautiful Cutting Board with Different Woods
Written By James Morgan
Barbecue enthusiasts know that a well-crafted cutting board is a critical part of the perfect grilling setup. If you want to impress your guests not just with your grilled dishes but also with your presentation, making your own cutting board with different woods is a fantastic way to add flair to your kitchen. In this guide, we'll walk you through the steps of creating a stunning, durable cutting board.

Why Use Different Woods?
Using different woods not only adds aesthetic value but also functionality to your cutting board. Each type of wood has unique properties that can contribute to the board's overall durability and usability. For instance, harder woods like maple and walnut are incredibly durable and resistant to knife marks, while softer woods like cherry offer beautiful, warm colors.
Materials You'll Need
- Various types of wood (Maple, Cherry, Walnut, etc.)
- Wood glue
- Clamps
- Sandpaper
- Wood finish (such as mineral oil or beeswax)
- A table saw or hand saw
- A planer and/or hand sander

Step-by-Step Guide
Step 1: Selecting the Wood
The first step in creating a cutting board with different woods is selecting your materials. Head to your local lumber yard and pick up pieces of Maple, Cherry, and Walnutthey're known for their durability and beautiful grain patterns. Make sure the wood is free from defects like knots and cracks.
Step 2: Cutting the Wood
Once you have your wood, it's time to cut them into strips. Aim for uniformity hereeach strip should be the same width and length. This will ensure that your cutting board not only looks good but is also functional and stable.
Step 3: Gluing and Clamping
Arrange your wood strips in a pattern that you find visually appealing. Once you have it laid out, start applying wood glue to the edges and clamp them together. Make sure to apply even clamping pressure to avoid gaps and misalignment.
Step 4: Sanding and Planing
After the glue has dried, it's time to sand your cutting board. Start with coarse-grit sandpaper and work your way up to finer grits. If you have a planer, use it to achieve a smooth, even surface.

Finishing Touches
Sanding
If working with different woods, you may have some uneven edges or surfaces. Sanding is crucial to get that perfect, smooth finish. Begin with 80-grit sandpaper and gradually move to 220-grit for a polished look.
Applying the Finish
Finally, apply a food-safe finish, like mineral oil or beeswax. This step not only brings out the beauty of the wood but also protects it from moisture. Make sure to apply multiple coats for maximum protection.

Maintaining Your Cutting Board
Ensuring that your cutting board lasts for years involves proper care. Regularly oiling the board will keep the wood hydrated and prevent it from cracking. For detailed guidance on how to hydrate your cutting board, check out how to hydrate your wood cutting board.
Cleaning your cutting board is equally important. For tips on keeping it clean, read our guide on when and how to clean cutting boards.
FAQs
What types of wood are best for cutting boards?
Hardwoods like maple, cherry, and walnut are excellent choices due to their durability and resistance to knife marks.
Can I use softwoods to make a cutting board?
While you can use softwoods, they are generally not recommended as they are more susceptible to damage and wear.
How often should I oil my cutting board?
It's a good practice to oil your cutting board every few weeks, depending on how frequently you use it.
To learn more about maintaining your cutting board, visit this guide on cutting board maintenance.
As an Amazon Associate, I earn from qualifying purchases.


