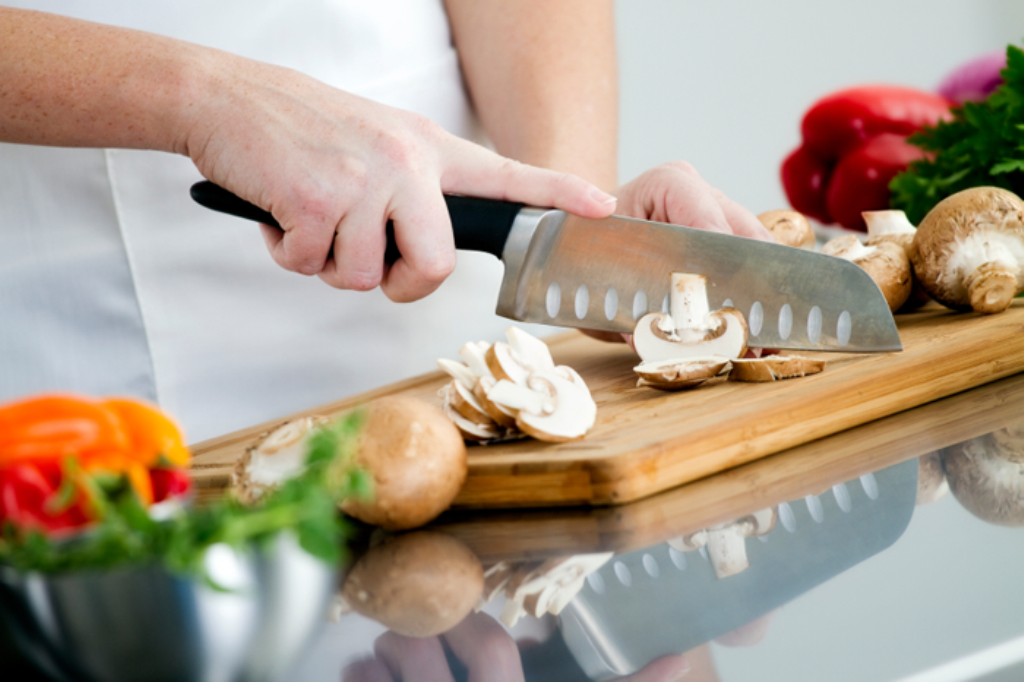
How to Resurface Cutting Board: Revive Your Essential BBQ Tool
Written By James Morgan
If theres one tool in your BBQ arsenal that gets as much use as your grill, its likely your cutting board. For BBQ enthusiasts, a cutting board isnt just a utility; it's an essential part of meal preparation. Over time, however, even the sturdiest cutting boards start showing signs of wear and tear. This wear affects their functionality and hygiene, which is where learning how to resurface a cutting board becomes vital.

Why Resurfacing Matters
Resurfacing a cutting board is not just about aesthetics; its a crucial maintenance practice. A damaged surface can harbor bacteria and affect the overall performance of your cutting tool. This article will guide you thoroughly on how to bring life back into your trusty cutting board.

Signs Your Cutting Board Needs Resurfacing
Noticeable Scratches and Grooves
Over time, cutting boards accumulate scratches and grooves from prolonged use. These imperfections not only make the board unsightly but also create a breeding ground for bacteria. If your board has visible nicks or deep cuts that can trap food particles, its time to consider resurfacing.
Warping and Unevenness
Exposure to moisture and fluctuations in temperature can cause your cutting board to warp. A warped board is not only difficult to work with but also unsafe, as it can cause your knife to slip. When your board no longer sits flat on your countertop, its a telltale sign that it needs attention.
Persistent Odors
If your cutting board retains strong smells despite thorough cleaning, it might be time to resurface. Deep grooves and cracks can trap odors and make them nearly impossible to eliminate.

Step-by-Step Guide on How to Resurface a Cutting Board
Gather Your Supplies
Before diving into the resurfacing process, ensure that you have all the necessary supplies on hand. You will need:
- Sandpaper (120, 220, and 400 grit)
- Mineral oil or beeswax
- A clean cloth
- Clamps (optional)
Step 1: Clean the Board
Start by giving your cutting board a thorough cleaning. Use warm water and mild dish soap to remove surface residue. Rinse it well and allow it to dry completely before moving on to the next step.
Step 2: Sand the Surface
Begin with the coarse 120-grit sandpaper. Sand your cutting board in the direction of the grain to remove deep grooves and scratches. Once the surface feels smoother, switch to 220-grit sandpaper for a more refined finish. Finally, use 400-grit sandpaper to achieve a polished look.
Step 3: Clean Again
After sanding, wipe the board with a damp cloth to remove any sawdust. Ensure the board is completely dry before proceeding to the next step.
Step 4: Apply Oil
Using a clean cloth, apply a generous amount of mineral oil or beeswax to the surface of the cutting board. Allow the oil to penetrate for at least a few hours or overnight if possible. This step helps to moisturize and seal the wood, restoring its natural appearance.
Step 5: Wipe Off Excess Oil
After the oil has soaked in, use a dry cloth to wipe off any excess. Your cutting board should look revitalized and ready for use.

Maintaining Your Resurfaced Cutting Board
Regular Cleaning
Make it a habit to clean your cutting board immediately after use to prevent stains and odors. Use warm, soapy water and dry it thoroughly before storing.
Reapply Mineral Oil
To keep your cutting board in tip-top shape, apply mineral oil once a month. This helps maintain the boards moisture balance and prevents it from becoming brittle.
Avoid Excessive Moisture
Ensure your cutting board is not left soaked in water for long periods. Excessive moisture can lead to warping and splitting.
For more tips on maintaining various types of cutting boards, check out how to clean a marble cutting board.
Tips and Tricks
Use Clamps
If your board is severely warped, you can use clamps to help flatten it during the resurfacing process. Clamp the board to a flat surface while sanding and oiling.
Rotate Your Board
To ensure even wear on your cutting board, remember to use both sides. This practice extends the life of your board and distributes the wear more evenly.
Designate Boards for Specific Uses
To prevent cross-contamination, use different boards for different types of food. For example, designate one board for meat and another for vegetables.
For a deeper understanding of how to prevent cross-contamination, you might find this resource useful.
Frequently Asked Questions
What type of oil should I use?
Mineral oil and beeswax are both excellent choices. Avoid using cooking oils like olive oil, as they can turn rancid.
How often should I resurface my cutting board?
It depends on how frequently you use it. For regular users, once a year should suffice. However, if you notice deep grooves or persistent odors, resurface it promptly.
Can I use the same board for meat and vegetables?
It's best to use separate boards to prevent cross-contamination. If you must use the same board, be meticulous about cleaning it between uses.
Do you want to know more about various types of cutting boards? Check out this insightful article for additional information.
If you found this guide helpful, share it with your fellow BBQ enthusiasts!
As an Amazon Associate, I earn from qualifying purchases.


