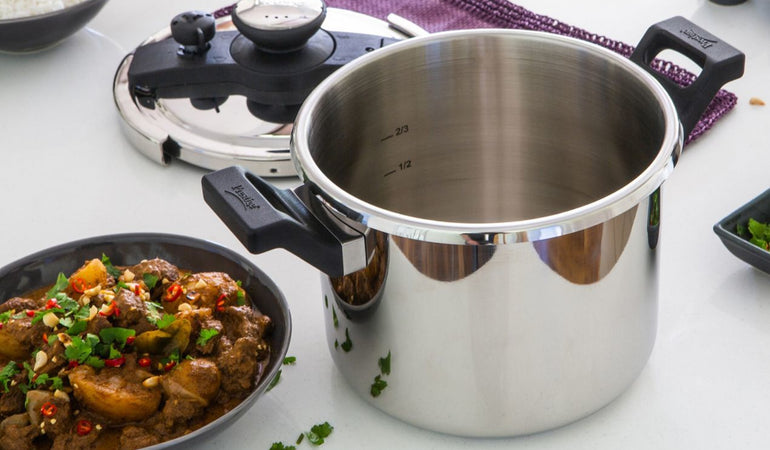
The Ultimate Guide: How to Cook Brisket in a Pressure Cooker
Written By James Morgan
There's nothing quite like biting into a succulent, tender piece of brisket that's been marinated and cooked to perfection! When it comes to barbecue, brisket holds an esteemed place, but traditionally, it can take several hours to cook properly. What if I told you there's a faster, equally delicious way to achieve the perfect brisket? Continue reading to discover how to cook brisket in a pressure cooker and enjoy a mouthwatering meal in a fraction of the time.

Why Choose a Pressure Cooker for Your Brisket?
Pressure cookers have been a game-changer in many kitchens for various reasons. But when it comes to brisket, their magic lies in their ability to tenderize meat quickly while infusing it with rich flavors. No more waiting hours upon hours for the brisket to reach its tender glory. Instead, you get fall-off-the-bone meat with minimal effort.

Benefits of Using a Pressure Cooker
- Speed: Cuts cooking time by more than half
- Flavor Retention: Seals in juices and flavors
- Efficiency: Saves energy and keeps the kitchen cooler

Essential Tools and Ingredients
- Pressure Cooker
- Brisket (about 3 lbs)
- Salt
- Pepper
- Smoked paprika
- Garlic powder
- Onion powder
- Olive oil
- Beef broth
- Onions (sliced)
- Garlic cloves (minced)
- Knife
- Cutting Board

Preparation Steps
Step 1: Preparing the Brisket
Start by trimming the excess fat off your brisket using a sharp knife. It's important not to remove all of it, though, because some fat will render during cooking and add flavor to the meat. Pat the brisket dry using paper towels. On a cutting board, generously season both sides of the meat with salt, pepper, smoked paprika, garlic powder, and onion powder. You can even rub the spices into the meat to ensure an even coating.
Step 2: Searing the Brisket
Heat a couple of tablespoons of olive oil in your pressure cooker set to the 'Saute' function. Once the oil is hot, sear the brisket for about 4-5 minutes on each side until a nice brown crust forms. This step is crucial for locking in the flavors. Remove the brisket from the cooker and set it aside.
Step 3: Building the Flavor Base
With the cooker still on 'Saute', add sliced onions and minced garlic to the pot. Saute until fragrant and golden, absorbing all those delicious browned bits left from the brisket. Pour in the beef broth to deglaze the pot, scraping up any remaining bits stuck to the bottom.
Step 4: Pressure Cooking the Brisket
Carefully place the seared brisket back into the pressure cooker. Lock the lid in place and set the cooker to high pressure for about 75 minutes. Once the time is up, allow the pressure to naturally release for about 15 minutes before manually releasing the remaining pressure.
Serving and Storing Tips
Serving the Brisket
Once your brisket is cooked to perfection, transfer it to a cutting board and let it rest for at least 10-15 minutes before slicing. This resting period allows the juices to redistribute throughout the meat. Slice against the grain to ensure maximum tenderness.
Storing Leftovers
If you have any leftovers, brisket stores wonderfully. Place the slices in an airtight container and keep them in the refrigerator for up to 3-4 days. For longer-term storage, you can freeze the brisket. Make sure to include some of the cooking juices to keep it moist when reheating.
Alternative Recipes and Variations
While the classic pressure-cooked brisket recipe is delightful, don't hesitate to experiment! Here are a few variations:
- BBQ Brisket: Add your favorite barbecue sauce before starting the pressure cooking.
- Mexican Flavors: Season with cumin, chili powder, and a touch of lime.
- Asian Twist: Use soy sauce, ginger, and hoisin for a unique flavor profile.
Conclusion
We've taken a deep dive into how to cook brisket in a pressure cooker, and it's clear this method is a fantastic way to achieve a flavorful, tender meal without the wait. Whether you're a seasoned cook or a beginner, using a pressure cooker can simplify the process and elevate your culinary skills. Don't forget to use appropriate cookware cleaner after preparation to maintain the longevity of your trusted kitchen tools.
As an Amazon Associate, I earn from qualifying purchases.


