The Ultimate Guide on How to Cook Sushi Rice in a Pressure Cooker
Written By James Morgan

Introduction: The Art of Cooking Perfect Sushi Rice
Cooking the perfect sushi rice is pivotal when trying to recreate the exquisite flavors of Japanese cuisine. The key to authentic sushi lies in the quality and preparation of the rice, serving as the foundation for sushi rolls, nigiri, and sashimi. This comprehensive guide dives into how to cook sushi rice in a pressure cooker, equipping you with essential knowledge and techniques to achieve flawless results every time. Whether you are an experienced sushi enthusiast or a beginner exploring Japanese cooking, this guide will give you the skills and confidence to create exceptional sushi rice from the comfort of your own kitchen.

The Pressure Cooker Advantage: Convenience and Efficiency
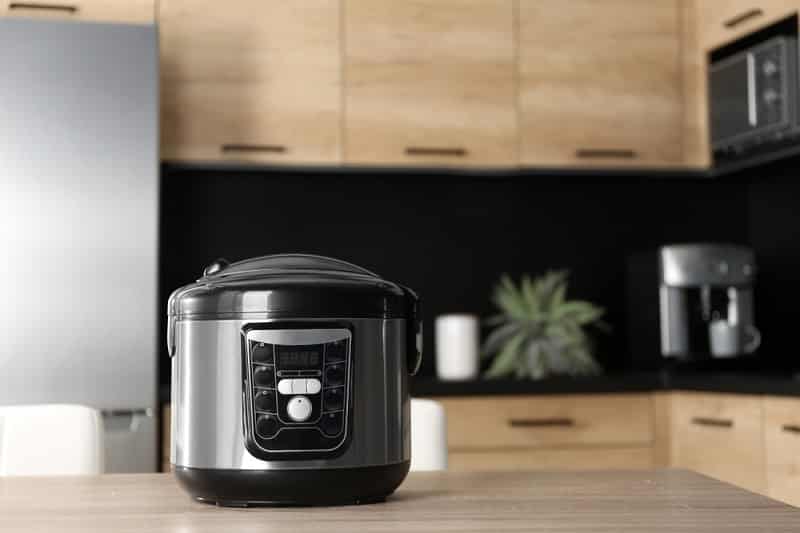
The pressure cooker has transformed the way we cook, offering a convenient and efficient method for preparing a variety of dishes. Specifically for sushi rice, it excels by delivering consistent results with minimal effort. By creating a sealed environment, the pressure cooker ensures the rice cooks evenly and absorbs the perfect amount of moisture, resulting in fluffy, tender grains ideal for sushi.
Using a pressure cooker significantly reduces cooking time compared to traditional stovetop methods. The high-pressure steam generated ensures quick and even cooking, eliminating the risk of undercooked or mushy grains. Additionally, you won't need to constantly monitor and stir, allowing you to focus on other culinary aspects.
Pressure Cookers come in various sizes and models, so choose one that suits your needs. Make sure to use a pressure cooker specifically designed for cooking rice to ensure optimal results. For more insights on using pressure cookers, check out this detailed guide from GoPresto.

Ingredients: Gathering the Essentials
Before embarking on the journey of cooking sushi rice in a pressure cooker, gather the essential ingredients. The quality of the rice and the seasoning are crucial factors contributing to the overall taste and texture of the sushi rice.
Ingredients:
- 2 cups of sushi rice
- 2 1/2 cups of water
- 1/4 cup of rice vinegar
- 2 tablespoons of sugar
- 1 teaspoon of salt

Step 1: Rinsing the Rice
Rinsing the rice is a crucial step in cooking sushi rice. It helps remove excess starch from the grains, resulting in a lighter and more distinct texture. Follow these steps to ensure your sushi rice is perfectly rinsed:
1. Measure the desired amount of sushi rice and transfer it to a fine-mesh strainer or colander.
2. Place the strainer under cold running water and gently agitate the rice with your hand or a spoon to wash away the outer layer of starch.
3. Continue rinsing until the water runs clear, indicating the excess starch has been removed, usually about 2-3 minutes.
4. After rinsing, let the rice drain for a few minutes to remove any excess water.
This thorough rinsing ensures the grains maintain their shape and texture during cooking, resulting in perfectly cooked sushi rice.
Step 2: Soaking the Rice
Soaking the rice allows the grains to absorb water evenly and soften before cooking, helping to achieve the desired sushi rice texture and consistency. Here's how to soak the rice:
1. Transfer the rinsed rice to a large bowl.
2. Add enough cold water to cover the rice completely.
3. Let the rice soak for about 30 minutes to 1 hour to absorb moisture and ensure even cooking.
4. After soaking, drain the rice using a fine-mesh strainer or colander to remove any excess water.
Soaking the rice aids in even cooking, producing tender and plump grains essential for sushi preparation.
Step 3: Cooking the Rice in a Pressure Cooker
With the rice now rinsed and soaked, it's time to cook it in the pressure cooker. Follow these steps for perfectly cooked sushi rice:
1. Add the soaked and drained rice to the pressure cooker.
2. Measure 2 1/2 cups of water and pour it into the pressure cooker over the rice.
3. Close the pressure cooker's lid and ensure it is properly sealed.
4. Set the pressure cooker to high pressure and cook the rice for 6 minutes.
5. After the cooking time is complete, let the pressure release naturally for 10 minutes.
6. Carefully open the pressure cooker, fluff the rice gently with a fork, and let it cool for a few minutes before seasoning.
Using a pressure cooker ensures quick and even cooking, resulting in perfectly cooked sushi rice with minimal effort.
Step 4: Seasoning the Rice
The final step is seasoning the rice with a delicate blend of rice vinegar, sugar, and salt, enhancing the flavor and adding a subtle tanginess. Follow these steps for seasoning:
1. In a small bowl, combine 1/4 cup of rice vinegar, 2 tablespoons of sugar, and 1 teaspoon of salt. Stir until completely dissolved.
2. Transfer the cooked rice to a large, shallow bowl or a wooden sushi rice bowl called a hangiri.
3. While the rice is still warm, drizzle the vinegar mixture over it.
4. Using a cutting motion with a wooden spatula or rice paddle, gently fold and mix the vinegar mixture into the rice. Take care not to mash or break the grains.
5. Continue folding and fanning the rice until it reaches room temperature, helping the grains absorb the seasoning evenly and achieve the desired sticky texture.
This seasoning process gives the rice its distinctive sushi flavor and helps bind the grains together, making it easier to handle for sushi rolls or nigiri. For more creative sushi recipes, check out our Sushi Sandwich Recipe.
Additional Tips for Perfect Sushi Rice
Choose the Right Rice
Use high-quality short-grain Japanese rice for authentic sushi rice, as it has a higher starch content contributing to its sticky texture. Look for brands specifically labeled as 'sushi rice' or 'short-grain rice' for optimal results.
Proper Rice-to-Water Ratio
The correct rice-to-water ratio is crucial for achieving the ideal sushi rice texture. While the general guideline is 1 cup of rice to 1 1/4 cups of water, this may vary slightly depending on the brand and type of rice. Adjust the amount of water accordingly for a moist but not overly sticky consistency. Dive into more detailed cooking tips in our Cooking Tips section.
Alternative Seasoning Options
While the traditional seasoning mixture of rice vinegar, sugar, and salt is commonly used, you can experiment with other flavors to suit your taste. Consider adding a splash of mirin (sweet rice wine), a hint of soy sauce, or even a touch of kombu (dried seaweed) for additional umami flavor.
Conclusion: Mastering the Art of Sushi Rice
In conclusion, mastering how to cook sushi rice in a pressure cooker is a game-changer for sushi enthusiasts and home cooks. The convenience and efficiency of the pressure cooker allow for perfectly cooked sushi rice with minimal effort and time. By following the step-by-step instructions in this guide, you can unlock the secrets to creating authentic and delicious sushi rice that will elevate your culinary creations.
Remember to start with high-quality sushi rice, rinse and soak it thoroughly, and cook it using the precise rice-to-water ratio. The seasoning process adds the final touch, infusing the rice with a delicate balance of flavors. With practice and attention to detail, you can master the art of sushi rice and impress family and friends with homemade sushi rolls, nigiri, and more.
Experiment with different ingredients, fillings, and sushi-making techniques to create unique sushi creations. Whether hosting a sushi party or enjoying a homemade sushi night, your skills in preparing sushi rice will enhance your culinary repertoire.
Don't forget to check out our recommended knife, cutting board, and necessary cookware cleaner and cutting board oil. These tools and maintenance products ensure your sushi-making experience is seamless and enjoyable.
Start your sushi rice journey today and savor the satisfaction of creating authentic Japanese cuisine in your kitchen. The world of sushi awaits you!
As an Amazon Associate, I earn from qualifying purchases.


