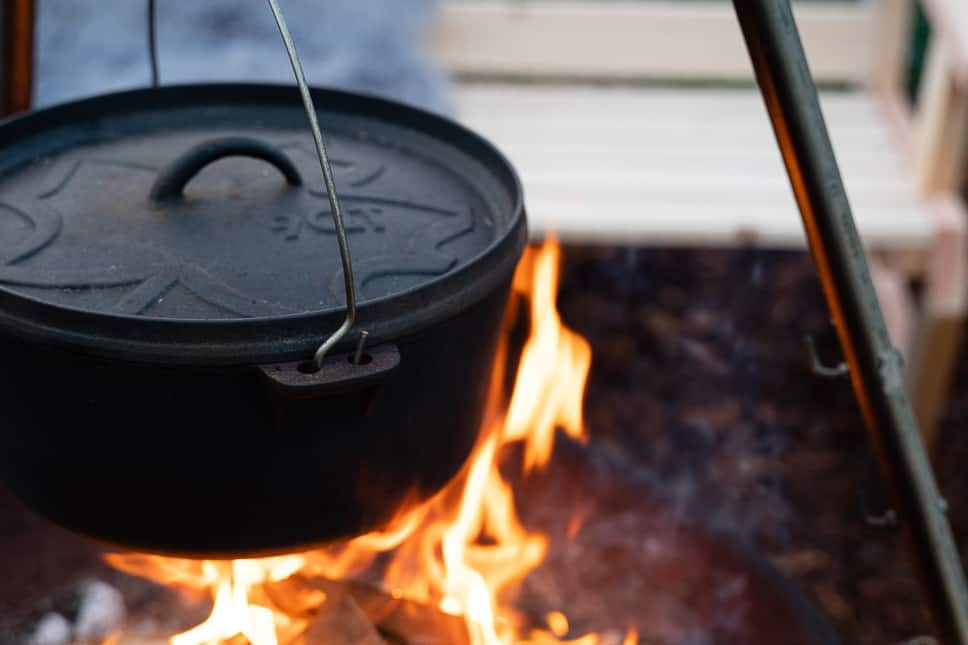
Remarkable Rustic Bread Recipe: Dutch Oven Approved
Written By James Morgan

Why This Terrific Rustic Bread Recipe Will Change Your Life
Imagine slicing into a warm, crusty loaf of homemade bread on a cold morning. The aroma fills your kitchen, and the first bite transports you to a quaint bakery in the French countryside. This is not an exaggerated fantasy; its what you can achieve with our remarkable rustic bread recipe using a Dutch oven. Trust me, if you have never baked your own bread before, you are about to experience a life-changing revelation.
The secret to achieving the perfect crust and soft, airy crumb lies in the use of a Dutch oven. This method traps steam, which is crucial in forming that delightful rustic crust. Stick with us as we guide you through this simple yet incredibly rewarding process. We promise, the results will be big, shocking, and utterly delightful.

Gather Your Ingredients: Fresh and Simple
Before diving into the recipe, lets talk about ingredients. Simplicity is key when it comes to making rustic bread. Heres what youll need:
- 3 1/4 cups of all-purpose flour
- 2 teaspoons of salt
- 1/2 teaspoon of instant yeast
- 1 1/4 cups of warm water
These basic ingredients come together to create a complex flavor profile that will have you hooked from the first bite. The key to great bread is all in the technique, which well break down step by step.

Step-by-Step Instructions: From Mixing to Baking
Mixing the Dough
In a large mixing bowl, combine the flour, salt, and instant yeast. Stir in the warm water until a sticky dough forms. Dont worry if it looks a bit rough; thats how it should be.
First Rise
Cover the bowl with a clean kitchen towel and let it sit at room temperature for about 12 to 18 hours. The dough should double in size and be covered with tiny bubbles.

Shaping and Second Rise
Shaping Your Dough
After the first rise, turn the dough out onto a lightly floured surface. Shape it into a round loaf by folding the edges into the center. Be gentle; you dont want to deflate those precious air bubbles.
Second Rise
Place the dough on a piece of parchment paper, cover it with the kitchen towel, and let it rise for another 1 to 2 hours. The dough should puff up slightly and feel airy.
Baking: The Moment of Truth
Preheating the Dutch Oven
While your dough is undergoing its second rise, place your Dutch oven (with the lid) in the oven and preheat it to 450F (230C). Its imperative that your Dutch oven is blazing hot before the dough meets it.
Baking the Bread
Carefully remove the hot Dutch oven from the oven, lift the dough with the parchment paper, and place it in the Dutch oven. Put the lid back on and bake for 30 minutes. After 30 minutes, remove the lid and bake for an additional 15 to 20 minutes or until the crust is a deep golden-brown color.
Cooling: The Final Step
Remove the bread from the Dutch oven and let it cool on a wire rack. I know its tempting, but resist the urge to cut into it immediately. Allow it to cool completely to let the flavors and texture fully develop.
Common Questions About Our Rustic Bread Recipe
FAQ
Q1: Can I use whole wheat flour instead of all-purpose flour?
A1: Yes, you can substitute whole wheat flour, but be prepared for a denser loaf. You might also need to adjust the water content slightly.
Q2: Do I have to let the dough rise for so long?
A2: The long rise is crucial for developing flavor and texture. However, if youre short on time, you can use more yeast and reduce the rise time, but the flavor wont be as developed.
Q3: My bread didnt rise properly. What went wrong?
A3: Several factors could affect the rise, such as yeast quality, water temperature, and room temperature. Make sure your yeast is fresh and your water is around 110F (43C) for the best results.
As an Amazon Associate, I earn from qualifying purchases.
Final Thoughts: Your New Favorite Bread Recipe
By now, you should be excited to try this remarkable rustic bread recipe in your Dutch oven. This recipe is approved by home bakers and professionals alike. Whether youre a seasoned baker or a novice, this straightforward method ensures a terrific loaf every time.
Feel free to check out another chicken recipe or explore our tips on skillet safety. For those who love versatile cooking, try out our Spam skillet recipes.
Dont forget to read up on the health benefits of bread to understand its nutritional value.
Happy baking, and may your loaves be crusty and your crumbs airy!


